8 Productive Ways How to Design a Vegetable Patch
The smell of damp earth after a rain is the scent of geosmin, a metabolic byproduct of Actinobacteria that indicates a healthy, biologically active substrate. When you understand the cellular turgor of a crisp leaf, you begin to grasp the physiological demands of a productive garden. Learning how to design a vegetable patch requires more than aesthetic placement; it is an exercise in engineering a microclimate that maximizes photosynthetic efficiency and nutrient uptake. Success depends on the precise calibration of solar radiation, soil chemistry, and hydraulic conductivity.
A productive patch is a high performance biological engine. To achieve maximum yields, the gardener must transition from a passive observer to an active manager of the rhizosphere. This involves calculating the Cation Exchange Capacity (CEC) of the soil to ensure that essential ions like potassium and magnesium are available to the root system. Every square inch of the layout must be justified by its contribution to the plant's metabolic rate. When you master how to design a vegetable patch, you are synchronizing the biological clock of your crops with the specific environmental variables of your site.
Materials:
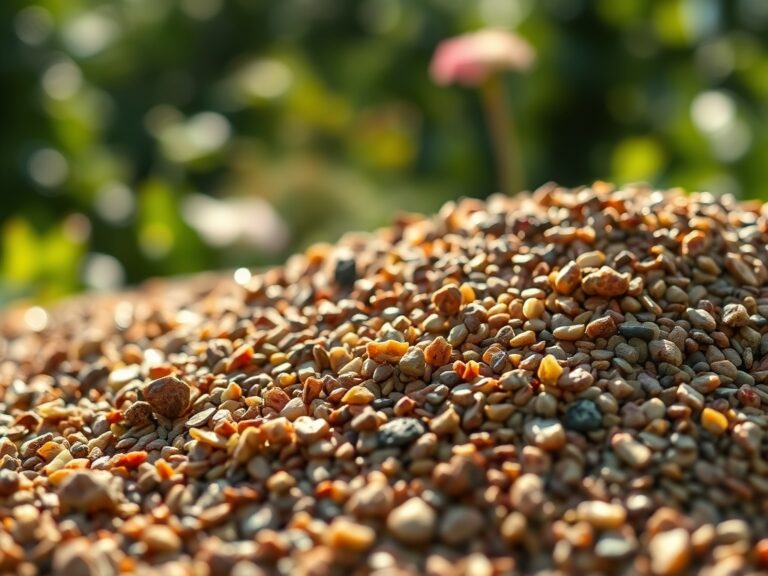
The foundation of any vegetable patch is a friable loam consisting of roughly 40 percent sand, 40 percent silt, and 20 percent clay. This texture ensures adequate pore space for oxygen diffusion while maintaining sufficient water holding capacity. The target soil pH should sit between 6.2 and 6.8 for most temperate vegetables. At this range, nutrient solubility is optimized. If the pH drops below 6.0, phosphorus becomes chemically locked, making it unavailable for root development.
Specific NPK ratios must be tailored to the crop stage. For the establishment phase, a 10-10-10 balanced fertilizer provides the necessary baseline. However, heavy feeders like Brassicas require a higher nitrogen concentration, often a 21-0-0 ammonium sulfate application, to drive vegetative growth. Conversely, fruiting crops like Solanum lycopersicum (tomatoes) require a shift toward phosphorus and potassium, such as a 5-10-15 ratio, to support floral induction and fruit set. High CEC materials, like well rotted compost with a C:N ratio of 25:1, should be incorporated to improve the soil's ability to hold these nutrients against leaching.
Timing:
Timing is dictated by the USDA Hardiness Zones and the local frost free window. In Zone 7, the growing season typically spans from mid April to late October. You must track the Growing Degree Days (GDD) to predict harvest windows accurately. Each plant species has a base temperature, usually 50 degrees Fahrenheit, below which metabolic activity slows significantly.
The "Biological Clock" of a plant is governed by the photoperiod and accumulated thermal units. As days shorten in late summer, plants begin the transition from the vegetative stage to the reproductive stage, eventually leading to senescence. Understanding this transition allows you to time your successional plantings. For instance, planting cool season crops like spinach 6 to 8 weeks before the first hard frost ensures the plant reaches maturity before the light levels drop below the threshold for active photosynthesis.
Phases:

Sowing and Seed Starting
Direct sowing requires a seedbed prepared to a fine tilth. Seeds should be buried at a depth 2 to 3 times their diameter. Maintaining a consistent soil temperature of 65 to 75 degrees Fahrenheit is critical for enzymatic activation within the seed coat.
Pro-Tip: Proper seed to soil contact is essential for imbibition, the process where the seed absorbs water to trigger germination. Without this hydraulic link, the seed remains dormant or desiccates.
Transplanting
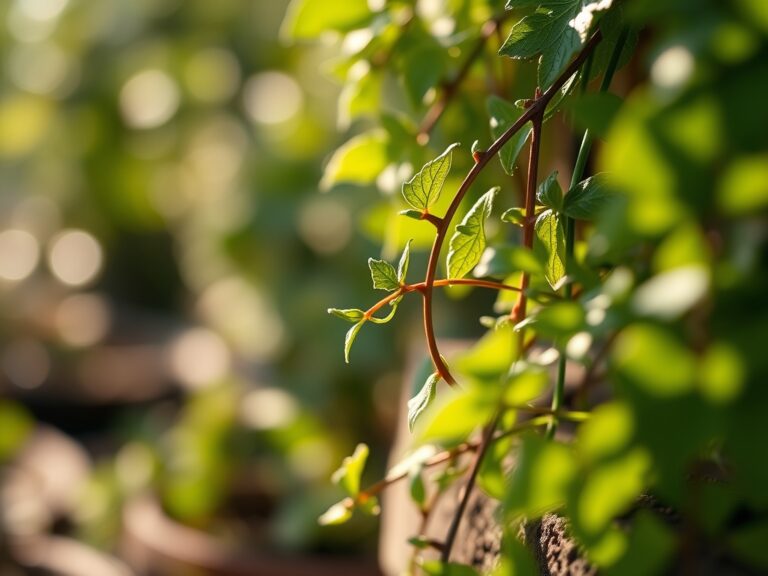
When moving seedlings from a controlled environment to the patch, you must minimize transplant shock. This is achieved by "hardening off" the plants over a 7 to 10 day period. Ensure the root ball is saturated before placement to maintain turgor pressure during the transition.
Pro-Tip: Use a mycorrhizal inoculant during transplanting to foster mycorrhizal symbiosis. These fungi extend the reach of the root system, increasing the surface area for phosphorus and water absorption by up to 100 times.
Establishing and Growth
Once the plants are in the ground, focus shifts to canopy development. Space plants to ensure adequate airflow, which reduces the humidity levels that encourage fungal pathogens. Monitor the apical meristem for signs of vigorous growth.
Pro-Tip: Pruning the lower axillary buds on certain crops utilizes auxin suppression. By removing lower growth, the plant redirects its hormonal energy to the primary stem and fruit production, increasing overall yield density.
The Clinic:
Physiological disorders often mimic disease but are usually caused by environmental stress or nutrient imbalances.
- Blossom End Rot: This appears as a sunken, leathery spot on the base of the fruit. It is caused by a Calcium deficiency in the fruit tissue, often triggered by inconsistent soil moisture that disrupts calcium transport.
- Fix-It: Maintain consistent soil moisture and apply a foliar calcium spray if soil tests show low levels.
- Nitrogen Chlorosis: The older leaves turn a uniform pale yellow while the veins remain slightly green. This indicates the plant is scavenging nitrogen from old growth to support new leaves.
- Fix-It: Side dress with a high nitrogen fertilizer like blood meal (12-0-0).
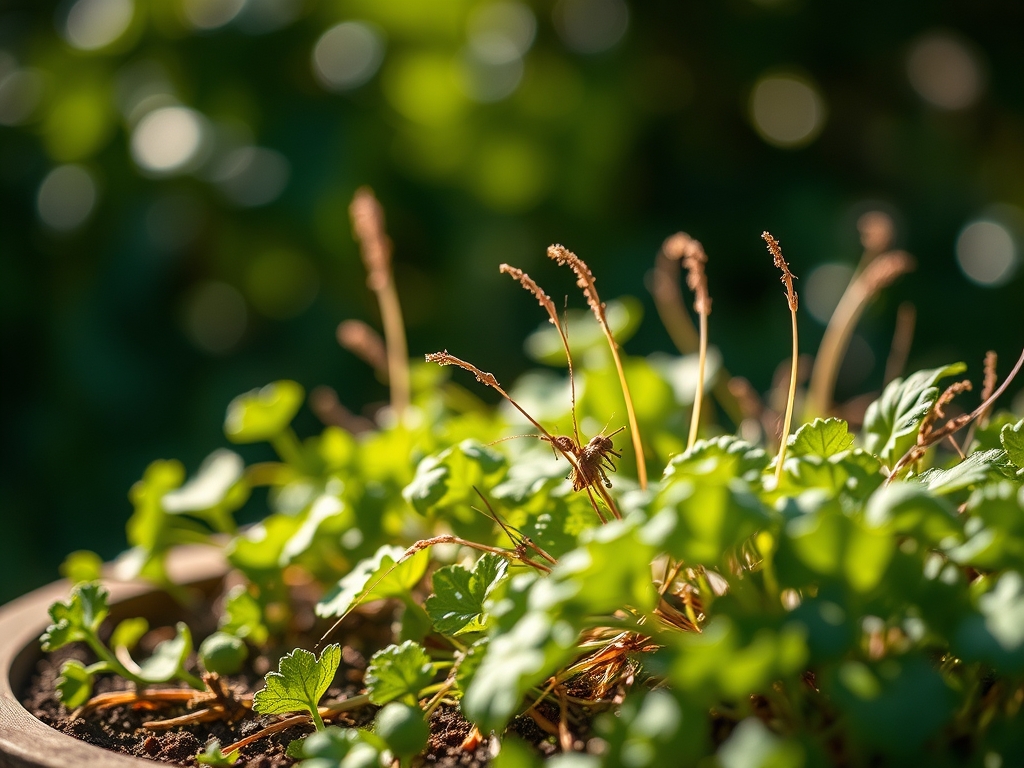
- Bolting: This is the premature transition to seed production, common in lettuce and cilantro. It is triggered by high temperatures exceeding 80 degrees Fahrenheit.
- Fix-It: Use shade cloth to reduce soil temperature and select "bolt resistant" cultivars.
- Interveinal Chlorosis: Yellowing between the leaf veins on new growth, often indicating an Iron or Magnesium deficiency.
- Fix-It: Check soil pH first; if the pH is above 7.0, iron becomes insoluble. Lower pH with elemental sulfur.
Maintenance:
Precision maintenance is the difference between a surviving garden and a thriving one. Irrigation should be delivered via drip lines to minimize leaf wetness and evaporation. Aim for 1.5 inches of water per week, delivered in deep, infrequent sessions to encourage deep root penetration. Use a soil moisture meter to verify that the moisture has reached a depth of 6 to 8 inches.
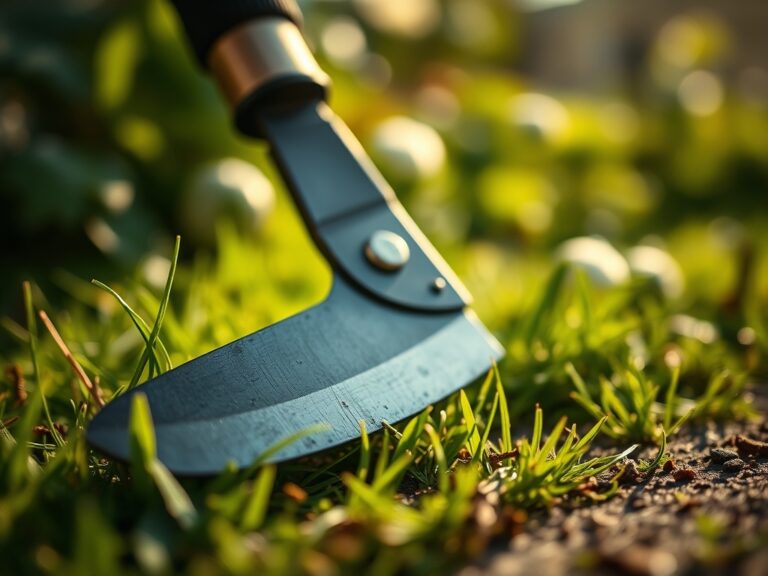
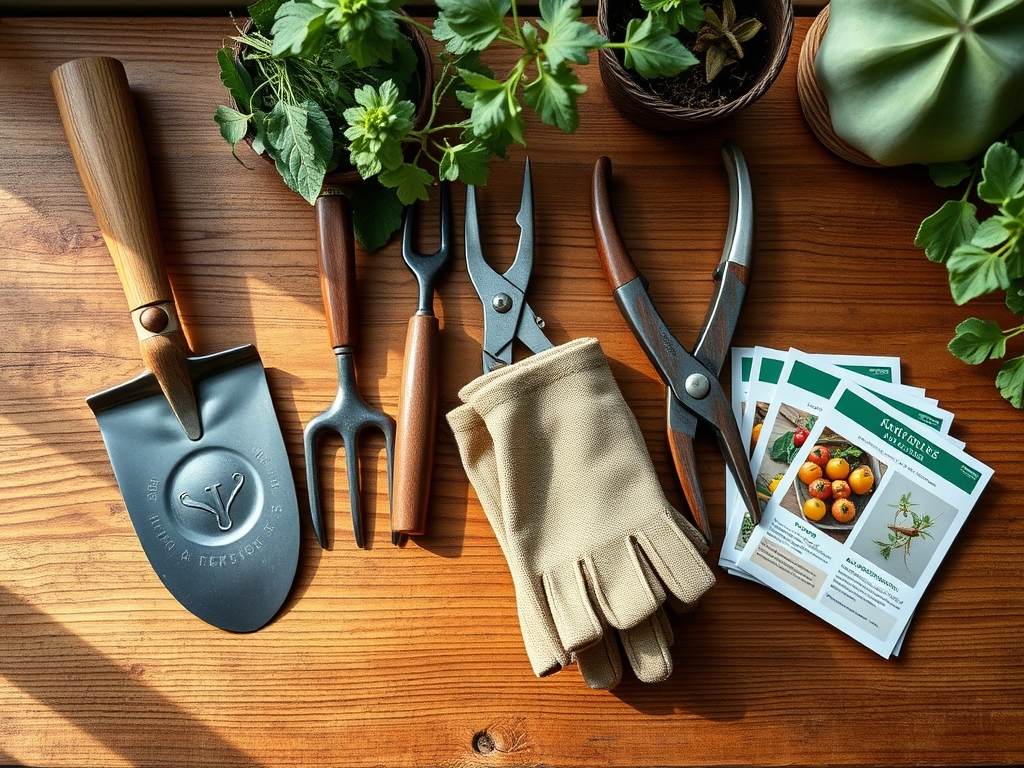
Weed management must be proactive. Use a hori-hori knife to extract taproots of perennial weeds without disturbing the surrounding soil structure. For woody stems or harvesting, use sharp bypass pruners to ensure clean cuts that heal quickly, preventing pathogen entry. Mulching with 2 to 3 inches of organic matter will suppress weed germination and regulate soil temperature fluctuations.
The Yield:
Harvesting at the peak of physiological maturity ensures the highest nutrient density and flavor. For leafy greens, harvest in the early morning when turgor pressure is at its highest; this prevents wilting. For fruiting crops like peppers, use pruners to snip the pedicel rather than pulling, which can damage the plant's vascular system.
Post harvest handling is critical for maintaining "day one" freshness. Rapidly cooling the produce, a process known as hydro-cooling, removes field heat and slows the respiration rate. This extends the shelf life by preventing the rapid breakdown of sugars and cellular structures. Store produce at the appropriate humidity levels to prevent desiccation.
FAQ:
What is the best orientation for a vegetable patch?
Align rows North to South. This orientation ensures that plants receive uniform sunlight exposure on both sides as the sun moves across the sky, preventing taller plants from shading out smaller ones throughout the day.
How deep should my raised beds be?
A minimum depth of 12 to 18 inches is required for most vegetables. This provides enough volume for root expansion and ensures adequate drainage, which is vital for preventing root rot in heavy rain conditions.
How often should I test my soil?
Conduct a professional soil test every 2 to 3 years. This provides data on pH, organic matter percentage, and nutrient levels, allowing for precise amendments rather than guessing with broad spectrum fertilizers.
What is the fastest way to improve clay soil?
Incorporate broad-spectrum organic matter such as compost or aged manure. This improves soil aggregation, increasing the macropores necessary for drainage and aeration while lowering the bulk density of the heavy clay.