9 Vital Steps to Align Gate Hinges
The smell of damp earth and the crisp turgor of a healthy leaf define the success of a structured garden. A sagging gate disrupts this precision; it drags through the topsoil and compacts the rhizosphere of nearby perennials. Mastering the steps to align gate hinges ensures structural integrity and prevents mechanical damage to the surrounding flora. Proper alignment requires a 0.25 inch clearance at the latch side to account for wood expansion during periods of high humidity.
Maintaining a level gate prevents uneven weight distribution on the posts. If a post leans even three degrees, it increases the lateral stress on the hinge screws, leading to wood fatigue. This guide provides the technical framework to calibrate your garden entrances with the same accuracy used to balance soil nutrients. By following these steps to align gate hinges, you protect the physical boundaries of your cultivation space while ensuring easy access for heavy equipment like aerators or wheelbarrows filled with dense compost.
Materials:
The foundation of any garden structure begins with the substrate. For gate posts, the ideal environment is a friable loam with a soil pH between 6.0 and 7.0 to prevent the corrosion of galvanized hardware. High acidity in the soil can accelerate the oxidation of metal components.
- Support Media: Use a well-draining aggregate base. Avoid heavy clays with low Cation Exchange Capacity (CEC) for post-setting, as they retain too much moisture.
- Nutrient Profile: While the gate itself is inert, the surrounding soil should maintain an NPK ratio of 10-10-10 to support the root systems of turfgrass that stabilize the post area.
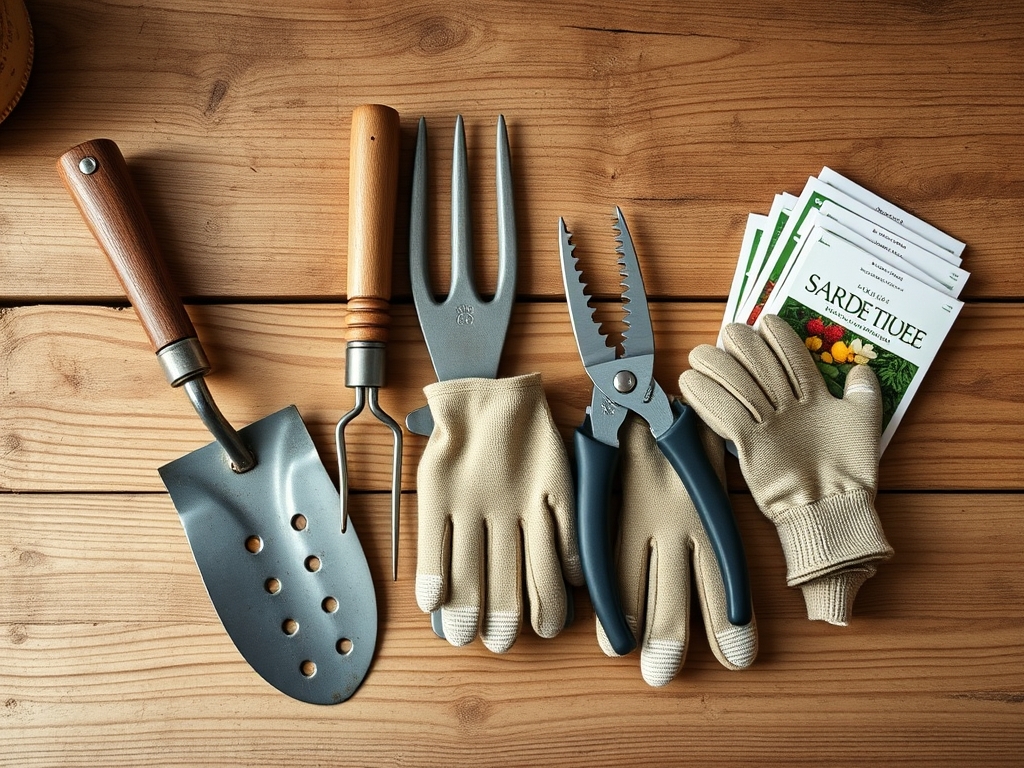
- Hardware: Heavy-duty 6-inch strap hinges or adjustable J-bolts.
- Tools: A 4-foot spirit level, a power drill with masonry or wood bits, and a heavy-duty pry bar for leverage.
Timing:
Timing is critical for structural adjustments. Perform gate alignment during the dormant season in Hardiness Zones 5 through 7, specifically between the first hard frost and the spring thaw. This window ensures that the ground is stable and the wood has reached its maximum contraction.
The biological clock of the garden dictates that major structural work should be completed before the transition from vegetative growth to reproductive stages in the surrounding flora. In warmer Hardiness Zones 8 through 10, align hinges during the dry season to avoid soil compaction. Working in saturated soil damages the soil structure and reduces the oxygen available to beneficial microbes in the upper 6 inches of the soil profile.
Phases:

Sowing the Foundation
The first step is verifying post stability. A gate post must be buried at a depth of at least 1/3 its total height to resist the pull of gravity. If the post moves, the hinges will never remain aligned. Use a soil moisture meter to ensure the ground is not excessively dry before tamping the earth around the base.
Pro-Tip: Proper post depth prevents heaving caused by the freeze-thaw cycle. This is a mechanical application of geotropism; just as roots grow downward to anchor a plant against wind, a deep post utilizes soil friction to maintain verticality.
Transplanting the Hardware
Remove the old screws and inspect the wood for signs of fungal decay or wood-boring insects. If the holes are stripped, plug them with cedar dowels and waterproof glue before redrilling. Position the top hinge first, approximately 5 inches from the top of the gate frame.
Pro-Tip: Always pre-drill pilot holes to prevent the wood fibers from splitting. Splitting compromises the vascular integrity of the timber, allowing moisture to penetrate and initiate the process of senescence in the wood cells.
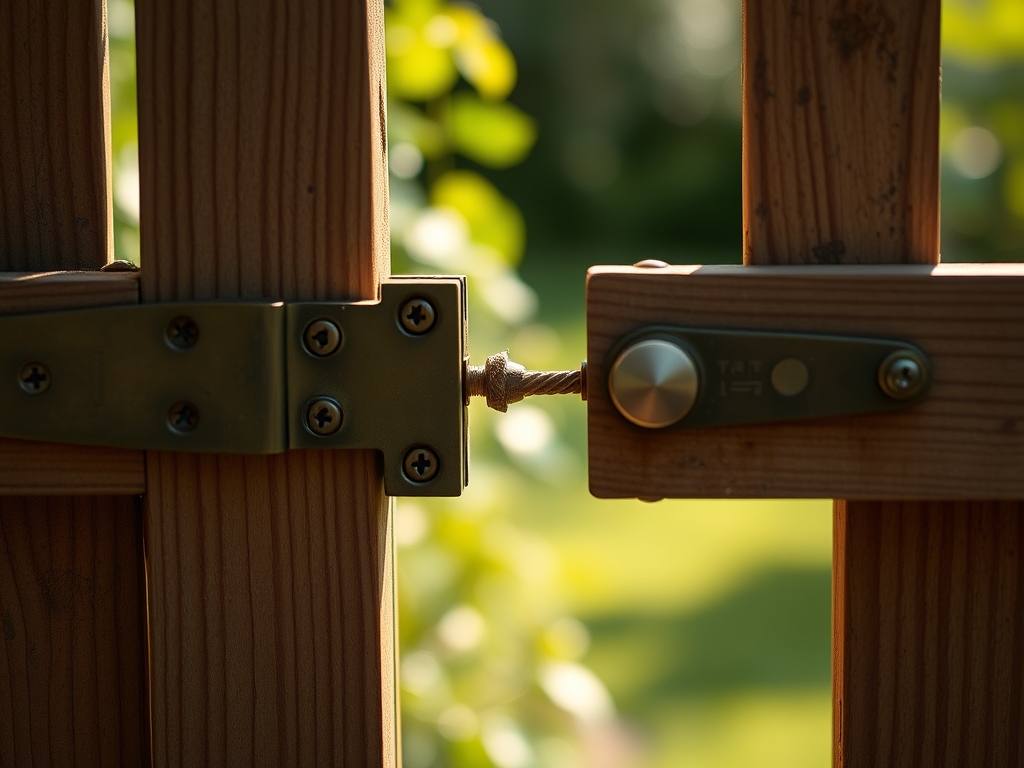
Establishing Alignment
Place a 2×4 board under the gate to hold it at the desired height. Use a spirit level to ensure the gate is perfectly horizontal. Tighten the top hinge first, then the bottom. The bottom hinge should be located 8 inches from the bottom of the gate to distribute the load effectively.
Pro-Tip: Leave a small gap between the hinge pin and the post. This allows for thermal expansion. Just as stomata open and close to regulate transpiration, wood expands and contracts based on ambient temperature and internal moisture content.
The Clinic:
Structural failures in the garden often manifest as physical symptoms. Identify these issues early to prevent total gate failure.
- Symptom: Gate drags on the ground. Solution: Adjust the top hinge closer to the post or move the bottom hinge further away. This shifts the center of gravity back toward the support post.
- Symptom: Hinge screws are pulling out. Solution: Replace standard screws with 3.5 inch lag bolts. The increased surface area provides better grip within the wood grain.
- Symptom: Gate bounces when closing. Solution: The hinges are too tight. Loosen the mounting bolts by a quarter turn to allow for smooth kinetic movement.
Fix-It for Nutrient Deficiencies: If the grass around the gate post shows Nitrogen chlorosis (yellowing of older leaves), apply a high-nitrogen fertilizer (20-0-0) at a rate of 1 pound per 1,000 square feet. This stimulates vegetative growth to cover any bare soil exposed during the alignment process.
Maintenance:
Consistency is the hallmark of a master horticulturist. Inspect gate hardware twice a year. Lubricate hinges with a silicone-based spray to prevent rust. Ensure the surrounding vegetation is pruned back using bypass pruners to prevent moisture traps against the wood.
Water the area around the gate post consistently; provide 1.5 inches of water per week at the drip line of nearby shrubs to prevent soil shrinkage. Use a hori-hori knife to remove deep-rooted weeds that might compete for moisture near the post base. Check the soil compaction levels with a soil moisture meter regularly. If the soil becomes too dense, use a garden fork to aerate the top 4 inches of the substrate.
The Yield:
A perfectly aligned gate provides more than just security; it ensures the "day-one" freshness of your garden's aesthetic and functional flow. When a gate operates smoothly, it reduces the physical strain on the gardener, allowing for more efficient harvesting of crops.
To maintain the longevity of the gate, apply a UV-resistant sealant every two years. This prevents the photodegradation of the wood fibers. A well-maintained gate is like a well-pruned fruit tree; it directs energy toward function and longevity rather than repair and stress response.
FAQ:
How do I fix a sagging wooden gate?
Support the gate with a block, then install a turnbuckle cable kit diagonally from the top hinge corner to the bottom latch corner. Tighten the turnbuckle until the gate is level and clears the ground by 2 inches.
What is the best hinge for a heavy garden gate?
Heavy-duty strap hinges are superior for weight distribution. Ensure the strap covers at least one-third of the gate's width. Use galvanized or stainless steel to resist corrosion from soil moisture and high humidity levels in the garden.
Why does my gate stick in the summer?
High humidity causes wood cells to absorb moisture and expand. This increase in volume reduces the clearance between the gate and the post. Increase the latch-side gap to 0.5 inches to accommodate this seasonal swelling.
How deep should gate posts be set?
In most climates, set posts 36 inches deep or below the local frost line. This prevents the post from shifting during soil expansion. Use a mix of gravel and concrete to ensure rapid drainage away from the wood.