9 Best Shears for Lawn Edges
The scent of crushed chlorophyll and damp, friable earth signals the start of the final manicuring phase. A lawn is a biological carpet of Poaceae species, where individual blades maintain high turgor pressure through cellular osmotic potential. Achieving a surgical finish requires the best shears for lawn edges to sever these fibrous tissues without crushing the vascular bundles. Ragged cuts lead to desiccation and increased susceptibility to fungal pathogens at the leaf tip. Precision edging is not merely aesthetic; it is a structural necessity for preventing stoloniferous grasses from encroaching into sterile mulch beds or delicate floral borders. When the blade meets the sod, the resistance should be minimal, indicating a sharp, high-carbon steel edge that shears through the cellulose and lignin with mechanical efficiency. This guide focuses on the technical specifications required to maintain a crisp line between the turf and the surrounding landscape.
Materials:

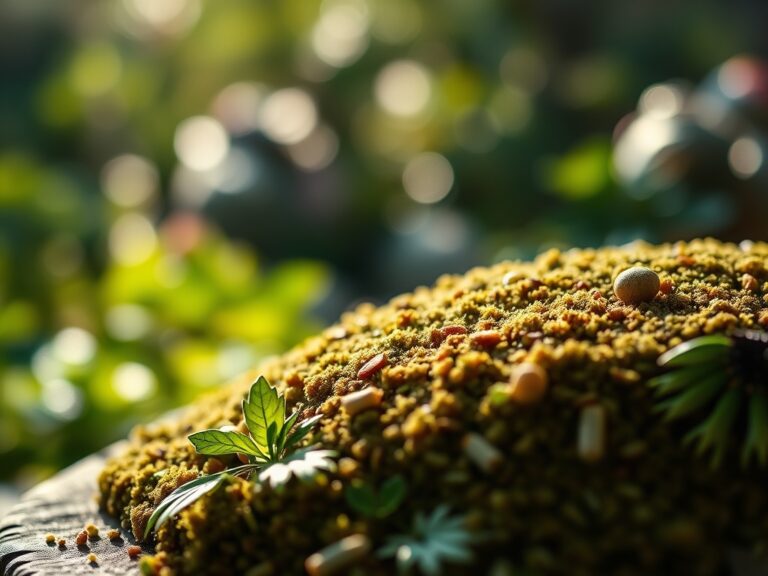
The substrate supporting your turf must be a **friable loam** with a balanced Cation Exchange Capacity (CEC) of **15 to 25 meq/100g**. This allows for optimal nutrient retention and gas exchange within the rhizosphere. For cool-season grasses like Kentucky Bluegrass or Tall Fescue, maintain a soil pH between **6.2 and 7.0**. If the pH drops below **5.5**, aluminum toxicity becomes a risk; if it rises above **7.5**, iron and manganese become chemically locked and unavailable to the plant.
Fertilization should follow a strict NPK ratio based on the growth phase. During the spring surge, an NPK ratio of 4-1-2 (such as 20-5-10) supports rapid leaf elongation. In late autumn, shift to a 1-0-2 ratio to encourage root carbohydrate storage and winter hardiness. Ensure the soil contains at least 5 percent organic matter to facilitate mycorrhizal symbiosis, which extends the effective root surface area for water absorption.
Timing:
Successful edging is dictated by the hardiness zone and the physiological state of the grass. In Zones 4 through 7, the primary edging window opens when soil temperatures consistently reach 55 degrees Fahrenheit. This coincides with the transition from dormancy to active vegetative growth. Avoid heavy edging during the reproductive stage, known as "heading out," when the plant diverts energy from leaf production to seed head development.
The biological clock of the lawn is governed by the photoperiod. As day length increases, the plant increases its metabolic rate. Perform your primary edge-cutting after the first flush of spring growth but before the heat stress of the summer solstice. In Zones 8 through 10, where warm-season grasses like Bermuda or Zoysia dominate, edging should occur during the peak of summer when the plants are most resilient and capable of rapid lateral repair via rhizomes.
Phases:

Sowing and Preparation
Before the first cut, the soil line must be established. Use a string line to mark the perimeter. Ensure the soil is moist but not saturated; a moisture level of 25 percent by volume is ideal. Cutting into bone-dry soil causes micro-fissures in the root zone, while saturated soil leads to compaction and anaerobic conditions.
Pro-Tip: Maintaining a sharp vertical cut prevents "crown lifting." By keeping the crown of the grass plant below the soil line, you suppress auxin-driven lateral spreading into unwanted areas, forcing the plant to focus energy on vertical density.
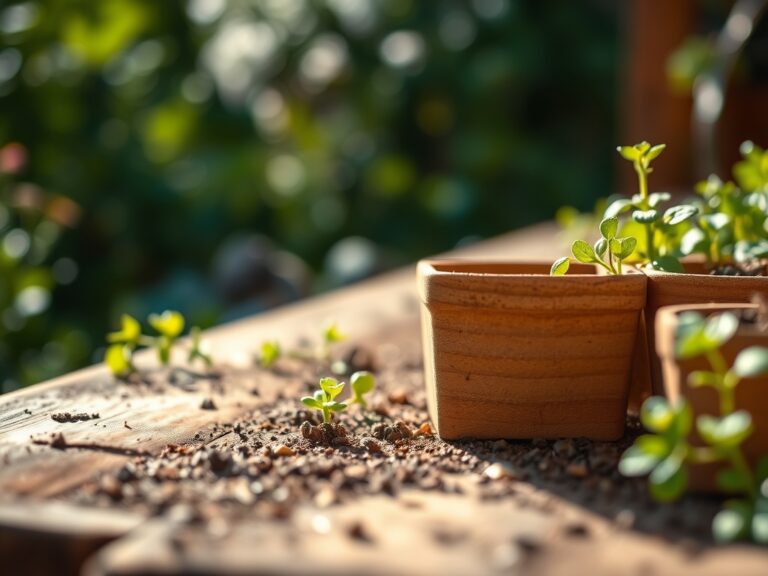
Transplanting and Plugging
When repairing edge gaps, use plugs with a minimum diameter of 3 inches. Ensure the plug is set 0.5 inches below the surrounding grade to allow for settling. Firm the soil around the plug to eliminate air pockets that cause root desiccation.
Pro-Tip: Use a seaweed-based kelp extract during transplanting. The natural cytokinins in the kelp stimulate rapid cell division in the meristematic tissue, reducing transplant shock and accelerating the establishment of a seamless edge.
Establishing the Edge
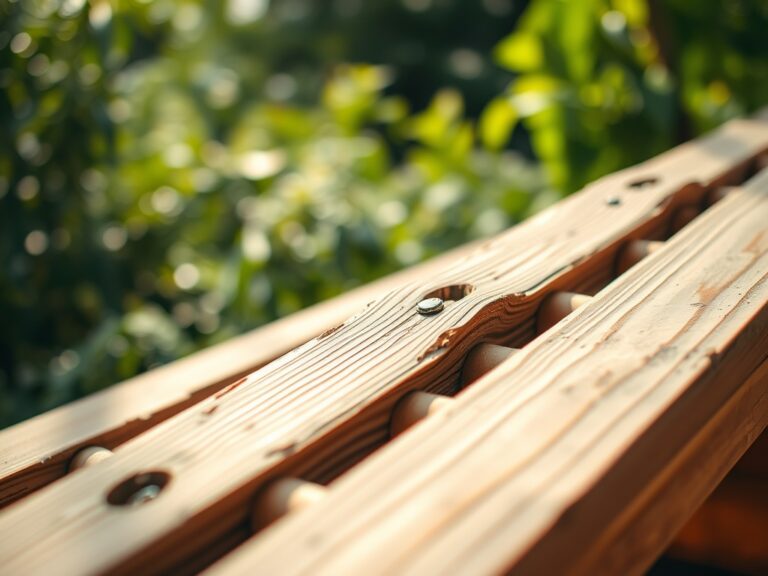
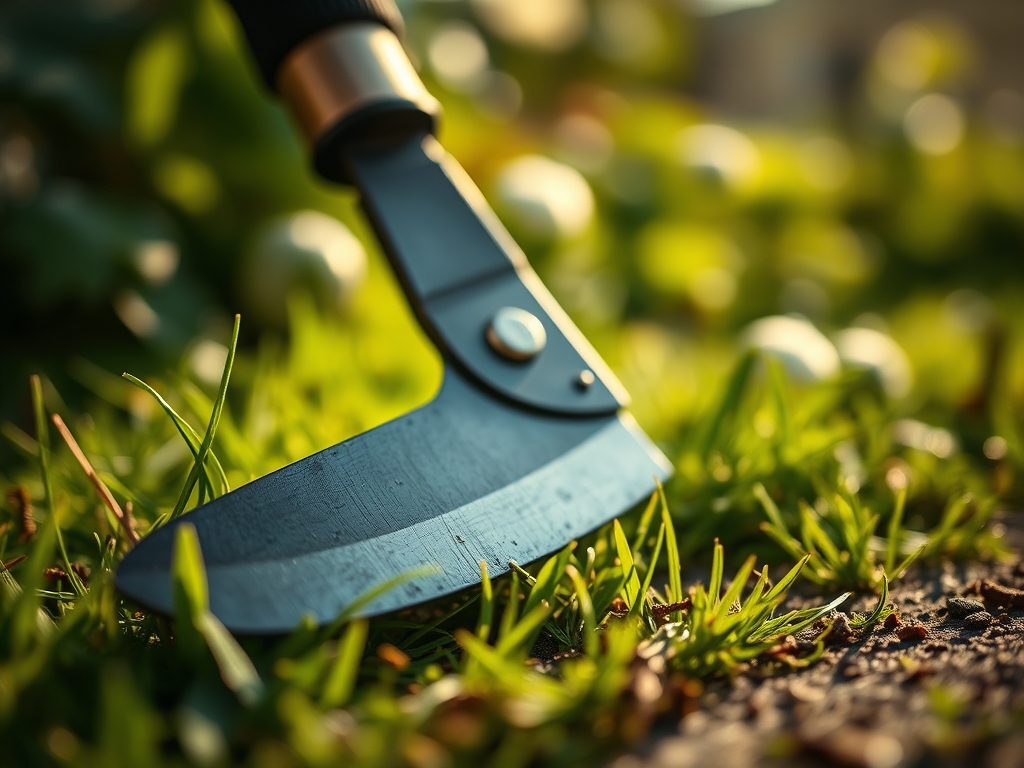
Once the turf is established, the first cut with your shears should be at a 90-degree angle to the soil surface. Long-handled edging shears are preferred for ergonomics, while hand-held bypass shears offer better control around tight curves or stone masonry.
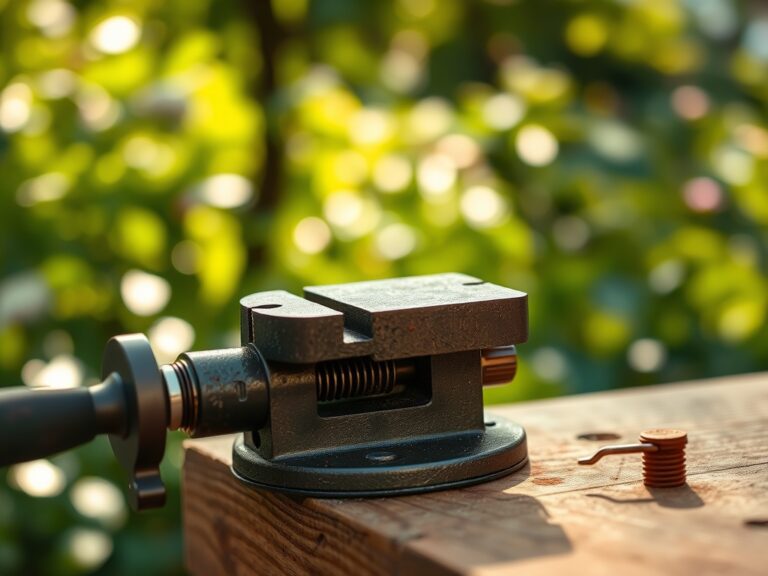
Pro-Tip: Always cut with the "moving blade" against the stationary "anvil" or bypass edge. This utilizes mechanical leverage to maximize shear force, ensuring a clean break of the xylem and phloem vessels, which prevents the "white tip" browning associated with dull blades.
The Clinic:
Physiological disorders often manifest at the edges where environmental stress is highest.
- Symptom: Yellowing of the leaf margins (Chlorosis).
- Solution: This is often a sign of Nitrogen deficiency. Apply a quick-release urea-based fertilizer at a rate of 0.5 lbs of N per 1,000 square feet.
- Symptom: Reddish-purple tint on older blades.
- Solution: This indicates Phosphorus deficiency, common in cold, wet soils. Increase soil temperature by reducing thatch or apply a starter fertilizer with a high middle NPK number.
- Symptom: Tip burn and localized wilting despite irrigation.
- Solution: This is likely Salt Toxicity from winter de-icing or over-fertilization. Flush the edge with 2 inches of water to leach the salts below the root zone.
- Symptom: "Dollar Spot" (small, straw-colored circles).
- Solution: This fungal pathogen thrives in low nitrogen and high humidity. Increase airflow by thinning the edge and apply a nitrogen-rich top-dressing.
Maintenance:
Precision lawn care requires consistent monitoring. Provide exactly 1.5 inches of water per week, delivered in two deep sessions rather than daily light misting. This encourages roots to penetrate deeper into the soil profile, reaching the B-horizon where moisture is more stable.
Use a soil moisture meter twice weekly to verify that the root zone at a 4-inch depth remains consistently hydrated. For weeding along the edge, a hori-hori knife is the superior tool for extracting tap-rooted perennials like Taraxacum officinale without disturbing the surrounding turf structure. Every 500 linear feet of edging, sharpen your blades with a fine-grit whetstone and lubricate the pivot point with a silicone-based dry spray to prevent the accumulation of abrasive grit.
The Yield:
While a lawn edge does not provide a caloric yield, the "yield" is measured in the health of the adjacent botanical specimens. A clean edge prevents the migration of turf-grass roots, which are highly competitive for nutrients. By maintaining a 4-inch deep "V-trench" at the edge, you create a physical barrier that stops rhizome expansion. This ensures that the NPK intended for your ornamental shrubs is not intercepted by the aggressive root systems of the lawn. Post-maintenance, collect all clippings; they contain high levels of sequestered nitrogen and should be composted to return nutrients to the garden cycle.
FAQ:
How often should I sharpen my edging shears?
Sharpen blades every 10 to 15 hours of active use. Use a 1000-grit whetstone to maintain a 20-degree bevel. Dull blades crush the vascular tissue, leading to localized necrosis and increased pathogen entry.
Why does my lawn edge turn brown after cutting?
This is usually caused by dull blades or heat stress. If the blade is blunt, it tears the leaf, increasing the surface area for transpiration. Always edge during the cool of the morning to maintain maximum turgor.
Can I use hedge shears for lawn edges?
Hedge shears lack the specialized blade offset required for vertical ground-level cutting. Using them for edging forces an unnatural wrist angle, reducing mechanical advantage and resulting in an uneven, jagged cut through the turf crowns.
What is the best soil for a crisp edge?
A sandy loam provides the best structural integrity for a vertical edge. The sand content ensures rapid drainage, while the silt and clay fractions provide the necessary CEC and moisture retention to keep the edge from crumbling.