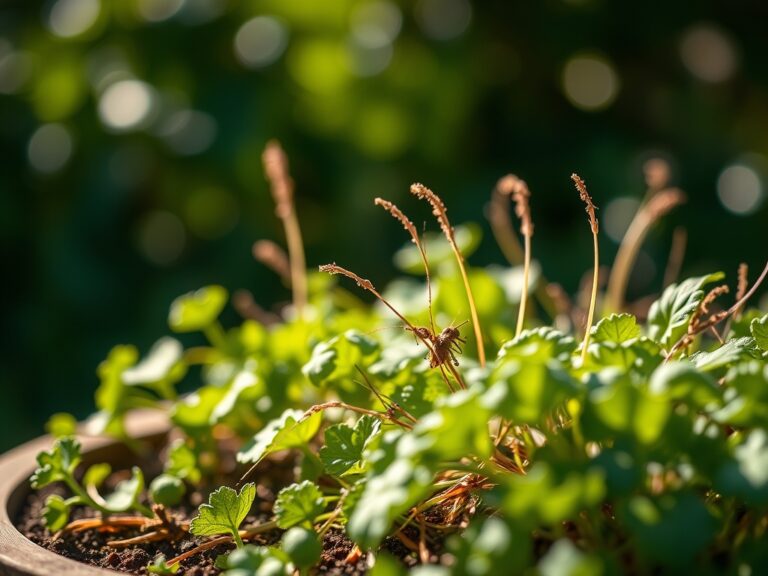
6 Basic Steps to Plant Climbing Ivy
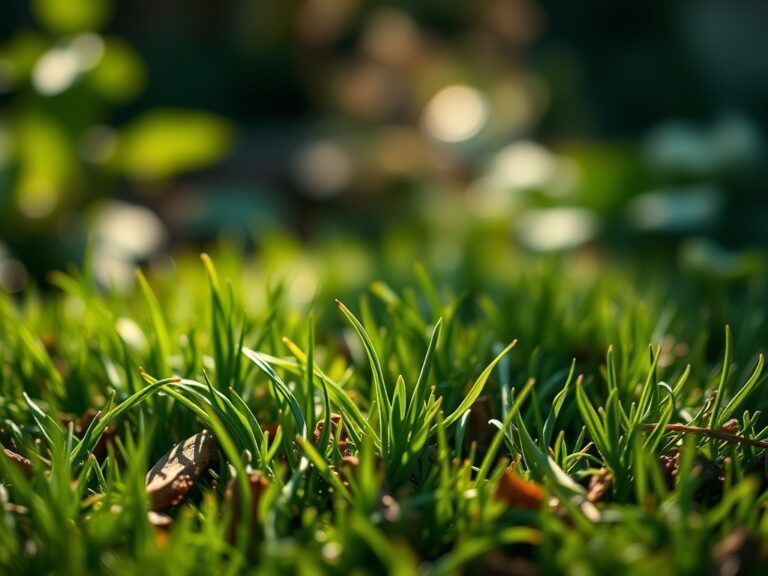
The smell of damp earth signals a high concentration of geosmin; it is the olfactory indicator of a healthy rhizosphere ready for colonization. When you press a leaf of Hedera helix between your fingers, you should feel the immediate resistance of high turgor pressure. This internal cellular force ensures the plant can withstand the mechanical stress of vertical growth. Mastering the steps to plant climbing ivy requires more than a casual interest; it demands an understanding of cellular elongation and the adhesive properties of adventitious roots. Success is measured in the rate of internodal expansion and the successful anchoring of rootlets to a substrate. You are not merely placing a plant in the dirt; you are engineering a biological system that will eventually dominate its vertical plane through sheer persistence and hydraulic force.
Materials:

The foundation of ivy health is a friable loam with a high Cation Exchange Capacity (CEC). This allows the soil to retain essential nutrients like ammonium and potassium against the leaching forces of irrigation. Aim for a soil pH between 6.0 and 7.5. Ivy is remarkably adaptable, but extreme acidity inhibits the uptake of phosphorus, leading to stunted root development.
For the initial planting phase, utilize a fertilizer with an NPK ratio of 10-10-10. The balanced nitrogen levels support the synthesis of chlorophyll, while the phosphorus encourages the rapid expansion of the root architecture. Ensure your substrate contains at least 5 percent organic matter to facilitate microbial activity. The physical texture should be gritty enough to allow for rapid drainage; ivy roots are highly susceptible to anaerobic conditions which trigger root rot. If the soil is heavy clay, incorporate perlite or coarse sand to increase the macropore space.
Timing:
Ivy thrives in USDA Hardiness Zones 4 through 9, though specific cultivars vary in their cold tolerance. The ideal window for planting is early spring or early autumn. This timing aligns with the plant's biological clock, specifically the transition from winter dormancy to the vegetative growth phase. Planting during these windows allows the root system to establish before the plant faces the thermal stress of mid-summer or the cellular crystallization risks of deep winter.
Monitor the local frost-date windows closely. You want a minimum of six weeks of soil temperatures above 50 degrees Fahrenheit to ensure the roots can achieve sufficient establishment. During the spring equinox, the increasing photoperiod triggers the production of auxins at the apical meristems. This hormonal surge drives the rapid elongation of stems. Conversely, autumn planting utilizes the plant's natural tendency to shift energy from leaf production to root carbohydrate storage as it prepares for the winter senescence.
Phases:

Sowing and Propagation
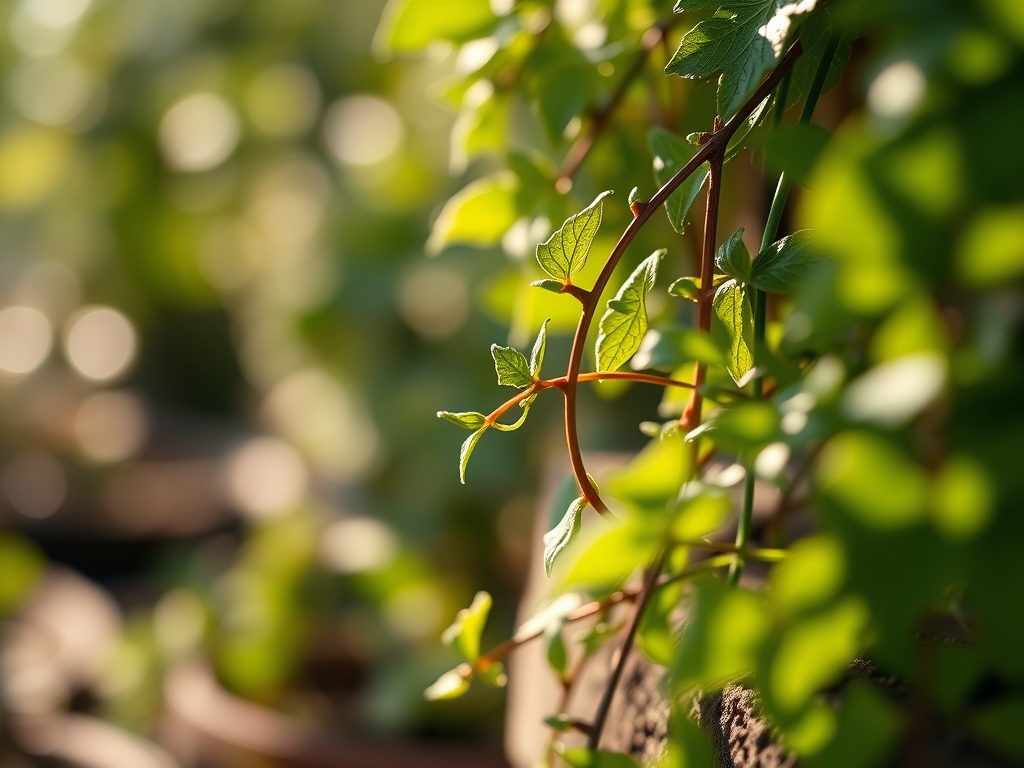
While ivy can be grown from seed, most professionals utilize vegetative cuttings to ensure genetic clones of the parent plant. Take a 6-inch cutting from a healthy terminal shoot. Strip the lower leaves to expose the nodes, which contain the undifferentiated meristematic tissue required for root initiation. Dip the base in a 0.1 percent Indole-3-butyric acid (IBA) rooting hormone to accelerate the process.
Pro-Tip: Ivy exhibits strong negative phototropism in its adhesive rootlets. These roots grow away from light to find the dark crevices of a support structure, ensuring a more secure mechanical bond.
Transplanting
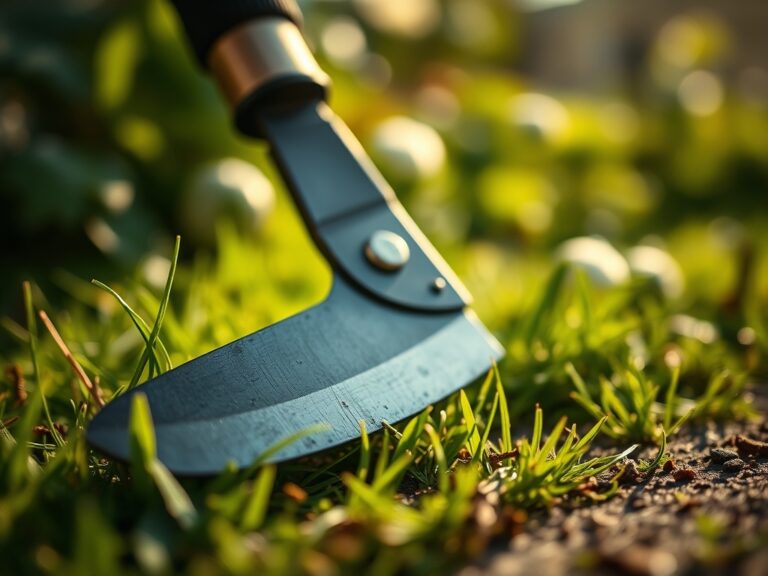
Dig a hole twice as wide as the root ball but no deeper. This prevents the crown from sinking, which can lead to crown rot. Space individual plants 12 to 18 inches apart if you desire full coverage within two growing seasons. When removing the plant from its container, use a hori-hori knife to gently tease out any circling roots. This prevents the plant from becoming "pot-bound" and ensures the roots grow outward into the surrounding soil.
Pro-Tip: Establishing mycorrhizal symbiosis at the time of transplanting is critical. Inoculating the planting hole with arbuscular mycorrhizal fungi increases the surface area for water and nutrient absorption by up to 100 times.
Establishing
Once in the ground, the ivy enters a "creep, crawl, leap" cycle. During the first year, the focus is entirely underground. Maintain consistent moisture levels to prevent the desiccation of new root hairs. Use a soil moisture meter to ensure the top 3 inches of soil remain damp but not saturated.
Pro-Tip: The process of auxin suppression occurs when you pinch back the leading tips of the ivy. This removes the apical dominance, forcing the plant to redirect energy to lateral buds, resulting in a bushier and more robust growth habit.
The Clinic:
Physiological disorders in ivy are often the result of environmental stressors or nutrient imbalances rather than pathogens.
- Symptom: Interveinal chlorosis (yellowing between leaf veins) on new growth.
- Solution: This indicates an Iron deficiency, often caused by high soil pH. Apply chelated iron to the soil to lower the pH and increase bioavailability.
- Symptom: Marginal leaf burn (browning of the leaf edges).
- Solution: This is typically a sign of salt accumulation or drought stress. Flush the soil with 2 inches of water to leach excess salts and stabilize the plant's hydraulic pressure.
- Symptom: Small, distorted leaves with shortened internodes.
- Solution: Zinc deficiency. Apply a micronutrient spray containing zinc sulfate to restore normal cellular elongation.
- Fix-It for Nitrogen Chlorosis: If older leaves turn a uniform pale yellow, the plant is scavenging nitrogen for new growth. Apply a high-nitrogen liquid fertilizer (20-10-10) at half-strength to quickly restore chlorophyll density.
Maintenance:
Precision is the hallmark of a professional gardener. Ivy requires 1.5 inches of water per week delivered at the drip line. Avoid overhead irrigation, as moisture on the foliage can encourage fungal spores to germinate. Use a soil moisture meter every three days during the peak of summer to monitor the rhizosphere.
Pruning should be performed with sharp bypass pruners to ensure clean cuts that heal quickly. Perform a major structural prune in late winter before the spring surge. This is the time to remove any "woody" growth that has lost its primary leaves. For maintenance during the growing season, use your hori-hori knife to sever any stray runners that move toward areas where they are not wanted. Always cut back to a node to encourage healthy regrowth.
The Yield:
While ivy is not an edible crop, its "yield" is measured in the density and health of its evergreen canopy. To maintain "day-one" freshness in the appearance of the foliage, perform a foliar rinse once a month during dry spells to remove dust. This improves the plant's photosynthetic efficiency by ensuring the stomata are not clogged. If you are harvesting ivy vines for floral arrangements, cut them in the early morning when turgor pressure is at its peak. Immediately submerge the cut ends in 70-degree Fahrenheit water to prevent air embolisms in the xylem.
FAQ:
How much sunlight does climbing ivy need?
Ivy is highly adaptable but prefers partial to full shade. It can tolerate full sun in cooler climates if soil moisture is maintained at a constant level. Excessive direct sun in hot zones will cause leaf scorch and desiccation.
How fast does climbing ivy grow?
Once established after the first year, ivy can grow 1 to 3 feet per season. The growth rate depends heavily on nitrogen availability and consistent moisture. In optimal conditions, it can quickly cover large vertical surfaces.
Is climbing ivy destructive to walls?
Ivy uses adventitious roots to cling to surfaces. On sound masonry, it is generally safe; however, it can penetrate pre-existing cracks in old mortar or damage wooden siding and shingles. Regular pruning prevents it from reaching sensitive areas.
What is the best fertilizer for ivy?
Use a balanced 10-10-10 NPK fertilizer during the spring and summer. Avoid high-nitrogen fertilizers in late autumn, as this can stimulate soft growth that is easily damaged by the first hard frost of the winter season.