5 Strong Ways How to Build a Patio Roof
The scent of petrichor rises from the gravel as humidity settles into the soil; this moisture indicates the exact atmospheric pressure required for structural stability. Understanding how to build a patio roof requires the same precision as managing the turgor pressure in a vascular plant system. You are not merely assembling wood; you are creating a microclimate that regulates light intensity and water runoff for the rhizosphere below. A properly engineered roof prevents soil compaction from heavy rain and controls the photoperiod for shade-tolerant species.
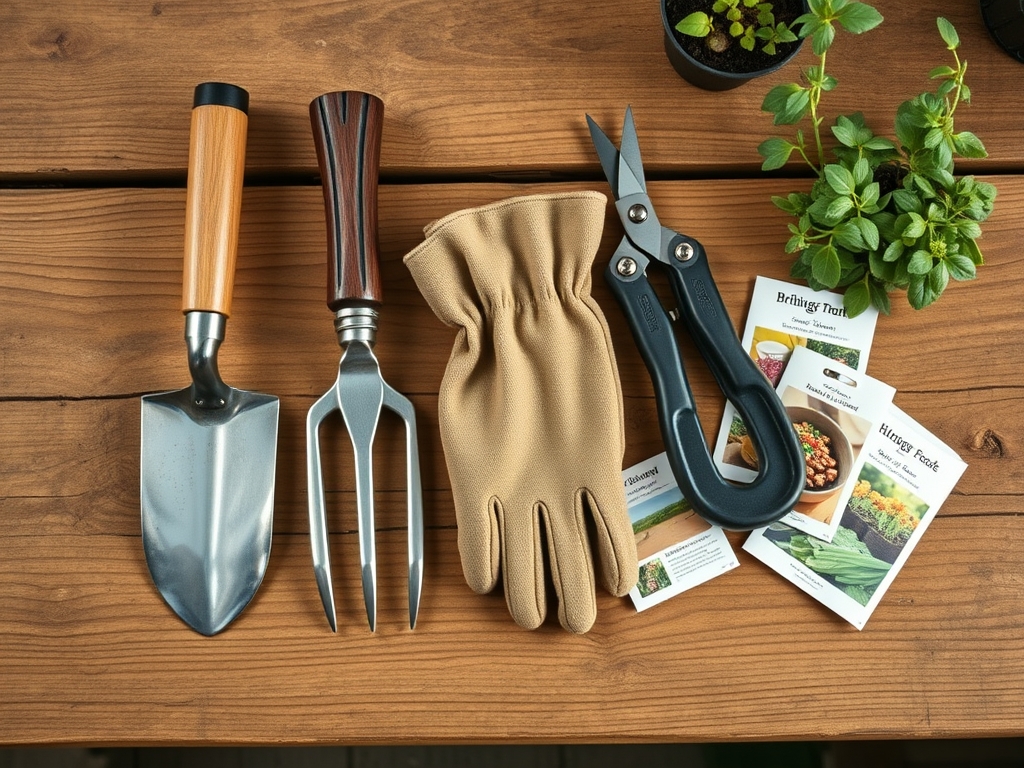
Materials:
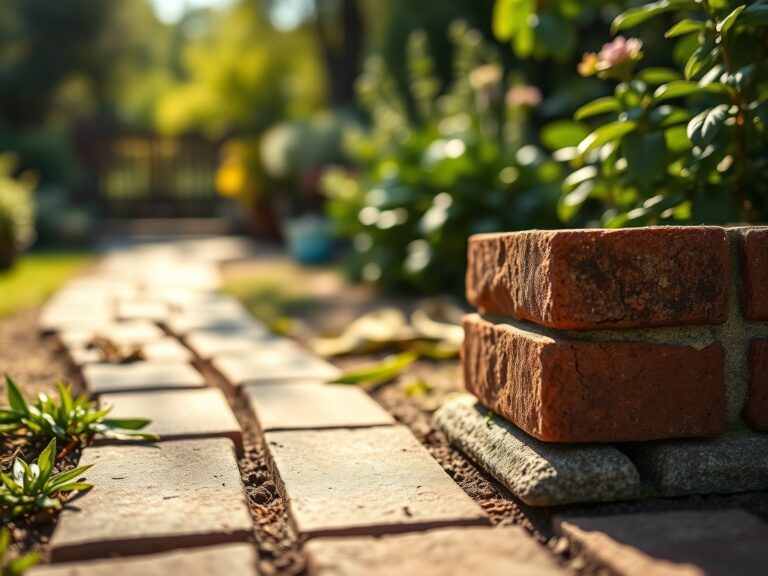
The foundation of any structural project begins with the substrate. For a patio roof, the surrounding soil must be a friable loam with a **pH between 6.0 and 7.0** to ensure post-hole longevity. High acidity increases the rate of mineral leaching and can corrode galvanized fasteners over time. Before setting posts, test the Cation Exchange Capacity (CEC) of the site. A high CEC indicates a heavy clay content which may require larger footings to counteract frost heave.
For the botanical elements integrated into the structure, maintain an NPK ratio of 10-10-10 for general support or 5-10-10 if you are encouraging root development near the footings. The physical texture of the ground must allow for drainage; waterlogged soil reduces the friction between the earth and the concrete pier, compromising the structural integrity of the roof.
Timing:
Construction and planting must align with your specific Hardiness Zone. In Zones 5 through 7, the window for setting footings opens after the final frost, typically between April and May, when the soil temperature reaches a consistent 55 degrees Fahrenheit. This timing prevents the "heaving" effect caused by the freeze-thaw cycle.
The biological clock of your garden dictates the construction schedule. You must complete heavy overhead work before the "bolting" stage of nearby cool-season crops. As plants transition from the vegetative stage to the reproductive stage, their sensitivity to physical disturbance and light alteration increases. Aim to finish the roof structure before the summer solstice to manage the sudden change in light intensity and prevent leaf scorch on shade-preferring perennials.
Phases:

Sowing the Foundation
Excavate footings to a depth of at least 36 inches, or below the local frost line. The diameter should be three times the width of the post. Fill the base with 4 inches of crushed stone to facilitate drainage and prevent anaerobic conditions that lead to fungal rot.
Pro-Tip: Proper drainage at the base prevents the accumulation of stagnant water, which can kill beneficial aerobic bacteria and disrupt the mycorrhizal symbiosis necessary for nearby plant health.
Transplanting the Structure
Secure 6×6 pressure-treated posts into galvanized steel anchors. Use a level to ensure verticality. When attaching the ledger board to the house, use 1/2-inch lag bolts spaced every 16 inches. This ensures the weight distribution mimics the structural efficiency of a tree canopy, spreading the load across multiple points of contact.
Pro-Tip: When positioning the roof, consider the angle of the sun to avoid unintentional auxin suppression. If a plant is shaded too abruptly, the redistribution of auxins can cause leggy, weakened growth as the plant undergoes extreme phototropism to find light.
Establishing the Canopy
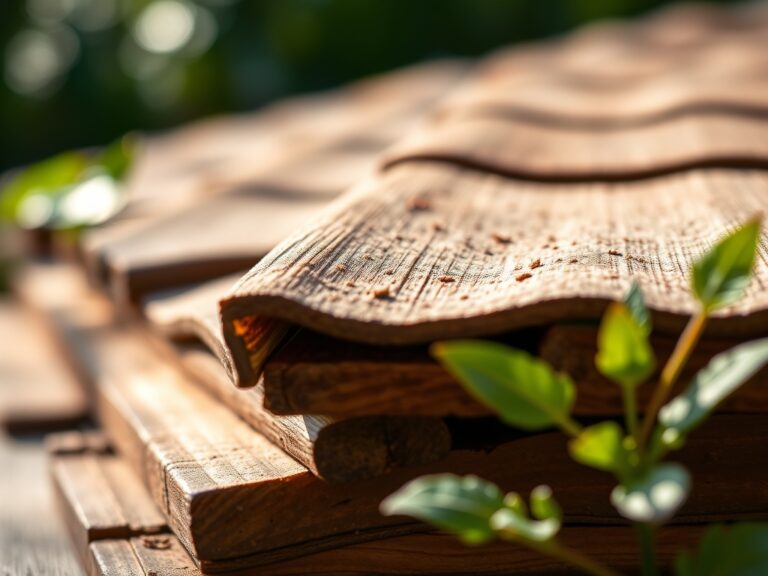
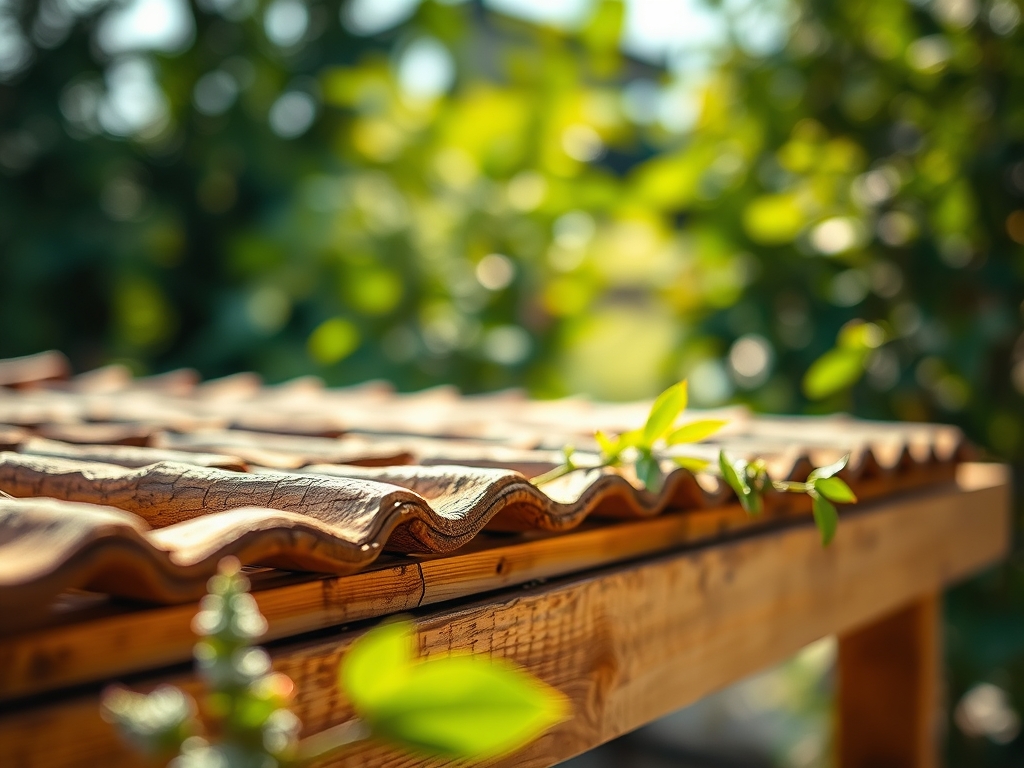
Install rafters at 16-inch or 24-inch intervals depending on the weight of your roofing material. For a living roof or heavy shingles, use a 2-in-12 pitch at minimum to ensure water shed. This runoff should be directed toward a rain garden or collection barrel to maintain a consistent soil moisture profile.
Pro-Tip: Directing runoff prevents "soil splashing," which often transports soil-borne pathogens onto the foliage of lower-tier plants; this reduces the risk of fungal infections like powdery mildew.
The Clinic:
Physiological disorders in the garden often mirror structural failures in construction.
Symptom: Yellowing of lower leaves (Chlorosis).
Solution: This often indicates a Nitrogen deficiency. Apply a blood meal or urea-based fertilizer to restore the chlorophyll synthesis.
Symptom: Leaf scorch or "burnt" edges.
Solution: This occurs when the new patio roof reflects too much UV radiation onto sensitive plants. Install a lattice or shade cloth to diffuse the light.
Symptom: Root Rot (Phytophthora).
Fix-It: If the patio roof runoff is flooding a specific area, the soil becomes hypoxic. Improve the "pore space" by incorporating organic matter or installing a French drain to move water away from the root zone.
Maintenance:
A patio roof requires seasonal inspections, much like a perennial garden. Use a soil moisture meter to ensure the area under the roof is receiving at least 1.5 inches of water per week at the drip line, as the roof will block natural rainfall.
Use a hori-hori knife to remove any invasive weeds that take advantage of the sheltered microclimate near the footings. Every spring, check the ledger flashing for debris. Use bypass pruners to clear any overhanging branches that may scrape the roofing material; this prevents physical damage that could allow moisture to penetrate the wood grain and initiate senescence in the structural members.
The Yield:
If your patio roof supports climbing vines like Vitis vinifera (grapes) or Actinidia deliciosa (kiwi), timing the harvest is critical. Grapes should be harvested when the soluble solids reach 18 to 22 percent Brix. Use sharp shears to cut the clusters, leaving a small portion of the peduncle attached.
To maintain "day-one" freshness, move the harvest immediately to a cool, shaded area under your new roof to reduce the rate of respiration. Field heat must be removed quickly to prevent the degradation of sugars and the loss of turgor in the fruit.
FAQ:
What is the best slope for a patio roof?
A minimum slope of 1/4 inch per foot is required for drainage. For heavy snow loads or shingle applications, a 2:12 pitch (two inches of vertical rise for every twelve inches of horizontal run) is the professional standard.
How deep should I bury the posts?
Posts should be set at least 36 inches deep or below the local frost line. Always use concrete footings and galvanized post anchors to prevent direct wood-to-soil contact, which accelerates fungal decay and structural failure.
Can I use the roof to collect rainwater?
Yes. Installing a gutter system allows you to redirect runoff into a rain barrel. This water is ideal for irrigation because it lacks the chlorine and fluoride found in municipal water, which can affect soil pH levels.
What wood is best for a patio roof?
Pressure-treated pine is the standard for ground-contact posts due to its resistance to rot. For the visible rafters and beams, Western Red Cedar or Redwood is preferred for their natural tannins that repel insects and resist decay.