6 Simple Steps to Install a Garden Fence
The scent of damp, disturbed earth signals the beginning of any structural intervention in the landscape. When the soil reaches a consistent temperature of 55 degrees Fahrenheit, its structural integrity allows for the precise excavation required to secure a perimeter. Maintaining high turgor pressure in your crops requires more than just irrigation; it requires a physical barrier to prevent biomass loss from external pressures. Following the specific steps to install a garden fence ensures that your investment in soil chemistry and genetic selection is not compromised by local fauna. A successful installation relies on aligning the physical barrier with the seasonal biological cycles of the rhizosphere.
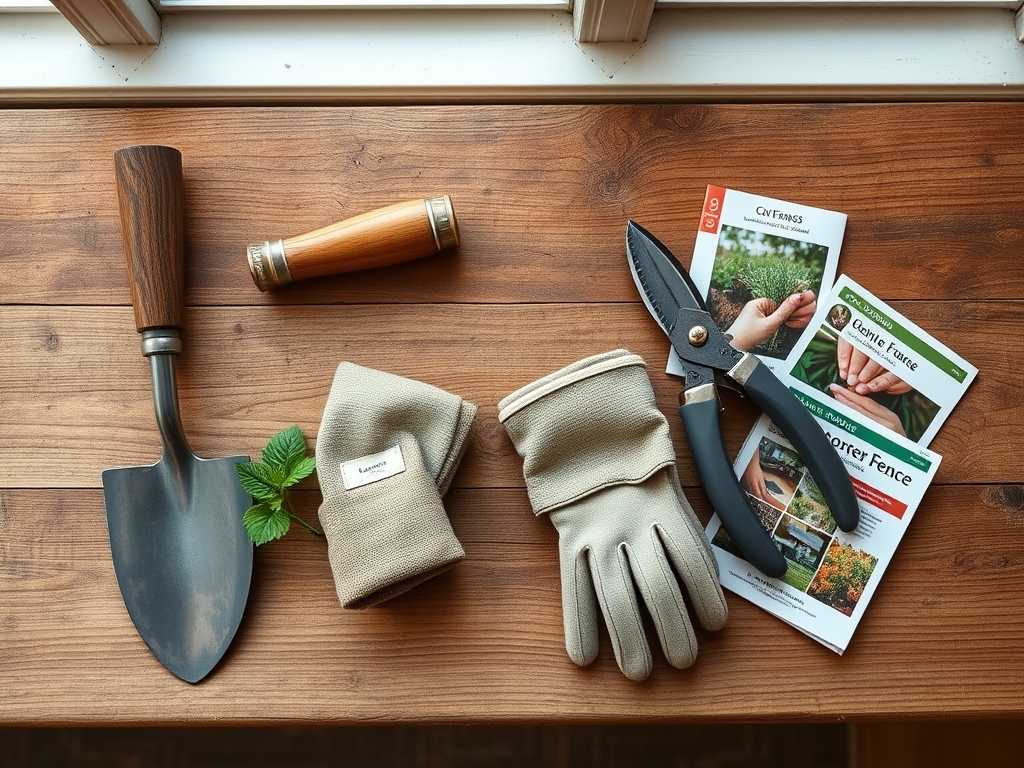
Materials:
Before breaking ground, analyze the substrate. The ideal soil for post-setting is a **friable loam with a pH between 6.0 and 7.0**. High clay content increases the risk of frost heave, while excessively sandy soils with a low Cation Exchange Capacity (CEC) lack the structural grip to hold posts during high wind events. If your soil tests high in sodium, use galvanized or vinyl-coated materials to prevent rapid oxidation and corrosion.
For the surrounding vegetation, maintain a nutrient profile of 10-10-10 NPK during the construction phase to mitigate stress from root disturbance. Ensure the area is cleared of any organic matter that could undergo anaerobic decomposition near the post bases, as this lowers the local pH and attracts fungal pathogens.
Timing:
Timing is dictated by the Hardiness Zone and the frost line depth. In Zones 5 through 7, installation should occur after the final spring thaw but before the summer solstice. This window aligns with the transition from the vegetative stage to the reproductive stage in most perennial crops. Installing a fence during the dormant season risks cracking the soil structure; installing during peak summer heat can lead to rapid moisture loss in the root zones of adjacent plants. Observe the biological clock of your garden. You want the fence secured before the photoperiod reaches its maximum, as this is when plant growth rates are highest and protection is most critical.
Phases:

Sowing the Perimeter
Mark your post holes at 8-foot intervals to ensure structural stability. Use a string line to maintain a straight trajectory. Excavate holes to a depth of one-third the height of the post, ensuring you go below the local frost line to prevent seasonal shifting.
Pro-Tip: When digging near existing plants, use a sharp spade to make clean cuts on any encroaching roots. This stimulates the production of auxins, which promote rapid lateral root branching and minimize the risk of secondary infections.
Transplanting the Support
Place the posts and backfill with a mixture of gravel and compacted soil or fast-setting concrete. Ensure the post is perfectly vertical using a spirit level. The base should be slightly mounded to allow water to shed away from the post, preventing localized saturation.
Pro-Tip: Avoid compacting the soil too tightly around the drip line of nearby plants. Over-compaction collapses the macropores in the soil, leading to hypoxia and the eventual death of beneficial aerobic bacteria.
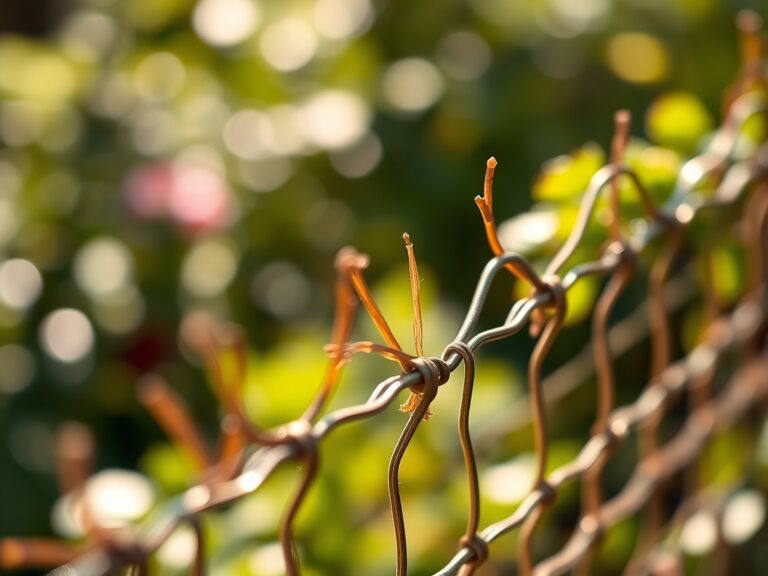
Establishing the Barrier
Attach the fencing material, whether it is hex-mesh, hardware cloth, or wooden pickets. Ensure the bottom of the fence is buried 6 inches below the soil surface to prevent burrowing. Secure all fasteners with enough tension to resist physical impact but allow for thermal expansion.
Pro-Tip: If using wooden posts, treat the subterranean portion with a non-toxic sealer. This prevents the wood from wicking moisture away from the rhizosphere, which could otherwise create a localized drought zone for your plants.
The Clinic:
Physiological disorders in the garden often manifest after the mechanical stress of a fence installation. Monitor for these specific symptoms:
- Nitrogen Chlorosis: Yellowing of older leaves while veins remain green. This occurs when root disturbance limits nitrogen uptake. Fix-It: Apply a water-soluble 20-20-20 NPK fertilizer to provide immediate bioavailability.
- Leaf Scorch: Browning of leaf margins due to rapid transpiration. This happens if the new fence alters the microclimate or wind patterns. Fix-It: Increase irrigation to 2 inches of water per week until the plant acclimates.
- Epinasty: Downward curling of leaves, often a sign of soil compaction or ethylene gas buildup from damaged roots. Fix-It: Use a broadfork to aerate the soil 12 inches away from the fence posts.
- Iron Deficiency: New growth appears pale or white. This is common in high pH soils (above 7.5) often caused by concrete leaching. Fix-It: Apply chelated iron to the soil to restore proper chlorophyll synthesis.
Maintenance:
A garden fence requires regular calibration to remain effective. Check the tension of the wire twice a year. Use a soil moisture meter to ensure the fence line is not creating a "rain shadow" that leaves plants on one side dehydrated. Provide exactly 1.5 inches of water per week at the drip line of the plants closest to the structure. Use a hori-hori knife to remove any invasive vines attempting to climb the fence, as their weight can cause structural failure and their roots compete for nutrients. Every autumn, use bypass pruners to clear dead biomass from the base of the fence to prevent the buildup of pathogens during senescence.
The Yield:
While a fence is a structural element, its success is measured by the harvest. By preventing herbivory, you allow the plants to reach full physiological maturity. Harvest fruit and vegetables when they reach peak sugar content, typically indicated by a change in skin luster or ease of abscission. For leafy greens, harvest in the early morning when turgor pressure is at its highest. This ensures the cells are fully hydrated, providing "day-one" freshness and a longer shelf life. Immediately move harvested crops to a cool, shaded environment to slow the rate of respiration and prevent wilting.
FAQ:
How deep should fence posts be buried?
Posts must be buried at least one-third of their total height. In regions with cold winters, the hole must extend below the local frost line, typically 24 to 36 inches, to prevent the soil from heaving the post upward.
Can I install a fence in heavy clay soil?
Yes, but you must prioritize drainage. Use a 3-inch layer of crushed stone at the bottom of the post hole. This prevents water from pooling around the base, which protects the post and prevents anaerobic conditions in the soil.
Will a fence affect my garden's sunlight?
A solid fence can create a "shadow zone," reducing the available Photosynthetically Active Radiation (PAR). Position solid fences on the north side of the garden or use open-weave wire to ensure plants receive at least 6 to 8 hours of direct sun.
How do I prevent the fence from rusting?
Select materials with a G90 galvanized rating or powder-coated finishes. Avoid using untreated steel in soils with a pH below 5.5, as high acidity accelerates the ion exchange process that leads to rapid oxidation and structural failure.
What is the best way to clear the fence line?
Use a hori-hori knife to cut through sod and roots precisely. This tool allows for minimal disturbance to the surrounding soil structure, preserving the mycorrhizal networks that are essential for nutrient transport and plant health.