9 Classic Ways How to Build a Brick Walkway
The smell of damp earth after a heavy rain signals the perfect state of soil plasticity for excavation. When the ground holds enough moisture to maintain its shape but lacks the saturation that leads to anaerobic compaction, you possess the ideal conditions to learn how to build a brick walkway. This project is more than a structural addition; it is an intervention in the local hydrology and soil structure of your landscape. A successful installation requires managing the weight of fired clay against the shifting pressures of the rhizosphere.
Properly executed, a brick path directs foot traffic to prevent the compaction of delicate root zones in nearby perennial beds. Compaction reduces the pore space available for oxygen, effectively suffocating the aerobic microbes essential for nutrient cycling. By establishing a stable, permeable surface, you protect the turgor pressure of your surrounding flora while providing a permanent architectural backbone for the garden. The following technical guide details the nine classic methods for achieving a professional grade installation that resists frost heave and subsidence.
Materials:

The success of a walkway depends entirely on the substrate. You must evaluate your native soil’s Cation Exchange Capacity (CEC) and texture before beginning. A **friable loam** with a **pH between 6.0 and 7.0** is the gold standard for surrounding plantings, but the path itself requires inert materials to prevent biological interference.
For the base, you require CR-6 or 21A crushed limestone. This provides the structural integrity needed to support 8,000 PSI paving bricks. Unlike standard face bricks used for siding, paving bricks are fired at higher temperatures to reduce porosity and increase density. You will also need ASTM C33 concrete sand for the setting bed. This sharp-angled sand locks together under pressure, unlike rounded play sand which acts like ball bearings.
If your path borders heavy feeders, ensure the adjacent soil has an NPK ratio of 10-10-10 to offset any leaching caused by the limestone base. High calcium content in the base rock can slightly raise the pH of the immediate runoff; monitor for interveinal chlorosis in acid-loving plants like blueberries or azaleas located within 24 inches of the path edge.
Timing:
The window for installation is dictated by your Hardiness Zone and the local frost line. In Zones 4 through 7, construction should occur after the final spring thaw but before the heat of the summer solstice. This avoids the "Biological Clock" transition where plants move from vegetative growth to reproductive stages, as the heavy equipment and foot traffic associated with construction can stress plants during their peak flowering period.
Working in soil that is too wet leads to "puddling," a condition where the soil structure is destroyed and the clay particles align to form an impermeable layer. Wait until a handful of soil crumbles when squeezed. In Zones 8 through 10, autumn is the preferred window. This allows the ground to settle during the dormant season before the spring surge of root elongation and auxin production begins.
Phases:

Sowing the Foundation
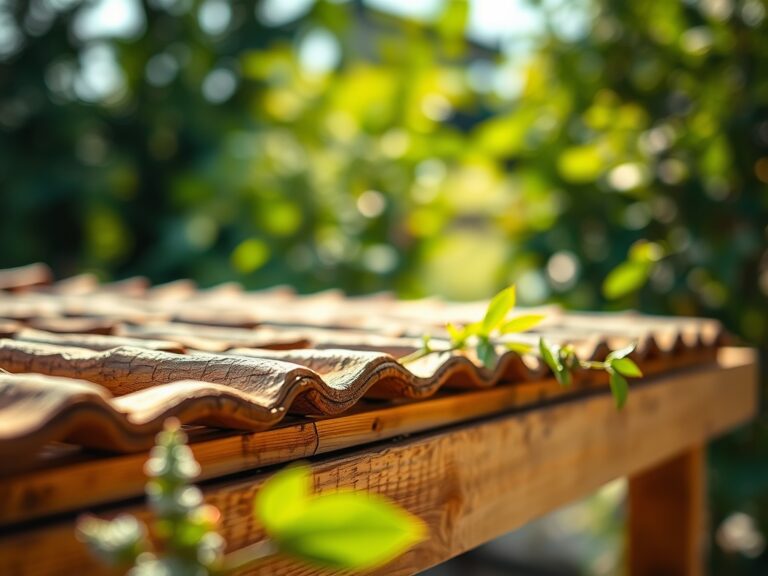
Excavate the area to a depth of 8 inches. This allows for 4 inches of compacted gravel, 1 inch of sand, and the 2.25-inch thickness of a standard paver. Use a plate compactor to reach a 95 percent Proctor density. This ensures the path will not sink when the soil undergoes natural expansion and contraction cycles.
Pro-Tip: Install a heavy duty geotextile fabric between the subsoil and the gravel base. This prevents the "pumping" of fine soil particles into your drainage layer, a biological and mechanical necessity to maintain the mycorrhizal symbiosis in the surrounding soil by preventing stagnant water pockets.
Transplanting the Bricks
Lay the bricks in your chosen pattern, such as herringbone or running bond. Maintain a 1/16-inch gap between units. Use a string line to ensure a 1 percent to 2 percent slope away from any structures. This prevents water from pooling, which would otherwise lead to algae growth and the eventual senescence of nearby groundcovers due to over-saturation.
Pro-Tip: Use a hori-hori knife to trim any encroaching roots from the excavation walls cleanly. A jagged tear in a root is an invitation for fungal pathogens; a clean cut allows the plant to seal the wound quickly through the production of callous tissue, a process driven by auxin suppression at the wound site.
Establishing the Joints
Sweep polymeric sand into the joints. This material contains binders that harden when misted with water, creating a flexible but weed-resistant seal. Unlike mortar, this allows the path to "breathe" and move slightly with the freeze-thaw cycles of the earth without cracking.
Pro-Tip: Ensure the bricks are completely dry before applying the sand to avoid "poly-haze." This technical precision mimics the careful timing required for seed stratification; moisture must be introduced only when the structural environment is perfectly prepared to receive it.
The Clinic:
Physiological disorders in the landscape often manifest near hardscaping due to altered microclimates.
Symptom: Yellowing leaves with green veins (Interveinal Chlorosis).
Solution: This is often a sign of high pH from limestone runoff. Apply elemental sulfur to lower the pH to a range of 5.5 to 6.5.
Symptom: Stunted growth and wilting despite adequate rain.
Solution: Soil compaction from construction. Use a broadfork to aerate the soil 12 inches away from the path edge to restore oxygen flow to the rhizosphere.
Symptom: Efflorescence (white powdery substance on bricks).
Solution: This is a natural mineral salt migration. It does not harm plants. Scrub with a stiff brush and water; do not use harsh acids that could alter the cation exchange of the nearby soil.
Fix-It for Nitrogen Chlorosis: If plants near the new path show uniform pale green leaves, the carbon-heavy mulch used for aesthetics may be "locking up" nitrogen. Apply a high-nitrogen fertilizer with an NPK of 21-0-0 to restore protein synthesis and chlorophyll production.
Maintenance:
A brick walkway requires specific hydrological management. Ensure the surrounding garden receives 1.5 inches of water per week at the drip line, monitored by a soil moisture meter. Use bypass pruners to keep overhanging foliage from dropping organic matter onto the bricks, which can decompose and create a nutrient-rich substrate for weed seeds.
Inspect the joints annually. If the sand has eroded, replenish it to prevent the accumulation of organic debris. This prevents the path from becoming a vector for soil-borne pathogens that could migrate to your prize specimens.
The Yield:
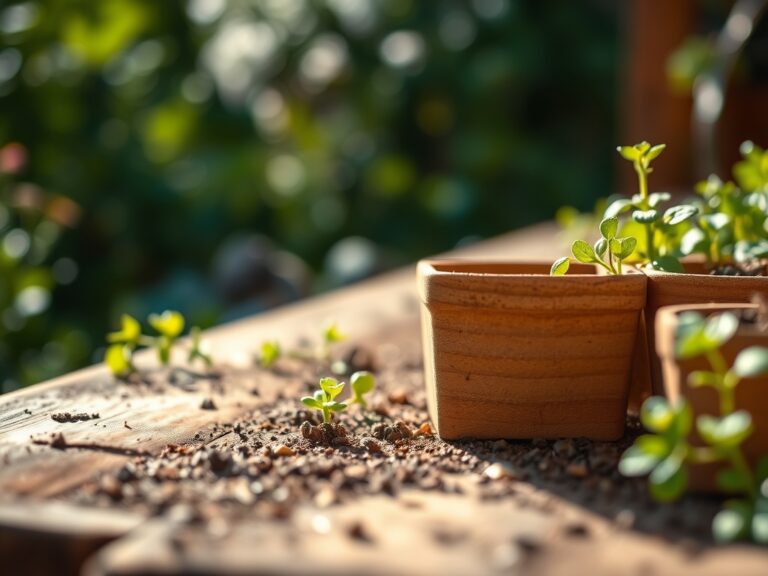
If your walkway winds through a kitchen garden, the "yield" is the ease of harvest. A stable path allows you to access crops during wet weather without damaging the soil structure. For herbs like rosemary or thyme, harvest in the early morning when turgor pressure is highest and essential oils are concentrated. Use sharp snips to ensure a clean cut, preserving the plant's vascular integrity for subsequent growth cycles.
FAQ:
How deep should I dig for a brick walkway?
Excavate to a total depth of 8 inches. This accommodates a 4-inch compacted gravel base, a 1-inch sand setting bed, and the 2.25-inch thickness of the bricks while remaining slightly above the surrounding grade for drainage.
Can I lay bricks directly on soil?
No. Placing bricks on raw soil leads to uneven settling and rapid heave during frost cycles. Without a compacted gravel base, the path will lose its structural integrity within one season due to soil moisture fluctuations.
What sand is best for the setting bed?
Use ASTM C33 washed concrete sand. Its angular grains interlock under pressure to provide a stable foundation. Avoid rounded play sand or masonry sand, as they do not provide the necessary friction to prevent paver migration.
How do I prevent weeds between bricks?
Use polymeric jointing sand. When activated with water, the polymers create a firm bond that resists seed germination. Maintaining a clean surface with a leaf blower also prevents the buildup of organic matter where weeds could take root.