6 Eco Ways How to Design a Rain Garden
The smell of geosmin rising from damp earth signals the activation of microbial life within the rhizosphere. When a landscape manages stormwater correctly, the turgor pressure in plant stems remains consistent even after a heavy deluge. Learning how to design a rain garden requires a technical understanding of hydrology and soil mechanics to prevent anaerobic conditions. You are not merely digging a hole; you are engineering a biological filter that utilizes phytoremediation to strip pollutants from runoff.
Effective design centers on the ponding area, which must be sized to 20 percent of the impervious surface area contributing to the flow. This depression facilitates the infiltration of water into the subsoil within a 24 to 48 hour window. Failure to drain within this timeframe can lead to root rot or the emergence of mosquito larvae. By selecting deep-rooted native species, you create a hydraulic pathway that improves soil porosity over time. This guide provides the scientific framework for establishing a high performance rain garden that functions as a self sustaining ecological unit.
Materials:

The success of a rain garden depends on the Cation Exchange Capacity (CEC) of the substrate. A high CEC indicates the soil can effectively hold and exchange essential nutrients like potassium and magnesium. The ideal substrate is a friable loam consisting of 50 to 60 percent sand, 20 to 30 percent topsoil, and 20 percent compost. This mixture ensures a rapid infiltration rate while providing enough organic matter to support microbial populations.
Soil pH should be maintained between 5.5 and 7.5 to ensure nutrient bioavailability. For the initial establishment phase, an NPK ratio of 10-20-10 is recommended to prioritize root development over leaf mass. High phosphorus levels encourage strong cellular structures in the root system, which is critical for plants that will experience alternating periods of saturation and drought. Avoid heavy clays that lack macropores; these soils will compact and prevent oxygen from reaching the root zone, leading to plant senescence.
Timing:
In Hardiness Zones 4 through 8, the optimal window for installation is early spring, immediately after the last frost date when soil temperatures reach a consistent 55 degrees Fahrenheit. This timing aligns with the biological clock of most temperate perennials, allowing them to exit dormancy and enter the vegetative growth stage before the heat of summer.
Planting during the autumnal equinox is also viable for many species, as it allows for root establishment without the metabolic stress of high transpiration rates. During this period, the plant shifts its energy from apical growth to carbohydrate storage in the root system. Ensure all planting is completed at least six weeks before the first hard freeze to prevent frost heaving, which can eject young plugs from the soil.
Phases:

Sowing and Site Preparation
Excavate the basin to a depth of 6 to 12 inches, ensuring the bottom is perfectly level to prevent localized pooling. If sowing seeds, use a raking technique to ensure seed-to-soil contact at a depth of 0.25 inches.
Pro-Tip: Utilize a mycorrhizal inoculant during the sowing phase. This biological why is centered on mycorrhizal symbiosis, where fungal hyphae extend the reach of the root system, increasing the surface area for water and phosphorus absorption by up to 100 times.
Transplanting
When installing containerized plugs, space them 12 inches on center. Dig a hole twice the width of the root ball but no deeper. Ensure the crown of the plant sits flush with the soil surface to avoid crown rot.
Pro-Tip: Avoid disturbing the root ball excessively to maintain turgor pressure. The biological why here is the prevention of transplant shock, which occurs when the xylem is unable to transport water to the leaves fast enough to compensate for moisture lost through transpiration.
Establishing
During the first growing season, the garden requires consistent moisture to ensure the root system penetrates the subsoil. Apply a 2 to 3 inch layer of shredded hardwood mulch to suppress weeds and maintain soil temperature.
Pro-Tip: Remove any early flower buds during the first three months. This biological why involves auxin suppression; by removing the reproductive sink, the plant redirects its hormonal energy toward root and leaf development, ensuring a hardier specimen for the following season.
The Clinic:
Physiological disorders in a rain garden often stem from improper drainage or nutrient imbalances. Monitoring the foliage provides a direct window into the chemical health of the system.
- Symptom: Interveinal Chlorosis. The leaves turn yellow while the veins remain green. This usually indicates an Iron or Manganese deficiency, often caused by a soil pH that is too high (alkaline).
- Solution: Apply a chelated iron foliar spray or elemental sulfur to lower the pH to the 6.0 to 6.5 range.
- Symptom: Marginal Leaf Burn. The edges of the leaves appear scorched. This is a sign of Potassium deficiency or salt accumulation from road runoff.
- Solution: Flush the soil with fresh water and apply a 0-0-50 sulfate of potash fertilizer to improve cellular osmotic regulation.
- Symptom: Stunted Growth with Purple Foliage. This indicates a Phosphorus deficiency, common in cold, wet soils where phosphorus becomes chemically locked.
- Solution: Ensure the basin is draining within 48 hours and incorporate bone meal into the top 2 inches of the soil.
Maintenance:
Precision is required for long term performance. Use a soil moisture meter to verify that the root zone is not consistently saturated. During dry spells, provide 1.5 inches of water per week at the drip line to prevent the soil from cracking, which can create bypass flow and reduce filtration efficiency.
Utilize a hori-hori knife for deep weeding, ensuring the entire taproot of invasive species is removed. Prune dead biomass in late winter using bypass pruners to make clean cuts that minimize tissue damage. This prevents pathogens from entering the vascular system. Every three years, test the soil to monitor the Cation Exchange Capacity and adjust organic matter levels as needed.
The Yield:
For rain gardens featuring flowering perennials like Echinacea or Asclepias, harvesting for indoor display should occur when the first two rows of ray florets have opened. Use a sharp blade to cut stems at a 45 degree angle to maximize the surface area of the xylem for water uptake.
Post-harvest, immediately submerge the stems in 110 degree Fahrenheit water and store in a cool, dark location for two hours. This process, known as "hardening off," stabilizes the plant's metabolic rate and ensures "day-one" freshness for up to ten days. For seed collection, wait until the seed heads have turned brown and the moisture content is below 15 percent.
FAQ:
How deep should a rain garden be?
The basin should be excavated to a depth of 6 to 12 inches. This allows for a temporary ponding area that can hold runoff while the soil infiltrates the water over a 24 to 48 hour period.
What are the best plants for a rain garden?
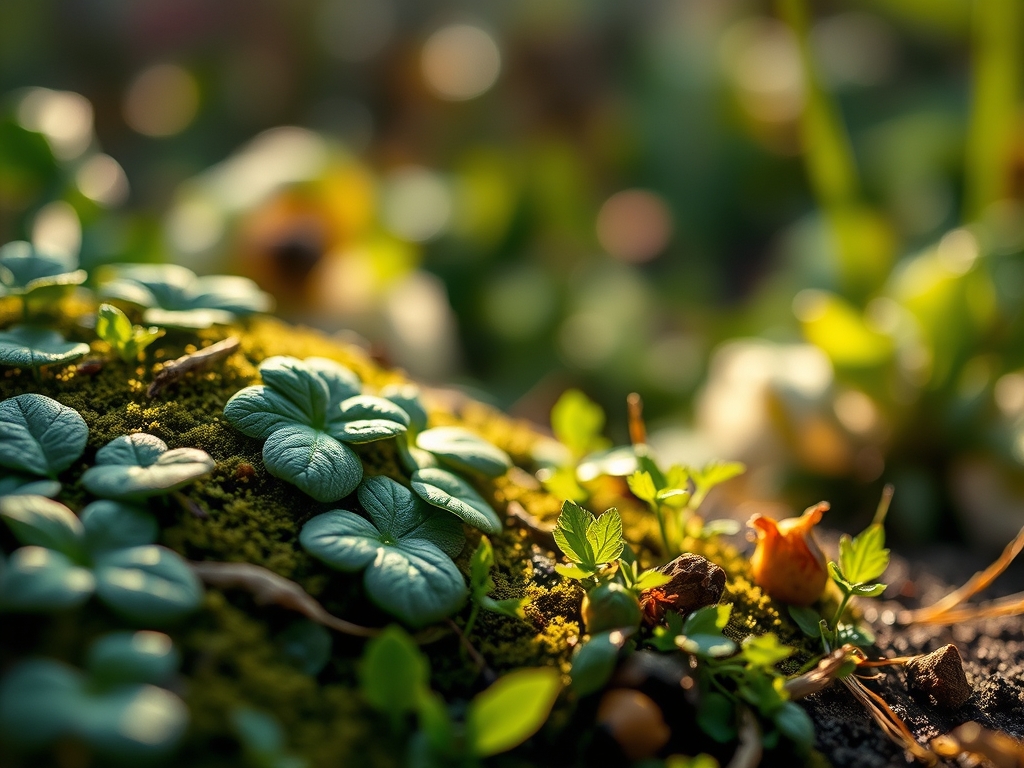
Select native species that tolerate both "wet feet" and drought. Examples include Iris versicolor, Lobelia siphilitica, and Panicum virgatum. These plants have deep root systems that improve soil porosity and facilitate nutrient uptake.
How do I test my soil drainage?
Dig a hole 12 inches deep, fill it with water, and let it drain completely. Refill it and measure the drop in water level after one hour. A rate of 0.5 to 1.5 inches per hour is ideal.
Does a rain garden attract mosquitoes?
No, a properly designed rain garden drains in under 48 hours. Mosquitoes require stagnant water for at least 7 to 10 days to complete their life cycle. The rapid infiltration prevents larvae from maturing.