5 Best Gravel for Raked Gardens
Damp earth releases a sharp, metallic scent of geosmin as the rake tines disturb the top layer of the rhizosphere. A healthy leaf maintains high turgor pressure; it feels rigid and cool to the touch because of efficient transpiration. Achieving this balance in a dry landscape requires selecting the best gravel for raked gardens to suppress evaporation and stabilize soil temperatures. The substrate must provide enough weight to hold a pattern without compressing the delicate macropores of the underlying soil.
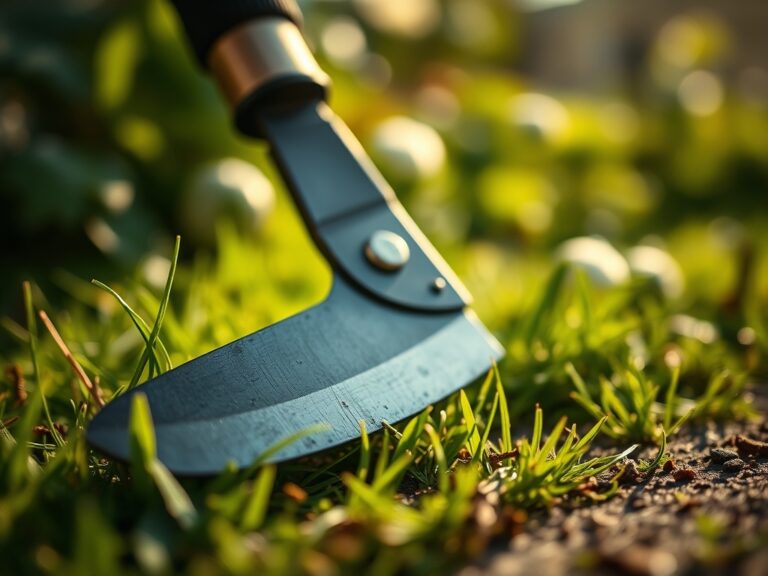
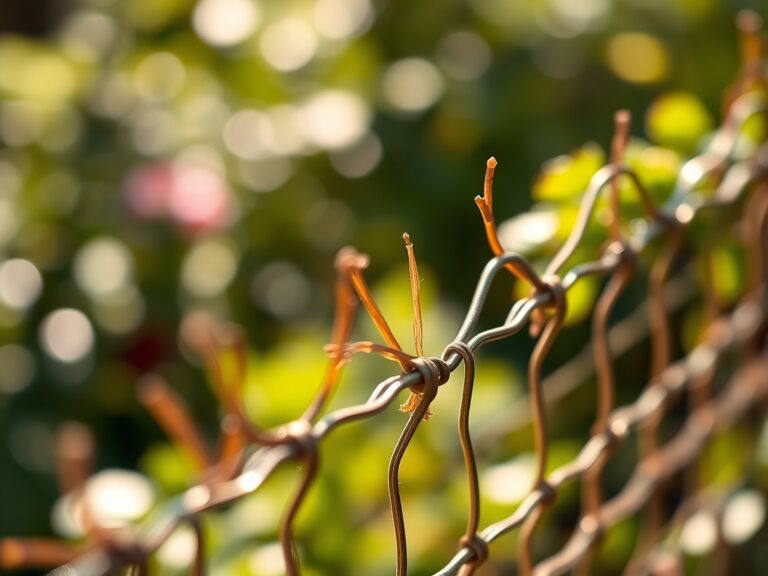
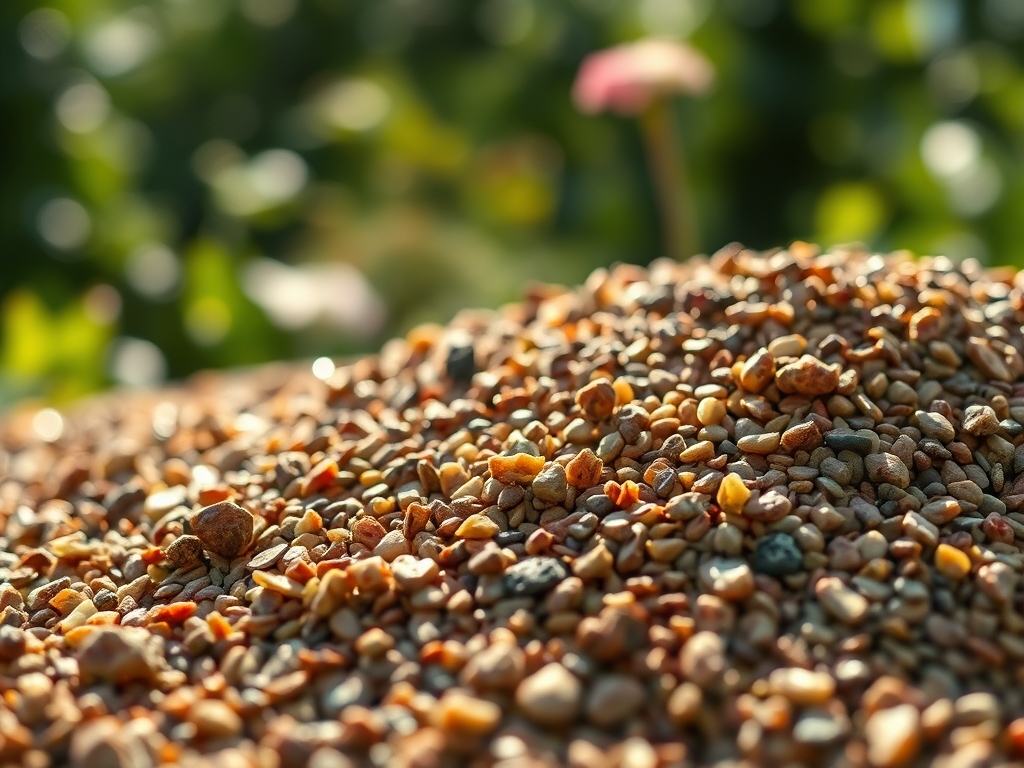
Selecting a stone mulch is not merely an aesthetic choice. It is a hydraulic intervention. The gravel layer acts as a physical barrier that breaks the capillary action of rising ground moisture; this prevents the surface from crusting and allows oxygen to penetrate the root zone. In a raked garden, the size of the aggregate determines the crispness of the lines. Smaller particles between 2mm and 6mm provide the highest resolution for patterns. Larger stones offer better drainage but fail to hold the sharp ridges required for traditional Zen or xeriscape designs. You are managing the physics of friction and gravity.
Materials:
The underlying soil must be a friable loam with a Cation Exchange Capacity (CEC) above 15. This ensures the soil can hold and exchange nutrients like Potassium and Magnesium. Before laying your gravel, test the soil pH. Most raked garden specimens, such as Pinus thunbergii, thrive in a pH range of 5.5 to 6.5.
If the soil is deficient, incorporate a slow-release fertilizer with an NPK ratio of 10-10-10 for general maintenance or 5-10-10 for root development in woody perennials. The gravel itself should be inert. Avoid limestone if you are growing acid-loving plants; limestone leaches calcium carbonate and can raise the pH to 8.0 or higher, causing iron chlorosis. Use crushed granite, pea gravel, or decomposed granite (DG) to maintain a stable chemical environment.
Timing:
Successful installation depends on your USDA Hardiness Zone. In Zones 5 through 7, the ideal window for site preparation is late autumn or early spring when the ground is not frozen but the plants are in dormancy. This prevents soil compaction during the installation of heavy stone.
The biological clock of the garden is governed by the photoperiod. As days lengthen, plants transition from the vegetative stage to the reproductive stage. You must complete your raking and gravel installation before the first frost-free date to avoid disturbing new root growth. If you install gravel during the peak of summer, you risk trapping excessive heat in the soil; this can lead to thermal stress and root senescence if the stones are dark in color.
Phases:

Sowing and Site Prep
Clear all organic debris until the bare mineral soil is exposed. Level the area to a 1 percent grade to ensure water moves away from plant crowns. If sowing seeds for a gravel garden, use a "scatter and rake" method.
Pro-Tip: Ensure seed-to-soil contact by tamping the gravel lightly. This facilitates imbibition, the process where the seed absorbs water to trigger germination. Without this physical contact, the seed remains dormant or desiccates.
Transplanting
Dig a hole twice the width of the root ball. Use a hori-hori knife to score any circling roots. This mechanical disruption breaks apical dominance in the roots and encourages lateral branching.
Pro-Tip: Apply a mycorrhizal inoculant to the root ball. This establishes a mycorrhizal symbiosis; the fungi extend the root system's reach, increasing the uptake of phosphorus and water by up to 200 percent.
Establishing
Once the plants are in the ground, apply a 2-inch to 3-inch layer of your chosen gravel. Rake the surface to a uniform depth. Avoid mounding gravel against the trunk of the plant; this creates a moist microclimate that invites fungal pathogens and collar rot.
Pro-Tip: Rake in concentric circles around specimen plants. This mimics the natural drip line and utilizes phototropism by reflecting light up into the lower canopy; this prevents the lower leaves from yellowing due to shade.
The Clinic:
Physiological disorders in raked gardens are often caused by the thermal properties of the stone.
- Symptom: Marginal leaf burn (necrosis on leaf edges).
- Solution: Check soil moisture with a soil moisture meter. Reflective heat from white gravel can increase transpiration rates beyond what the roots can supply. Increase irrigation or switch to a darker stone.
- Symptom: Interveinal chlorosis (yellow leaves with green veins).
- Solution: This is a sign of Iron or Manganese deficiency, often caused by high pH. Apply chelated iron and test the gravel for lime content.
- Symptom: Stunted growth and purplish stems.
- Solution: This indicates Phosphorus deficiency. Cold soil temperatures in early spring can lock out Phosphorus. Ensure the gravel layer is not so thick that it prevents the sun from warming the soil to at least 55 degrees Fahrenheit.
Fix-It: For Nitrogen chlorosis (general paling of the entire plant), apply a liquid seaweed extract or a high-nitrogen fish emulsion. Nitrogen is highly mobile in the soil and often leaches away in high-drainage gravel environments.
Maintenance:
Precision is the hallmark of a master gardener. Use a soil moisture meter daily during the first growing season. Provide 1.5 inches of water per week delivered at the drip line. Avoid overhead watering; moisture trapped between stones and foliage promotes Botrytis.
Use bypass pruners to remove deadwood (senescent tissue) in late winter. This directs the plant's energy toward new primordia. Every three months, use a heavy-duty steel rake to "fluff" the gravel. This prevents the substrate from "clogging" with fine organic matter, which can decrease the oxygen diffusion rate to the roots. If weeds penetrate the gravel, use a hori-hori knife to extract the entire taproot. Leaving a fragment of a dandelion root allows it to regenerate via adventitious buds.
The Yield:
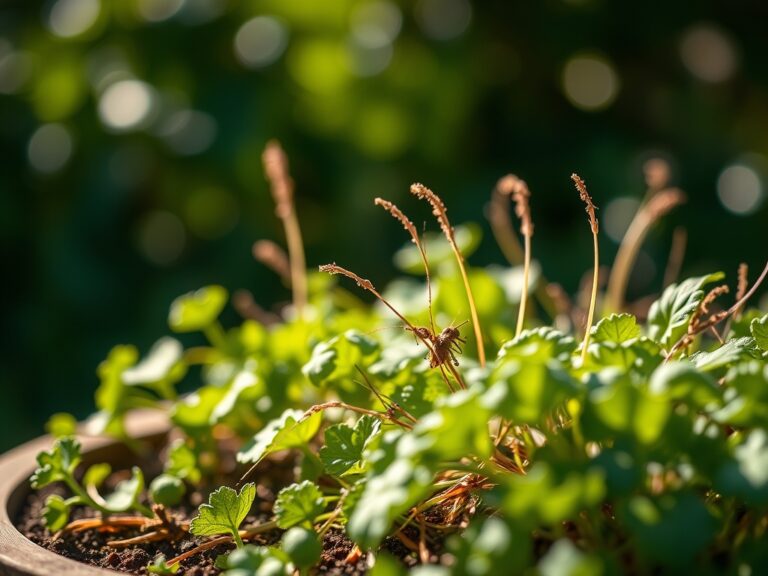
If your raked garden includes lavender or thyme, harvest when the flowers are at 25 percent anthesis (opening). This is when essential oil concentration is highest. Use sharp shears to cut the stems; do not tear them.
To maintain "day-one" freshness for floral displays, immediately submerge the cut ends in 40-degree Fahrenheit water. This slows the metabolic rate and maintains turgor pressure in the petals. For woody herbs, hang them in a dark area with high airflow to prevent the oxidation of aromatic compounds.
FAQ:
What is the best gravel size for holding rake patterns?
The ideal size is 2mm to 6mm. This range provides enough surface area for friction to hold the ridge of a rake mark while allowing for maximum drainage and gas exchange in the rhizosphere.
Does gravel mulch change the soil pH?
Yes, if the stone is calcareous. Limestone or marble chips will leach calcium carbonate, raising the pH. Use crushed granite or basalt if you need an inert material that will not alter the chemical balance of the soil.
How deep should the gravel layer be?
Maintain a depth of 2 to 3 inches. A layer thinner than 2 inches allows light to reach weed seeds; a layer deeper than 4 inches can restrict oxygen flow to the root zone and cause anaerobic conditions.
Can I use a leaf blower on a raked garden?
Yes, but use it on a low setting at a 45-degree angle. This removes organic debris without displacing the aggregate. Re-rake the patterns immediately after blowing to restore the visual integrity of the surface.