6 Best Roofing felt for Sheds
The smell of damp earth after a heavy rain often signals the onset of high turgor pressure in plant tissues; however, for the structure housing your tools, it represents a threat to structural integrity. Protecting the timber skeleton of an outbuilding requires a barrier that prevents moisture infiltration while allowing for thermal expansion. Selecting the best roofing felt for sheds involves understanding the mechanical properties of bitumen and polyester carriers. A failure in the roofing membrane leads to localized rot in the rafters, which eventually compromises the internal environment of your workspace. High humidity levels within a shed can trigger fungal pathogens on stored seeds or promote oxidation on high carbon steel tools. You must choose a material that withstands UV degradation and mechanical stress. Standard grade felt often fails within five years; professional grade membranes, reinforced with glass fiber or polyester, provide a lifespan exceeding fifteen years. This guide focuses on the technical specifications required to ensure your shed remains a dry, stable environment for horticultural success.
Materials:
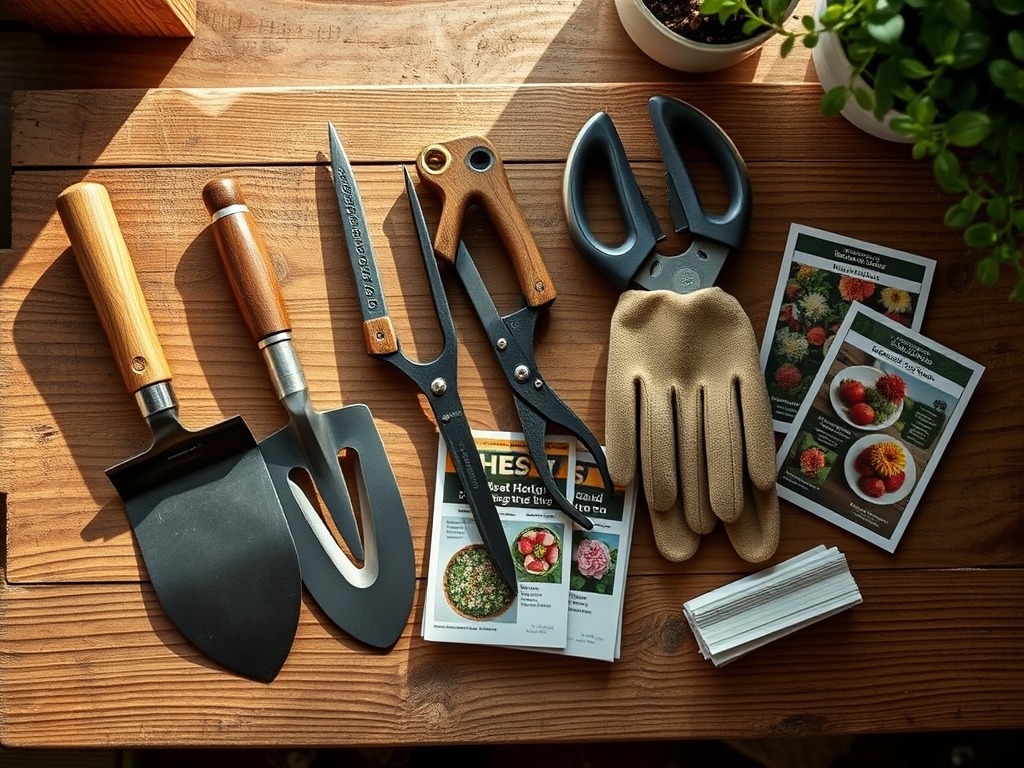
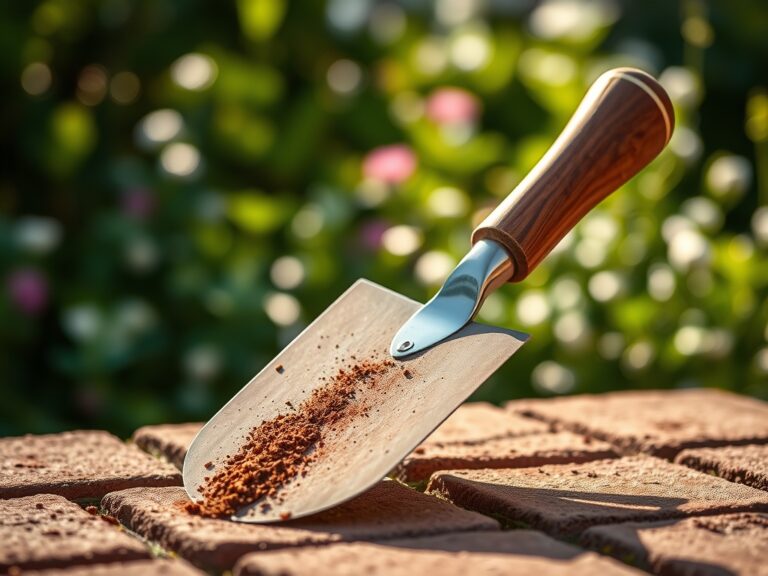
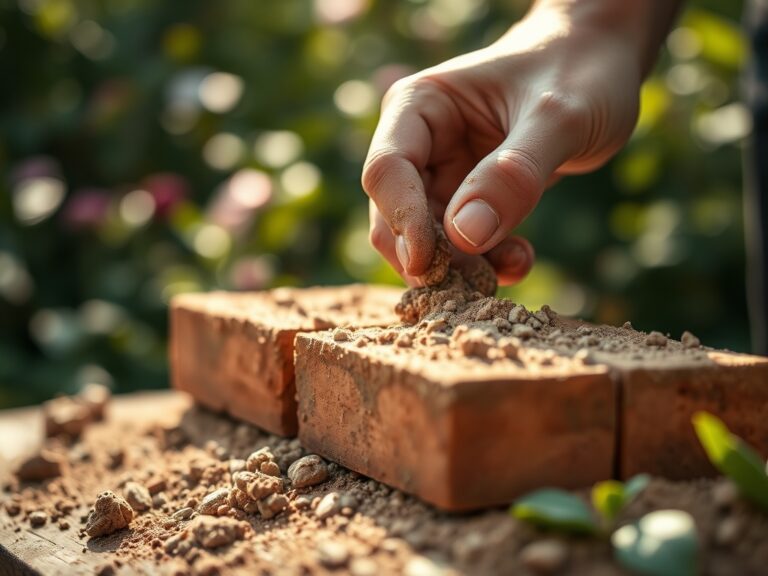
While the roofing felt protects the exterior, the interior health of your shed often dictates the success of your seasonal starts. The ideal substrate for starting seeds within a protected shed environment is a **friable loam** with a Cation Exchange Capacity (CEC) between **15 and 25 meq/100g**. This ensures the soil can hold and exchange essential cations like Calcium (Ca2+) and Magnesium (Mg2+). For vegetative growth, maintain a soil pH between **6.0 and 6.8** to optimize nutrient bioavailability.
The NPK ratios must be tailored to the specific growth stage of your specimens. For initial root development and structural integrity, use a 5-10-5 ratio; the higher phosphorus content supports adenosine triphosphate (ATP) production and root elongation. Once the plant enters a period of rapid foliage expansion, transition to a 10-5-5 ratio. Nitrogen is the primary driver of chlorophyll production and leaf area index. Avoid over-application of nitrogen in low-light shed environments, as this can lead to "leggy" growth characterized by elongated internodes and weak cell walls.
Timing:
Successful horticulture relies on synchronizing your activities with the Hardiness Zones and the biological clock of the plant. In Zones 5 through 7, the window for starting seeds in a shed environment typically begins 6 to 8 weeks before the last frost date. Monitoring the soil temperature is more critical than following a calendar; most temperate species require a consistent 65 to 70 degrees Fahrenheit for optimal germination.
The transition from the vegetative stage to the reproductive stage is governed by the photoperiod. As the days lengthen, plants perceive the change in light quality through phytochromes. In a shed setting, you must manage this "Biological Clock" by providing supplemental lighting if the structure lacks sufficient glazing. Failure to provide a consistent 14 to 16 hour photoperiod can trigger premature senescence or stunted growth.
Phases:
Sowing
Place seeds at a depth exactly two to three times their width to ensure adequate soil contact while allowing the hypocotyl to reach the surface before energy reserves are depleted. Use a sterile, peat-free starting mix to prevent damping-off caused by Pythium species.
Pro-Tip: Maintain consistent moisture to trigger imbibition. The Biological Why is that water uptake activates the enzymes responsible for breaking down starch into sugars, providing the initial energy for the radicle to emerge.
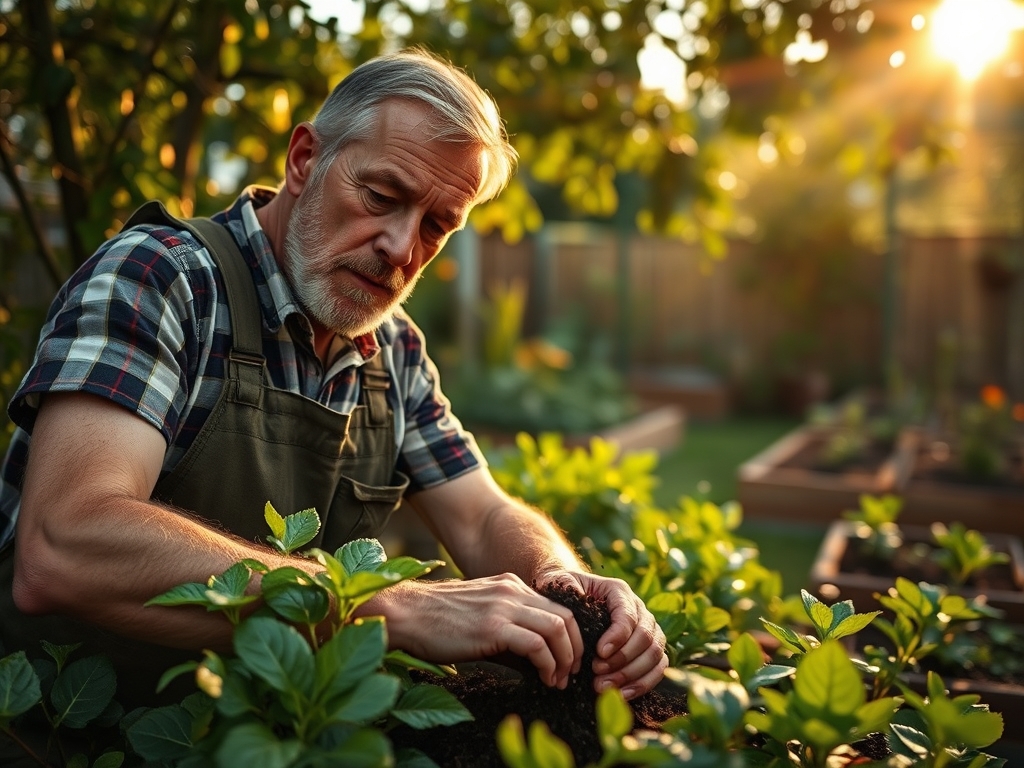
Transplanting
Move seedlings when they possess two sets of true leaves. This stage indicates a sufficiently developed root system capable of handling the stress of relocation. Handle the plants by the leaves rather than the stems to avoid crushing the vascular bundles (xylem and phloem).
Pro-Tip: Use a hori-hori knife to create a clean vertical incision in the receiving substrate. The Biological Why is to minimize root disturbance and preserve the rhizosphere, the narrow region of soil where root secretions and soil microorganisms interact.
Establishing
Once transplanted, the focus shifts to root expansion. Reduce watering frequency but increase the volume per session to encourage roots to grow deeper into the soil profile.
Pro-Tip: Provide gentle air movement with a fan. The Biological Why is to stimulate thigmomorphogenesis, where mechanical stress causes the plant to produce thicker, stronger stems by redistributing auxins and increasing lignin deposition.
The Clinic:
Physiological disorders often mimic infectious diseases. Accurate diagnosis is essential before intervention.
- Nitrogen Chlorosis: Symptoms include the yellowing of older, lower leaves while the new growth remains green. Fix-It: Apply a water-soluble fertilizer with a high nitrogen fraction to restore chlorophyll levels.
- Blossom End Rot: Characterized by a dark, sunken leathery spot at the base of the fruit. This is a Calcium deficiency often caused by inconsistent watering. Fix-It: Maintain a steady moisture level to ensure a continuous transpirational stream of Calcium to the fruit.
- Interveinal Chlorosis: The leaf tissue turns yellow while the veins remain dark green. This typically indicates a Magnesium or Iron deficiency. Fix-It: Check the soil pH; if it is above 7.0, Iron becomes "locked" and unavailable to the plant. Lower the pH using elemental sulfur.
- Oedema: Small, corky blisters appearing on the underside of leaves. This occurs when the plant takes up more water than it can transpire. Fix-It: Increase ventilation and reduce humidity within the shed.
Maintenance:
Precision maintenance prevents plant stress. Deliver exactly 1.5 inches of water per week at the drip line rather than the base of the stem to prevent crown rot. Use a soil moisture meter to verify that the moisture has penetrated at least 6 inches into the soil profile.
Pruning should be performed with sharp bypass pruners to ensure clean cuts that heal quickly. When removing diseased tissue, sterilize the blades with 70% isopropyl alcohol between every cut to prevent the mechanical transmission of pathogens. Monitor the Cation Exchange Capacity annually through professional soil testing to adjust your fertilization schedule based on actual nutrient depletion.
The Yield:
Harvesting at the peak of physiological maturity ensures maximum nutrient density and flavor. For leafy greens, harvest in the early morning when turgor pressure is at its highest. This prevents wilting and extends shelf life. Use a sharp blade to make a clean cut, leaving the growing point intact if multiple harvests are desired.
Post-harvest handling is critical. Immediately submerge harvested greens in cool water to remove field heat and slow the rate of respiration. For fruiting crops, harvest when the "ground spot" changes color, indicating that the conversion of starches to sugars is complete. Store in a cool, dark environment to delay senescence and preserve the cellular integrity of the produce.
FAQ:
What is the best roofing felt for sheds in high-wind areas?
Use a polyester-reinforced torch-on felt. Polyester carriers provide superior tensile strength and tear resistance compared to traditional glass-fiber alternatives. Ensure you use 20mm extra-large head clout nails for mechanical fixing to prevent wind uplift at the perimeters.
How do I identify a Nitrogen deficiency?
Observe the older foliage for uniform chlorosis or yellowing. Because nitrogen is a mobile nutrient, the plant translocates it from older leaves to support new growth at the apex. Apply a high-nitrogen liquid feed for rapid correction of the deficiency.
Why are my shed-grown seedlings falling over?
This is likely damping-off, a fungal condition caused by Rhizoconia or Pythium. It thrives in cool, overly saturated soils with poor airflow. Improve drainage, increase the temperature to 70 degrees, and use a fan to reduce surface moisture on the substrate.
When should I replace my shed's roofing felt?
Inspect the membrane for brittleness, cracking, or loss of mineral granules. If the bitumen has oxidized to the point of exposing the internal carrier, the felt is compromised. Replace immediately to prevent moisture from reaching the OSB or plywood roof decking.