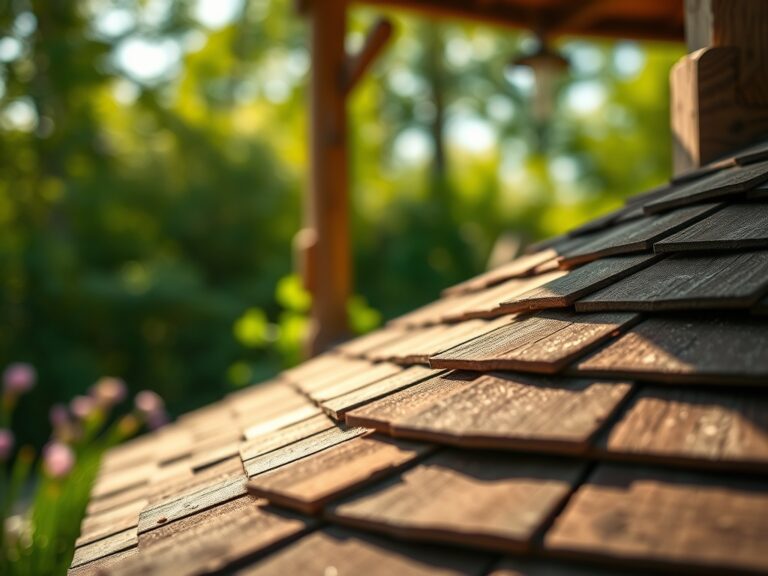
7 Modern Steps to Install Porcelain Pavers
The sharp scent of wet limestone dust mixes with the iron tang of a well-used spade as you break ground. Successful hardscaping requires the same physiological precision as managing a high-yield orchard. To master the steps to install porcelain pavers, you must treat the subgrade like a root zone; it requires drainage, structural integrity, and a stable thermal mass. Porcelain is vitrified at temperatures exceeding 2,200 degrees Fahrenheit, resulting in a material with less than 0.05 percent water absorption. This density prevents the freeze-thaw cycles that shatter concrete or natural stone. Proper installation ensures these pavers resist the lateral pressures of shifting soil and the vertical load of foot traffic for decades.
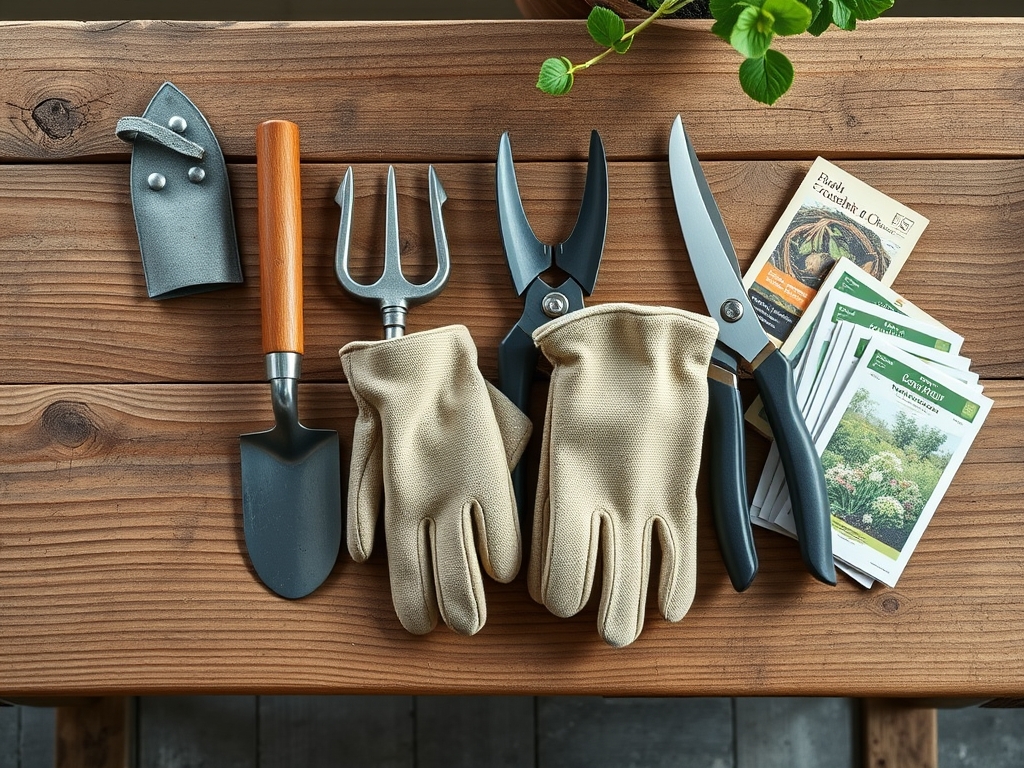
Materials:
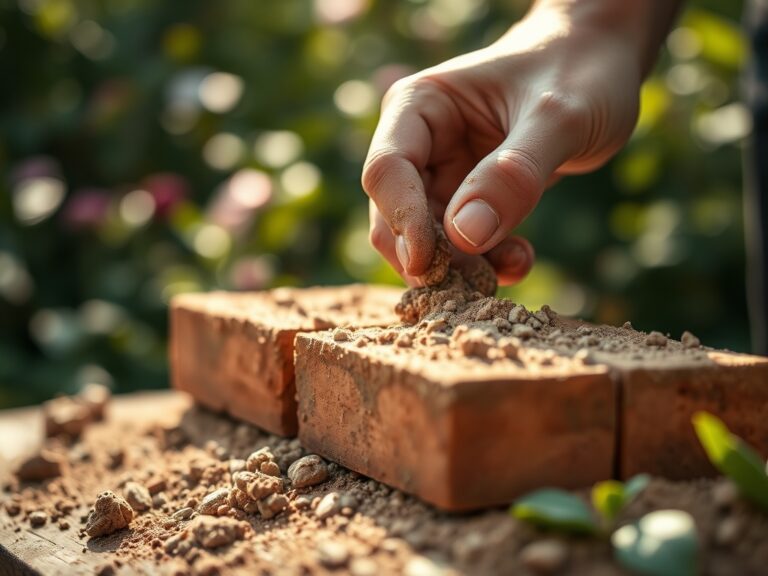
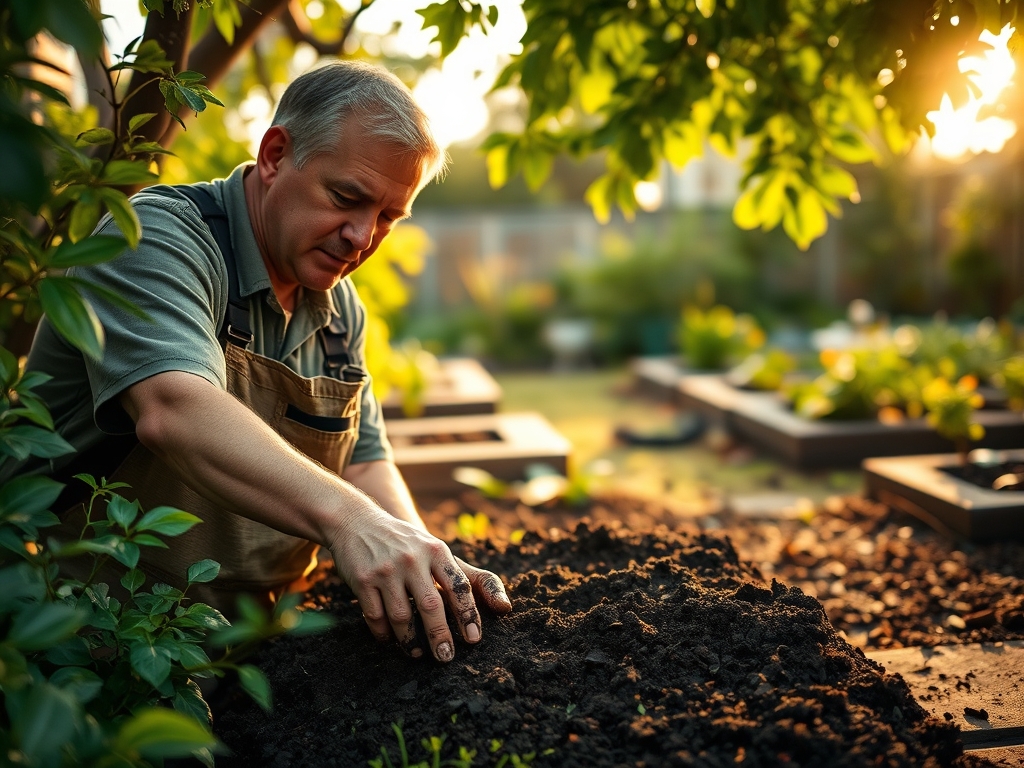
The foundation of any structural installation begins with the chemistry of the earth. You must assess the soil Cation Exchange Capacity (CEC) to determine how the substrate will hold moisture and minerals under the slab. High-clay soils with low CEC values require more extensive drainage layers to prevent heaving. The ideal substrate is a **friable loam** that has been excavated to a depth of **8 to 12 inches**.
For the surrounding landscape, maintain a soil pH between 6.2 and 6.8 to ensure nutrient availability for border plants. Use a balanced NPK ratio of 10-10-10 for general turf establishment around the perimeter. If you are planting acid-loving shrubs like Pieris japonica near the pavers, adjust the NPK to 4-3-4 with added sulfur to lower the pH. The base material should consist of ASTM D2940 graded aggregate, topped with a 1-inch layer of washed concrete sand or fine granite screenings.
Timing:
Installation windows are dictated by Hardiness Zones and the local frost line. In Zones 4 through 7, construction must occur after the final spring frost but before the autumn senescence of surrounding vegetation. Soil temperature should be at least 50 degrees Fahrenheit to ensure proper compaction of the aggregate base.
The biological clock of your garden dictates the workflow. Avoid heavy excavation during the peak vegetative stage of nearby specimen trees; root disturbance during high sap flow can lead to vascular wilt. Schedule the final joint sanding for a period of low humidity to prevent "polymeric haze," which occurs when moisture triggers the bonding agents prematurely.
Phases:
Sowing the Foundation
Excavate the area to a depth of 10 inches, ensuring a 2 percent slope away from any permanent structures to manage hydraulic runoff. Compact the native subgrade to 95 percent Proctor density using a plate compactor. Lay a non-woven geotextile fabric to separate the soil from the aggregate.
Pro-Tip: Geotextile fabrics prevent "fines migration," where small soil particles clog the drainage pores of your gravel. This mimics the natural filtration of a rhizosphere, keeping the structural "roots" of your patio free from waterlogged anaerobic conditions.
Transplanting the Pavers
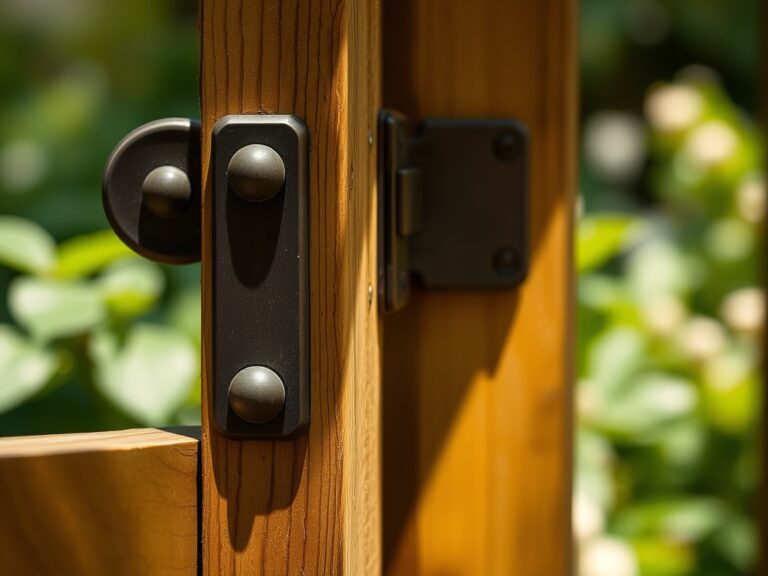
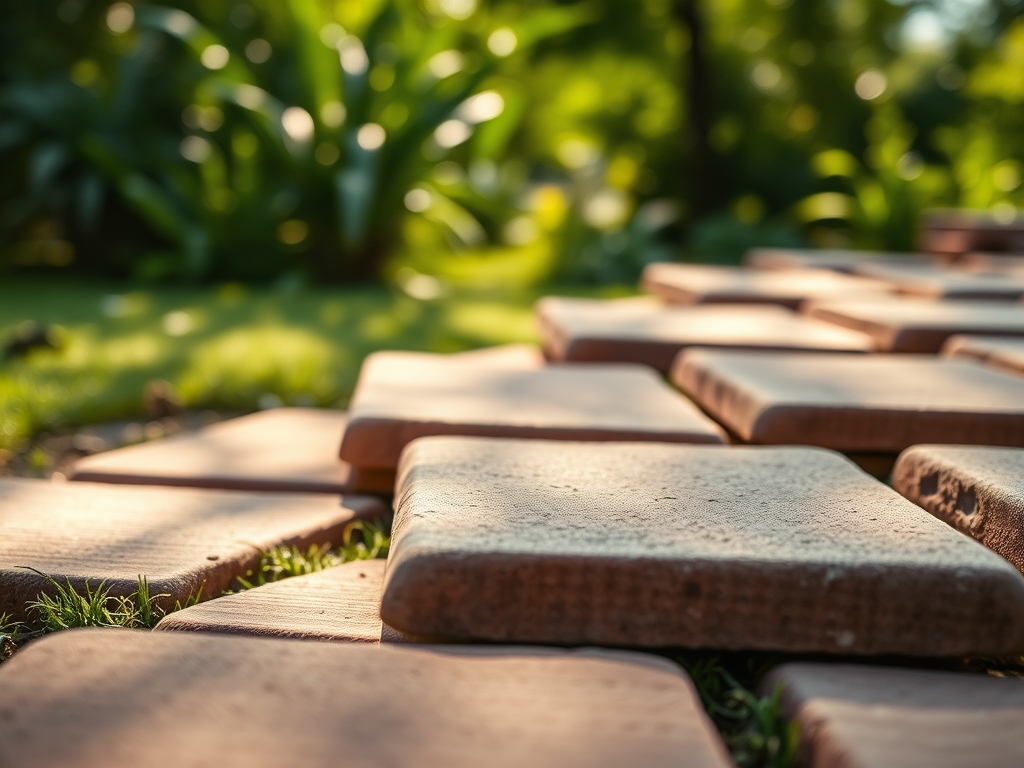
Apply a thin layer of SBR-modified mortar or a specialized porcelain primer to the back of each tile. This creates a chemical bond between the non-porous porcelain and the bedding sand. Place the pavers with 1/8-inch spacers to allow for thermal expansion.
Pro-Tip: Porcelain has zero "give." Use a dead-blow rubber mallet to set the pavers. This prevents microscopic stress fractures that could lead to failure under load. Think of this as maintaining turgor pressure in a plant cell; without internal structural support, the system collapses.
Establishing the Joints
Fill the gaps with high-performance polymeric sand. Sweep the sand into the joints until they are filled to within 1/8 inch of the paver surface. Use a leaf blower to remove all dust from the paver faces before "misting" with water to activate the polymers.
Pro-Tip: Controlled hydration of the jointing sand is critical. Excessive water washes away the binding polymers, much like leaching removes essential Nitrogen from sandy soils. Proper hydration creates a semi-permeable barrier that inhibits weed germination while allowing for minor substrate movement.
The Clinic:
Even with mechanical precision, environmental factors can cause physiological-style disorders in your hardscape.
- Symptom: Efflorescence (white powdery residue).
- Solution: This is caused by mineral salts migrating through the substrate. Use a specialized acidic cleaner to neutralize the salts and improve the "soil" drainage below.
- Symptom: Paver "rocking" or instability.
- Solution: This indicates a failure in the compaction phase. Remove the affected tiles and re-level the bedding sand. Ensure the aggregate base is at least 6 inches thick.
- Symptom: Nitrogen Chlorosis in surrounding plants.
- Fix-It: Construction runoff can sometimes alter soil pH. If border plants show yellowing leaves with green veins, apply a chelated iron supplement and a high-nitrogen fertilizer (NPK 21-0-0) to restore chlorophyll production.
Maintenance:
A porcelain patio requires minimal but specific care to maintain its structural integrity. Use a soil moisture meter at the edges of the patio to ensure the hardscape is not causing localized droughts for nearby plantings. Most perennials at the patio edge will require 1.5 inches of water per week delivered at the drip line to compensate for the heat radiation from the pavers.
For cleaning, avoid harsh acids that can degrade the polymeric sand. Use a neutral pH cleaner and a stiff-bristled brush. If weeds appear in the joints, use a hori-hori knife to extract the root completely without disturbing the sand bed. For surrounding shrubs, use bypass pruners to maintain a 12-inch clearance from the patio surface; this prevents organic debris from accumulating and causing biological staining.
The Yield:
The "yield" of a porcelain installation is measured in longevity and the health of the integrated landscape. When the project is complete, the patio should function as a thermal heat sink, extending the growing season for nearby plants by radiating heat during cool autumn nights.
To maintain "day-one" freshness, perform a deep clean every spring. Inspect the joints for any signs of "washout." If the polymeric sand has receded more than 1/4 inch, top it off to prevent organic matter from settling in the gaps, which would otherwise provide a substrate for moss and opportunistic weeds.
FAQ:
Do I need a concrete slab for porcelain pavers?
No. You can install them on a compacted aggregate base of 6 to 8 inches of crushed stone and 1 inch of bedding sand. Ensure you use a primer on the back of the pavers for a secure bond.
How do I cut porcelain pavers?
Use a wet saw equipped with a diamond blade specifically designed for porcelain. Standard masonry blades will cause chipping. Keep the blade cool with a constant stream of water to prevent heat-induced fractures.
Can porcelain pavers be installed in cold climates?
Yes. Porcelain is frost-resistant due to its low porosity. The key is a well-draining base that extends below the local frost line to prevent the ground from heaving and displacing the tiles during winter.
How do I prevent weeds between pavers?
Use high-quality polymeric sand in the joints. This material hardens when cured, creating a physical barrier that prevents seeds from reaching the soil below. Maintain the joint depth to ensure the barrier remains intact.