9 Best Wire for Vegetable Fences
The smell of damp earth after a rain is the scent of geosmin, a byproduct of Actinobacteria activity in the soil. It signals a healthy rhizosphere where nutrient cycling is active. A thriving vegetable garden relies on high turgor pressure within the plant cells, which keeps stems rigid and leaves expanded for maximum photosynthetic efficiency. Protecting this delicate physiological balance requires a physical barrier to exclude herbivores. Selecting the best wire for vegetable fences is a technical decision that impacts both structural integrity and long term garden health.
Low quality fencing materials degrade under UV exposure or oxidize in high humidity, leading to heavy metal leaching into the substrate. A professional grade fence provides a stable vertical plane for climbing crops while maintaining a perimeter that resists the mechanical pressure of wildlife. The choice of wire gauge and mesh size must be calibrated to the specific pests in your local ecosystem. Small mesh prevents juvenile rabbits from entering, while a high tensile strength resists the weight of larger mammals. This guide provides the technical data required to secure your harvest.
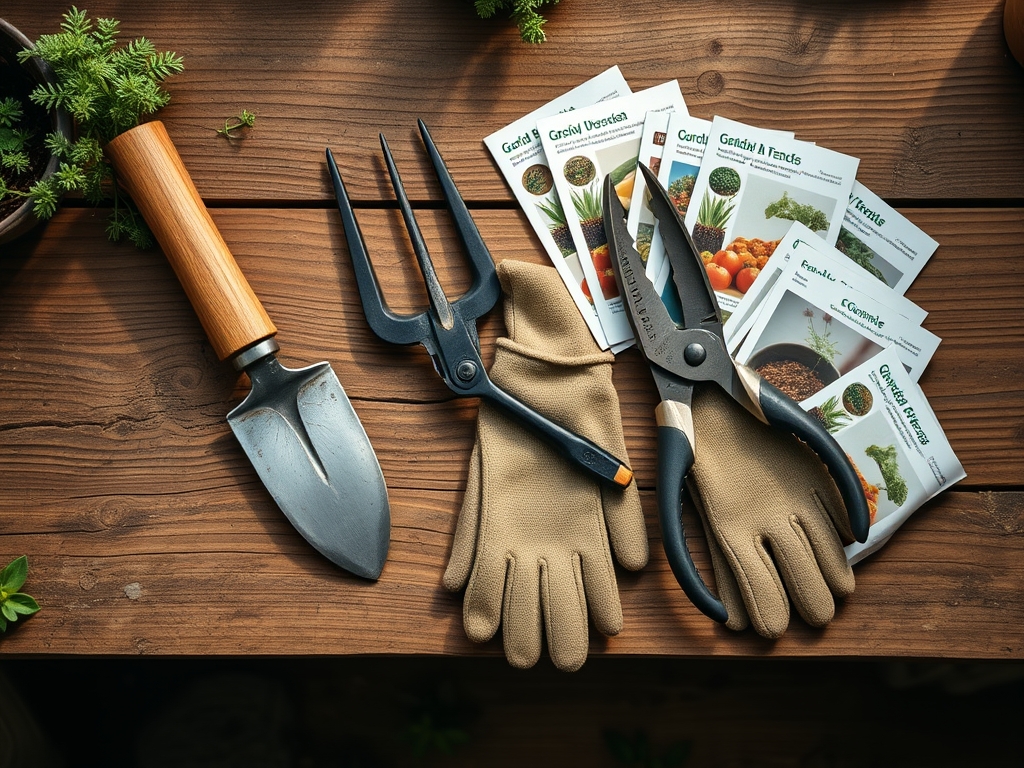
Materials:
The ideal substrate for a vegetable garden is a friable loam with a **soil pH between 6.0 and 7.0**. This range ensures maximum bioavailability of essential nutrients. When the pH drops below 6.0, phosphorus becomes tied up in iron and aluminum compounds; when it rises above 7.0, micronutrients like iron and manganese become insoluble.
A high Cation Exchange Capacity (CEC) is necessary to retain nutrients against leaching. For heavy feeders like Brassicas or Solanaceous crops, maintain an NPK ratio of 10-10-10 during the initial bed preparation. If your soil is sandy and has a low CEC, incorporate organic matter to increase the surface area for ion exchange. The physical texture should allow for rapid gas exchange, ensuring that oxygen reaches the root zone to prevent anaerobic conditions and root rot.
Timing:
Hardiness Zones dictate the window for structural installation and planting. In Zones 5 through 7, the spring frost date usually falls between mid April and early May. Fence installation should occur while the ground is workable but before the biological clock of your crops shifts from the vegetative to the reproductive stage.
The vegetative stage is characterized by rapid biomass accumulation driven by nitrogen uptake. Once the photoperiod reaches a specific threshold, or the plant accumulates enough heat units (Growing Degree Days), it transitions to the reproductive stage. Installing the best wire for vegetable fences before this transition is critical. Disturbing the soil or root systems of established plants to set fence posts can induce transplant shock, causing a temporary cessation of growth as the plant diverts energy from foliage production to root repair.
Phases:

Sowing
Direct sow seeds at a depth approximately three times their diameter. Ensure the soil temperature has reached at least 60 degrees Fahrenheit for warm season crops like beans or squash.
Pro-Tip: Maintain consistent moisture to trigger imbibition. This is the first step of germination where the seed coat swells and activates metabolic enzymes. Failure to maintain moisture at this stage results in embryo death.
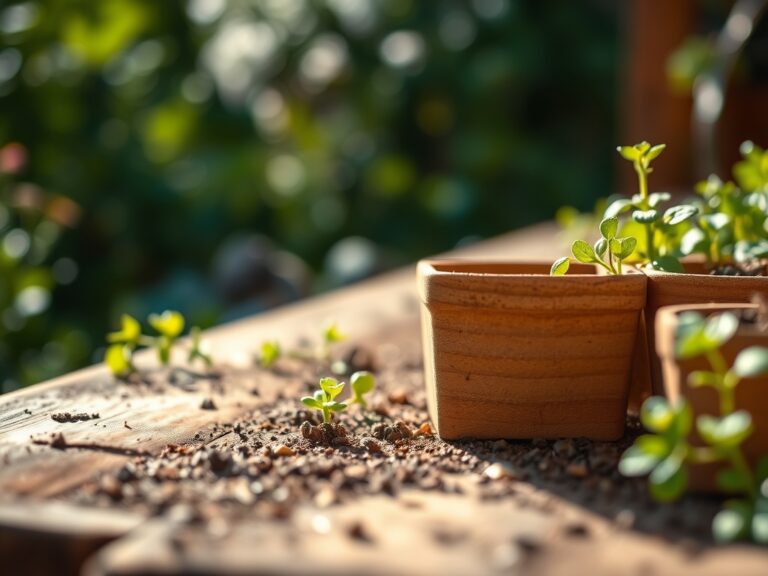
Transplanting
When moving seedlings from a controlled environment to the garden, harden them off over 7 to 10 days. Dig a hole twice the width of the root ball to encourage lateral root expansion into the surrounding soil.
Pro-Tip: Inoculate the planting hole with mycorrhizal fungi. This creates a symbiotic relationship where the fungi extend the reach of the root system, increasing the surface area for phosphorus and water absorption in exchange for plant sugars.
Establishing
As plants grow, utilize the fence for vertical support. Secure heavy vines with soft ties to prevent stem abrasion. Monitor for apical dominance, where the primary shoot inhibits the growth of lateral buds.
Pro-Tip: Use selective pruning to manage auxin suppression. By removing the terminal bud of certain crops, you redirect auxin flow to lateral buds, encouraging a bushier growth habit and increasing the total yield per square foot.
The Clinic:
Physiological disorders often mimic infectious diseases but are caused by environmental stress or nutrient imbalances.
Symptom: Blossom End Rot in tomatoes or peppers.
Solution: This is a localized calcium deficiency within the fruit. It is often caused by fluctuating soil moisture rather than a lack of calcium in the soil.
Fix-It: Maintain consistent soil moisture levels using a soil moisture meter and apply a mulch layer to reduce evaporation.
Symptom: Interveinal chlorosis on young leaves.
Solution: This indicates an iron deficiency, often triggered by high soil pH.
Fix-It: Lower the pH using elemental sulfur or apply chelated iron foliar sprays for immediate uptake.
Symptom: Purpling of older leaves.
Solution: This is a classic sign of phosphorus deficiency, common in cold, wet soils where root activity is sluggish.
Fix-It: Apply a high phosphorus starter fertilizer and ensure the soil temperature is above 55 degrees Fahrenheit.
Maintenance:
Precision is the hallmark of a professional garden. Deliver 1.5 inches of water per week directly to the drip line. Overhead irrigation should be avoided as it increases leaf wetness duration, which promotes fungal pathogens like powdery mildew.
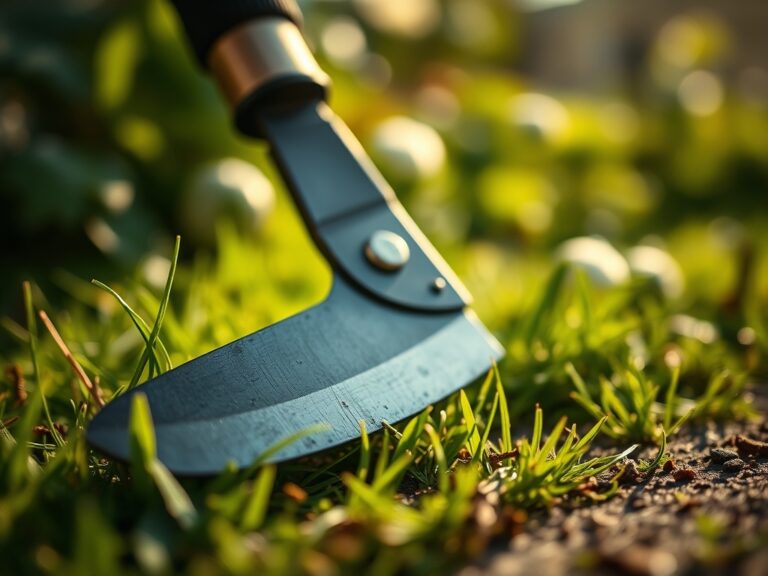
Utilize a hori-hori knife for deep weeding and planting. This tool allows for precise soil penetration with minimal disturbance to the surrounding root architecture. Use bypass pruners for clean cuts on woody or fibrous stems; anvil pruners can crush vascular tissue and create entry points for pathogens. Regularly check the tension of your wire fence. Thermal expansion and contraction can loosen the wire over time, compromising the structural integrity of the barrier.
The Yield:
Harvesting at the peak of physiological maturity ensures maximum nutrient density and flavor. For leafy greens, harvest in the early morning when turgor pressure is at its highest. This prevents wilting and extends shelf life. Use a sharp blade to make clean cuts, leaving at least an inch of the crown if you intend to allow for regrowth.
For fruiting crops, monitor the "ground spot" or color change. Once harvested, remove field heat immediately by placing produce in a cool, shaded environment. Hydrocooling (dipping in cold water) is effective for certain vegetables to slow down cellular respiration. Reducing the respiration rate is the key to maintaining "day-one" freshness and preventing the degradation of sugars into starches.
FAQ:
What is the best wire gauge for a vegetable fence?
A 14-gauge or 12.5-gauge wire provides the best balance of flexibility and strength. Thinner gauges like 20-gauge poultry netting are easily deformed by larger animals and lack the structural rigidity for long term use.
How do I prevent the fence from rusting in acidic soil?
Select Class 3 galvanized wire or PVC coated wire. Class 3 galvanization has a thicker zinc coating than standard hardware store wire, providing superior resistance to the corrosive effects of low pH soils and moisture.
What mesh size is necessary to exclude rabbits?
Use a mesh size no larger than 1 inch by 1 inch for the bottom two feet of the fence. Juvenile rabbits can squeeze through 2 inch gaps, rendering larger mesh ineffective for protecting young seedlings.
Should I bury the bottom of the wire fence?
Yes, bury the wire 6 to 12 inches deep with an outward facing "L" bend. This prevents burrowing animals from tunneling under the barrier. Secure the buried portion with landscape staples for maximum stability.