9 Practical Ways How to Build a Potting Bench
The smell of damp peat and the gritty friction of perlite against a cedar surface define the workspace of a serious horticulturalist. Maintaining high turgor pressure in young seedlings requires a dedicated station where moisture and nutrients are managed with precision. Learning how to build a potting bench is not merely a carpentry project; it is the construction of a laboratory for the rhizosphere. A stable, ergonomic surface allows for the careful manipulation of delicate root systems and the exact calibration of soil amendments.
Materials:
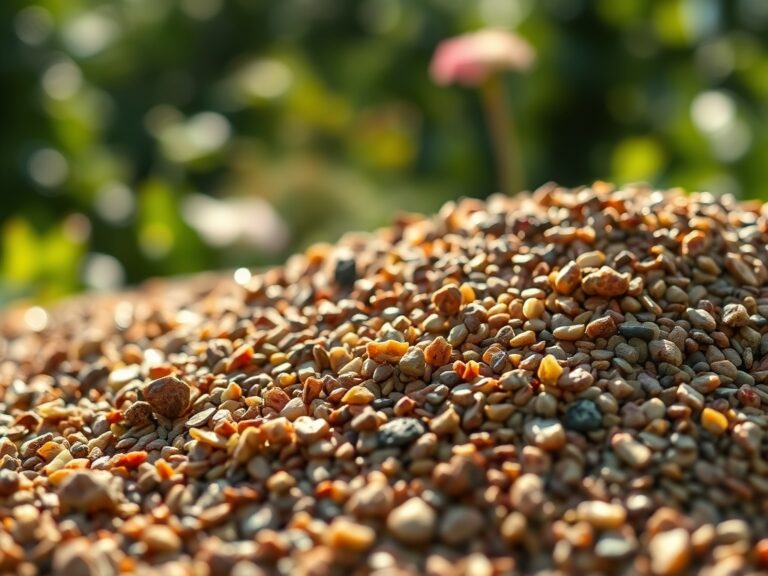
The foundation of a successful potting bench begins with the substrate you will process upon it. You must design the bench to handle a **friable loam** with a **pH range of 6.0 to 7.0**. This ideal texture ensures adequate pore space for oxygen diffusion. For general propagation, your bench should accommodate the mixing of a standard **10-10-10 NPK ratio** for established perennials or a low-nitrogen **5-10-10 ratio** for root development in woody cuttings.
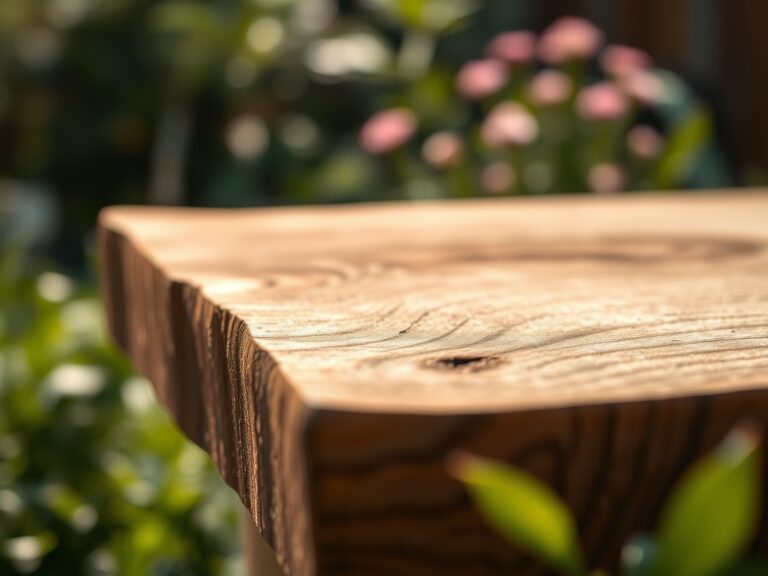
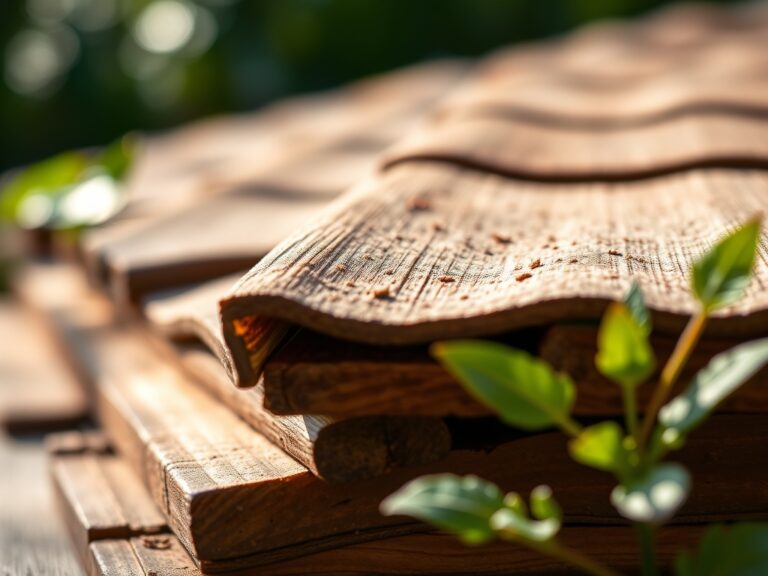
Structural materials must withstand constant moisture exposure. Use pressure-treated lumber or Western Red Cedar to resist fungal decay. Stainless steel fasteners are mandatory to prevent galvanic corrosion in high-humidity environments. The work surface should be set at a height of 36 inches to reduce lumbar strain during long sessions of pricking out seedlings. Incorporate a galvanized steel dry sink for mixing components; this allows for the uniform distribution of micronutrients like molybdenum and boron without loss to the floor.
Timing:
Construction and utilization must align with your local Hardiness Zone. In Zones 5 through 7, the potting bench becomes the primary site of activity in late February, approximately eight to ten weeks before the last frost date. This period marks the transition from the dormant phase to the vegetative stage for many species.
Understanding the biological clock is essential. As the photoperiod increases, plants move from seed stratification into active germination. Your bench serves as the staging ground for this metabolic surge. You must time your builds so the station is fully operational before the soil temperature reaches a consistent 50 degrees Fahrenheit, which is the threshold for many cool-season vegetable transplants.
Phases:
Sowing
This phase requires a sterile environment to prevent damping-off caused by Pythium or Rhizoctonia. Place your seed trays on the bench and fill them with a fine-textured, soilless medium. Ensure the medium is pre-moistened to avoid hydrophobic pockets.
Pro-Tip: Maintain a consistent temperature of 70 degrees Fahrenheit for most temperate species. The biological why involves enzyme activation; specific temperatures trigger the conversion of stored starches into energy, fueling the emergence of the radicle.
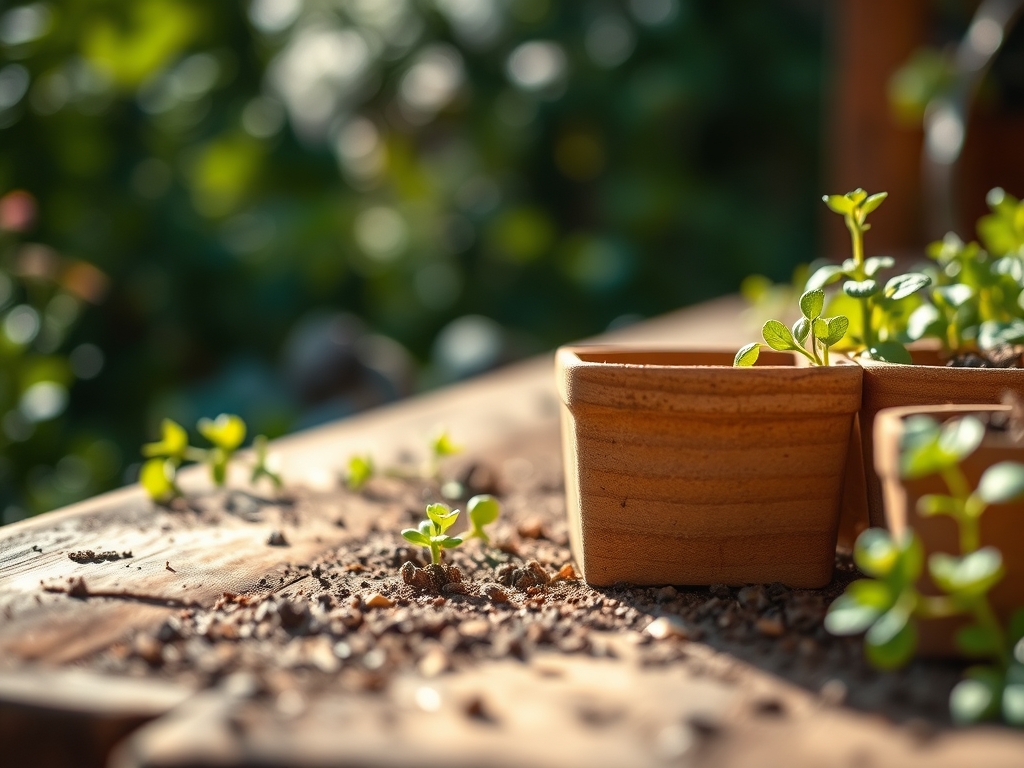
Transplanting
When the first true leaves appear, the plant has transitioned from relying on endosperm to active photosynthesis. Move the seedlings to the potting bench to up-size their containers. This prevents the plants from becoming root-bound, which can lead to permanent stunting.
Pro-Tip: Always handle seedlings by the cotyledons or the root ball, never the stem. The biological why is to protect the vascular cambium. If the xylem and phloem are crushed, the plant cannot transport water or carbohydrates, leading to immediate wilting.
Establishing
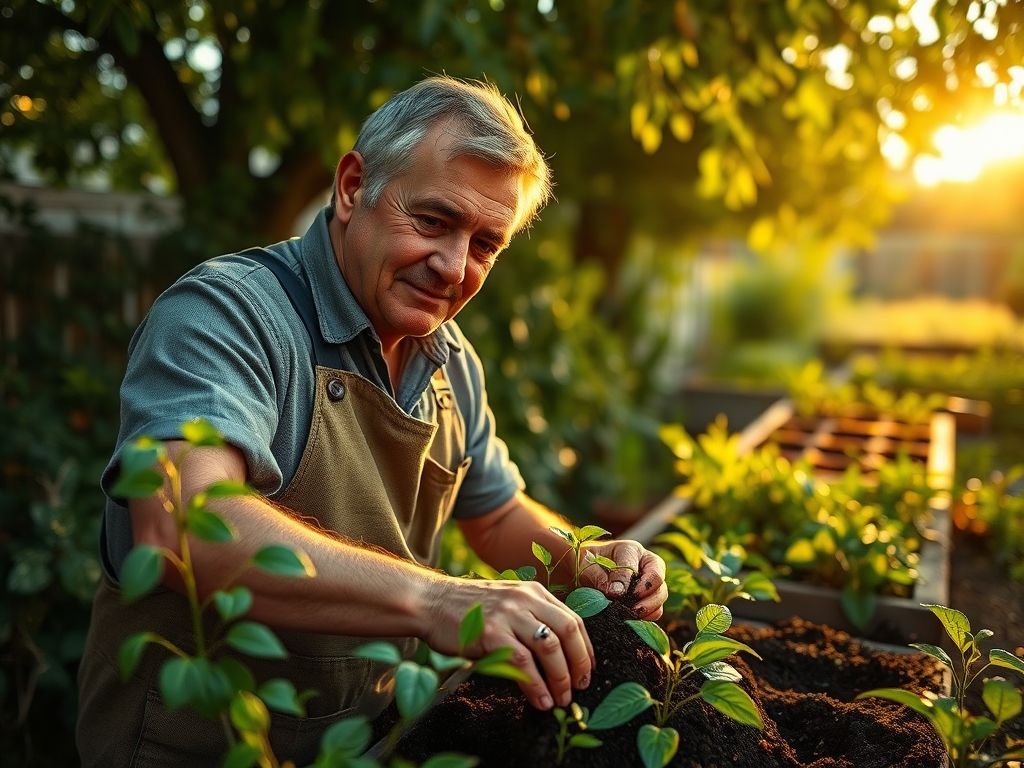
Once transplanted, the bench provides a controlled environment for hardening off. This is the period where you introduce the plant to fluctuating outdoor variables while maintaining a strict nutrient regimen.
Pro-Tip: Apply a diluted seaweed extract to the root zone during this phase. The biological why is mycorrhizal symbiosis. These beneficial fungi extend the reach of the root system, increasing the surface area for phosphorus uptake and improving drought resistance.
The Clinic:
A potting bench is also a diagnostic station. Observe your plants for these physiological disorders:
- Nitrogen Chlorosis: Symptoms include the yellowing of older leaves while new growth remains green. Fix-It: Apply a high-nitrogen liquid fertilizer with a 20-10-10 NPK to restore chlorophyll production.
- Interveinal Chlorosis: The leaf tissue turns yellow while the veins remain dark green. This indicates a Magnesium or Iron deficiency. Fix-It: Adjust the soil pH to 6.5 and apply chelated iron or Epsom salts (Magnesium Sulfate).
- Edema: Small, corky bumps appear on the underside of leaves. This is caused by high humidity and overwatering. Fix-It: Increase airflow around the potting bench and reduce watering frequency to allow the stomata to regulate transpiration effectively.
- Phosphorus Deficiency: Leaves exhibit a distinct purple or reddish tint. Fix-It: Increase the soil temperature and apply a bone meal or triple superphosphate amendment to the substrate.
Maintenance:
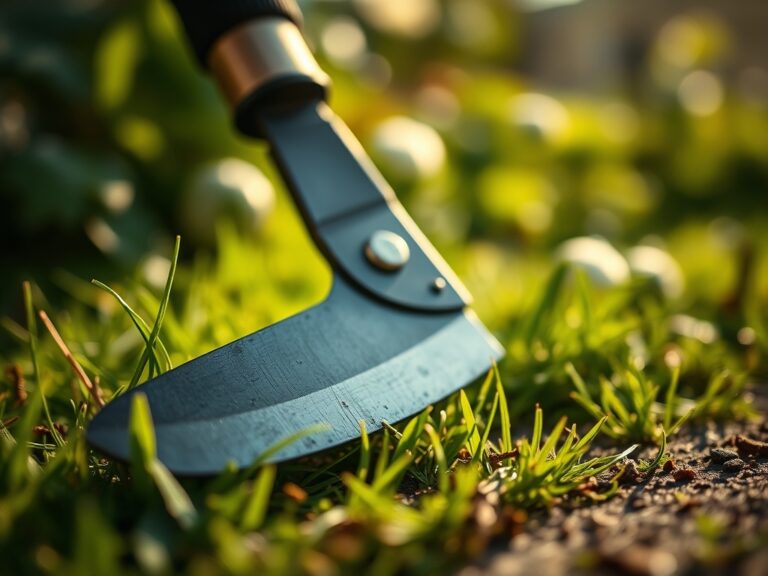
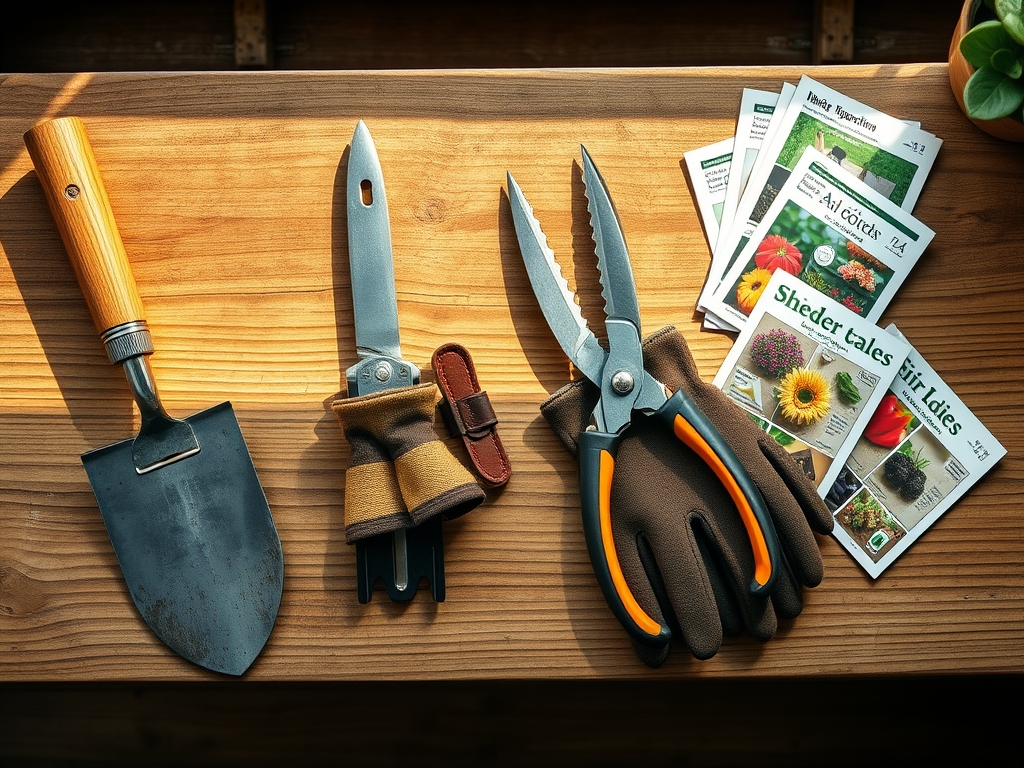
A professional potting bench requires rigorous upkeep to prevent the spread of pathogens. Use a 10 percent bleach solution to sanitize the work surface after every session. Keep your hori-hori knife sharpened and free of rust; a dull blade tears plant tissue, creating entry points for bacteria.
Monitor the moisture levels of your stored media using a soil moisture meter. Most potting mixes should be kept at a 20 to 30 percent moisture content to prevent the organic matter from becoming hydrophobic. For outdoor benches, ensure the site receives 1.5 inches of water per week via rain or manual irrigation to keep any integrated planter boxes hydrated. Use bypass pruners for clean cuts on soft tissue, as anvil pruners can crush the stems and impede healing.
The Yield:
When harvesting herbs or flowers at the bench, timing is critical for post-harvest longevity. Harvest in the early morning when turgor pressure is at its peak. This ensures the cells are fully hydrated before the heat of the day triggers transpiration.
For woody stems, use a sharp blade to make a 45-degree angle cut. This increases the surface area for water uptake. Immediately submerge the stems in water adjusted to a pH of 3.5 to 4.5. This acidity inhibits bacterial growth and improves the flow of water through the xylem. For edible crops, remove field heat immediately by placing the harvest in a cool, shaded area on the lower shelf of your bench before moving them to long-term storage.
FAQ:
What is the best wood for a potting bench?
Western Red Cedar or Redwood are superior due to natural rot resistance. These species contain tannins that inhibit fungal growth. Pressure-treated lumber is a cost-effective alternative for structural components that contact the soil directly.
How high should a potting bench be?
The standard height is 36 inches, similar to a kitchen counter. This height supports proper ergonomics for the average adult. It prevents repetitive strain injuries during tasks like sifting soil or transplanting hundreds of seedlings.
Do I need a sink in my potting bench?
A dry sink or a galvanized tub is highly recommended. It allows you to mix soil amendments and water without creating a mess. It also serves as a reservoir for catching excess substrate, which can be recycled.
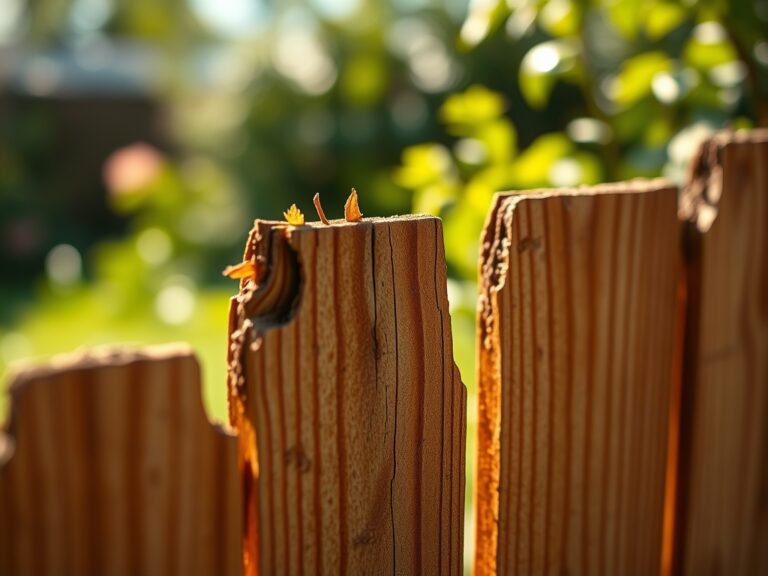
How do I prevent my potting bench from rotting?
Apply a food-safe, water-resistant sealant annually. Ensure the feet of the bench are resting on pavers or gravel rather than direct soil. This breaks the capillary action that pulls moisture into the wood grain.
What is the most important tool for a potting bench?
A high-quality soil moisture meter is essential. It provides data-driven insights into the hydration levels of your media. This prevents the dual risks of root rot from overwatering and desiccation from underwatering.