10 Vital Steps to Install Roof Rafters
The scent of damp, disturbed earth signals the start of a structural project where precision is as vital as the turgor pressure in a hydrated cell. In horticulture and construction alike, the integrity of the frame dictates the health of the system. Understanding the steps to install roof rafters requires the same attention to load-bearing physics that a master gardener applies to a heavy-fruiting canopy. Whether building a potting shed or a greenhouse, the rafters must withstand gravitational forces and environmental stress to protect the delicate biological processes occurring within the structure.
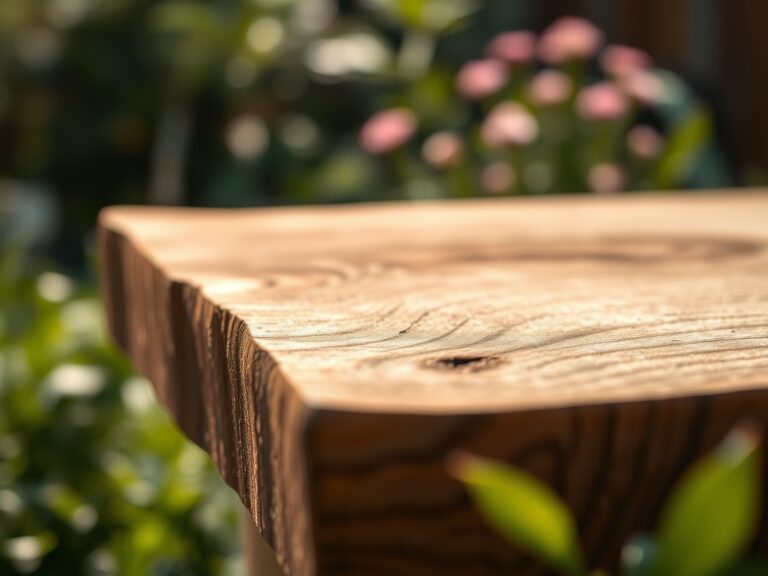
A successful installation relies on the exact alignment of the ridge board and the wall plates. This process mirrors the structural development of a woody perennial; if the primary scaffold is weak, the entire organism fails under the weight of its own growth. You must approach the task with the mindset of a soil scientist measuring Cation Exchange Capacity (CEC). There is no room for approximation. Every cut must be calculated to the millimeter to ensure the roof can shed water and resist wind shear. This guide treats the construction of a roof as a biological imperative, focusing on the mechanical steps to install roof rafters while maintaining the high standards of a professional horticultural environment.
Materials:

The foundation of any structure built near a garden must account for the chemical environment. If the rafters are part of a greenhouse or garden shed, the substrate below must be a friable loam with a pH between 6.0 and 7.0. High acidity in the soil can lead to the corrosion of metal fasteners through leaching.
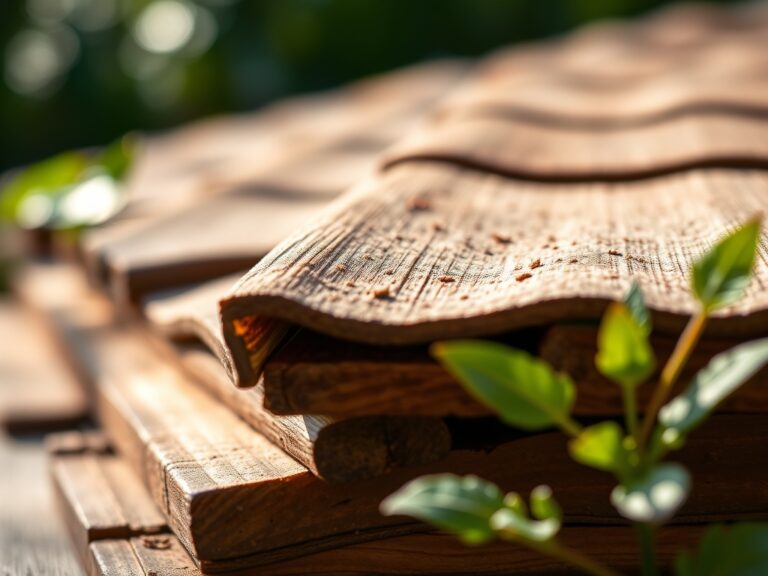
For the structural components, use pressure-treated lumber rated for ground contact if the base meets the earth. The soil should have a high Cation Exchange Capacity (CEC) to manage nutrient runoff, but for the build site, compaction is necessary to prevent settling. Ensure you have 16d common nails, a framing square, and a circular saw. If you are planting near the structure, maintain a balanced NPK ratio of 10-10-10 in the surrounding beds to support root stabilization, which prevents soil erosion around the footings. Avoid high-nitrogen fertilizers (like 20-5-5) near the construction site, as excessive vegetative growth can interfere with the physical clearance of the rafters.
Timing:
Construction should align with the dormant period of your local flora to minimize impact on the rhizosphere. In Hardiness Zones 5 through 7, the ideal window is late autumn after the first killing frost but before the ground freezes solid. This timing ensures that the "Biological Clock" of your garden is in a state of senescence, meaning the plants have moved from the vegetative stage to a dormant state.
By installing rafters when the photoperiod is shortest, you reduce the risk of heat stress for the builder and prevent the compaction of actively growing root systems. Aim for a period where the soil moisture is below 25 percent to avoid destroying the soil structure. If you are building a greenhouse, completion must occur at least six weeks before the last spring frost to allow for the stabilization of the internal microclimate before the first seeds are sown.
Phases:

Sowing the Foundation
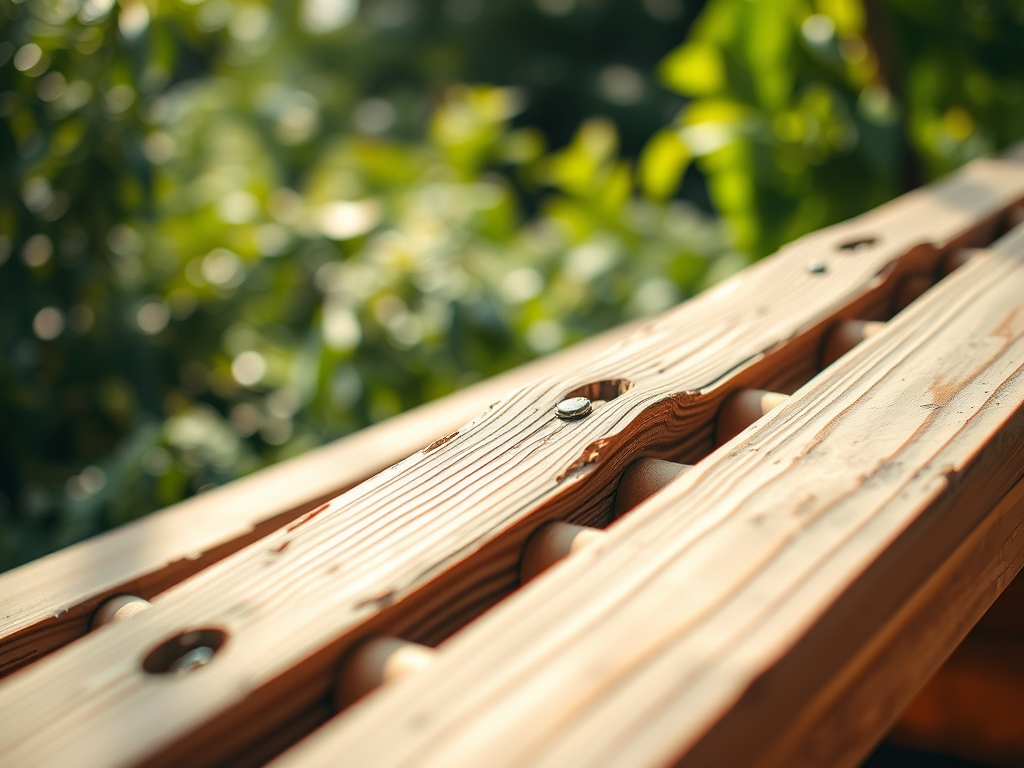
The first of the steps to install roof rafters is the layout. Measure the span and calculate the rise and run. Use a framing square to mark the "birdsmouth" cut, which is the notch where the rafter rests on the wall plate. This notch must not exceed one-quarter of the rafter's depth to maintain structural integrity.
Pro-Tip: Just as auxin suppression in plants controls apical dominance, the ridge board controls the height and stability of the rafters. Ensuring the ridge is perfectly level prevents the "leaning" effect seen in phototropic plants reaching for light.
Transplanting the Frames
Lift the first pair of rafters into place. Secure them to the ridge board using three 3.5-inch nails per side. The rafters should be spaced 16 inches or 24 inches on center, depending on the expected snow load of your Hardiness Zone.
Pro-Tip: Use a temporary brace to hold the rafters in a vertical position. This mimics the use of stakes for newly transplanted saplings, providing external support until the mechanical bond of the fasteners is fully established.
Establishing the Canopy
Install the remaining rafters, checking for plumb at every interval. Once the rafters are secured, install the collar ties in the upper third of the attic space. These ties prevent the rafters from spreading outward under weight, much like how mycorrhizal symbiosis strengthens a root system by creating a networked web of support.
Pro-Tip: Leave a 1-inch gap at the peak for ridge ventilation. Proper airflow is essential to prevent the buildup of heat and humidity, which can lead to fungal pathogens such as Botrytis cinerea in the structure below.
The Clinic:
Physiological disorders in a structure often manifest as physical deformities. Monitor your rafters for these symptoms:
- Symptom: Sagging Ridge.
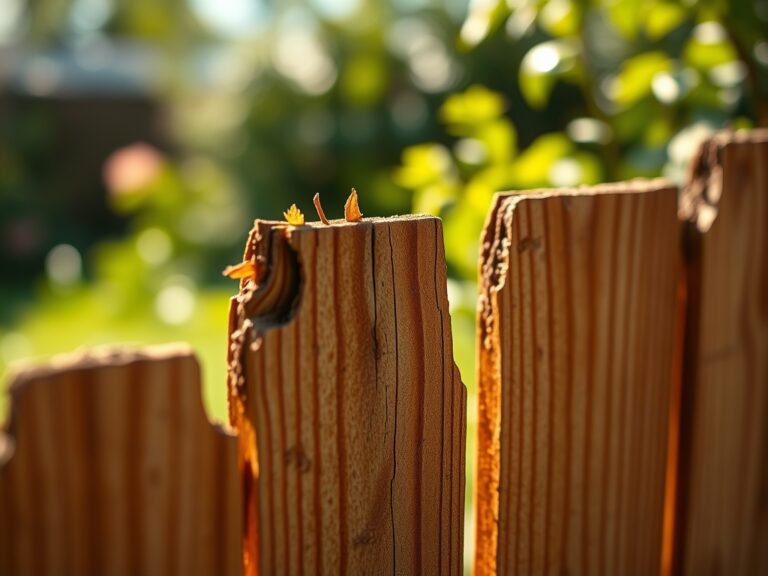
Solution: This indicates insufficient support. Install a king post or additional collar ties to redistribute the load. - Symptom: Wood Checking.
Solution: Small cracks along the grain are normal as timber dries, but if they exceed 1/8 inch, the rafter must be reinforced with a sister board. - Symptom: Fungal Colonization.
Solution: If you see white or gray mycelium, increase ventilation immediately. Treat the wood with a borate-based preservative to stop decay.
Fix-It for Nutrient Deficiencies: If the plants beneath your rafters show Nitrogen chlorosis (yellowing of older leaves), the construction process may have leached nutrients. Apply a liquid kelp emulsion to restore the NPK balance and improve soil health.
Maintenance:
A roof over a garden requires hyper-specific maintenance. Inspect the rafters annually for signs of moisture infiltration. If the structure houses plants, use a soil moisture meter to ensure that condensation from the roof is not over-saturating the pots. Maintain 1.5 inches of water per week at the drip line of any exterior plantings to compensate for the "rain shadow" created by the new roof.
Keep a hori-hori knife and bypass pruners nearby to clear any encroaching vegetation that might trap moisture against the rafters. If the wood remains damp, it will lose its structural turgor and become a breeding ground for pests. Ensure all fasteners remain flush; any "popped" nails should be replaced with 3-inch galvanized deck screws for superior grip.
The Yield:
While rafters do not produce a harvest, the environment they create determines the yield of the crops below. A well-installed roof allows for the control of the photoperiod, enabling you to trigger the reproductive stage of short-day plants. To maintain "day-one" freshness for harvested crops, utilize the shade provided by the rafters to immediately lower the field heat of the produce. This slows the rate of respiration and preserves the sugars within the plant tissues.
FAQ:
What is the best wood for roof rafters?
Use Douglas fir or Southern yellow pine. These species offer high tensile strength and resistance to bending. Ensure the lumber is graded "No. 2" or better for structural applications in high-moisture garden environments.
How do I calculate the rafter angle?
Use the Pythagorean theorem or a framing square. For a standard 4:12 pitch, the rafter rises 4 inches for every 12 inches of horizontal run. This angle ensures efficient water runoff to protect the rhizosphere below.
Can I install rafters alone?
It is not recommended. The weight of the timber requires at least two people to maintain alignment. Proper bracing is essential to prevent structural collapse, which could crush sensitive plants and compact the friable loam substrate.
How do I prevent wood rot in a greenhouse?
Ensure maximum ventilation to lower relative humidity. Use pressure-treated lumber and apply a secondary water-repellent sealer. Monitor for senescence in the wood fibers, characterized by softening or discoloration, and replace affected sections immediately.