7 Artistic Steps to Arrange Zen Stones
The scent of damp humus and the sharp tang of bruised pine needles signal a landscape in balance. When the soil reaches a consistent temperature of 55 degrees Fahrenheit, the microbial activity in the rhizosphere accelerates; this is the optimal moment to begin structural modifications. Mastery of the steps to arrange zen stones requires more than an eye for symmetry. It demands an understanding of geological weight and the hydraulic conductivity of the underlying substrate. A misplaced stone disrupts the natural drainage patterns of the site. It can lead to localized anaerobic conditions where roots suffocate from lack of oxygen. By following a scientific approach to placement, you ensure that the stones serve as a thermal mass, regulating soil temperatures and protecting the delicate turgor pressure of surrounding vegetation during diurnal shifts.
Materials:
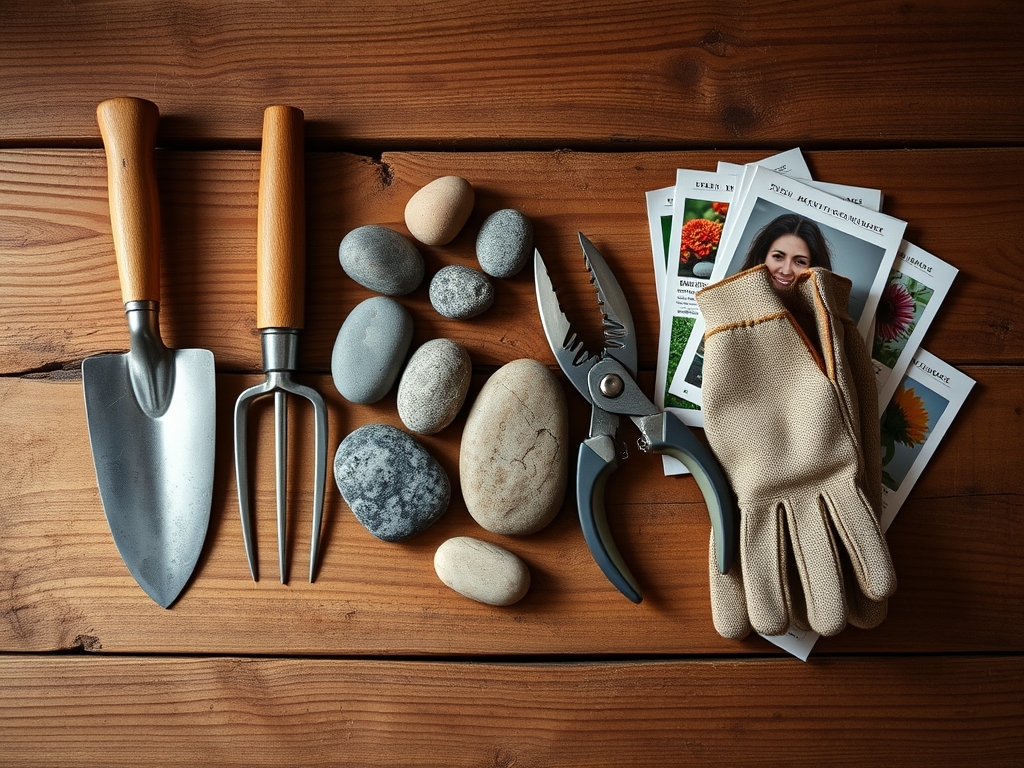
The foundation of a stone arrangement must consist of a friable loam with a high Cation Exchange Capacity (CEC). Aim for a soil pH between 6.0 and 7.0 to ensure nutrient availability for mosses or groundcovers. If the site is too acidic, incorporate pelletized lime; if too alkaline, use elemental sulfur. For the biological components surrounding your stones, use a balanced NPK ratio of 10-10-10 for general establishment or a low-nitrogen 5-10-10 to encourage root development without excessive vegetative surge. The substrate should be composed of 40 percent sand, 40 percent silt, and 20 percent clay. This ratio provides the structural integrity needed to prevent stone subsidence while maintaining a porosity that allows for 1.5 inches of water infiltration per hour.
Timing:
Successful stone placement is dictated by the hardiness zones and the biological clock of the local flora. In Hardiness Zones 4 through 7, the ideal window for installation is either the early spring, immediately following the final frost, or the late autumn before the ground freezes. This timing aligns with the transition from the reproductive stage to senescence in many perennial species. During these windows, the plants are diverting energy toward root expansion rather than foliar growth. Avoid heavy stone manipulation during the peak of the summer heat. High ambient temperatures increase the rate of evapotranspiration, and disturbing the soil can cause immediate desiccating stress to the root systems of nearby specimens.
Phases:
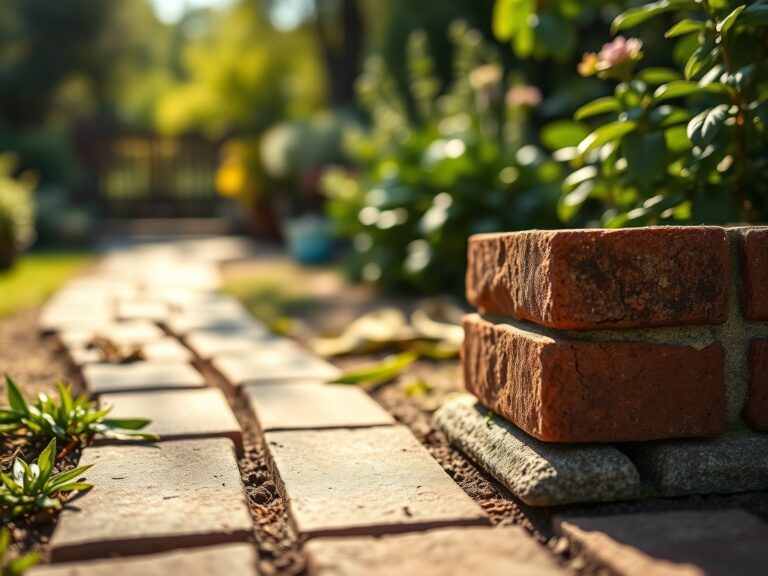
Sowing the Foundation
Excavate the site to a depth of 6 to 8 inches. This removes the unstable organic horizon and reaches the more compact subsoil. Backfill the area with a base of crushed aggregate, specifically 3/4-inch minus gravel. This layer provides a stable platform that resists the freeze-thaw cycles that otherwise cause stones to "heave" out of the ground.
Pro-Tip: Proper compaction prevents air pockets. This is vital because mycorrhizal symbiosis requires consistent contact between the fungal hyphae and the root cortex. Excessive air gaps around stones can sever these connections, starving nearby plants of phosphorus.
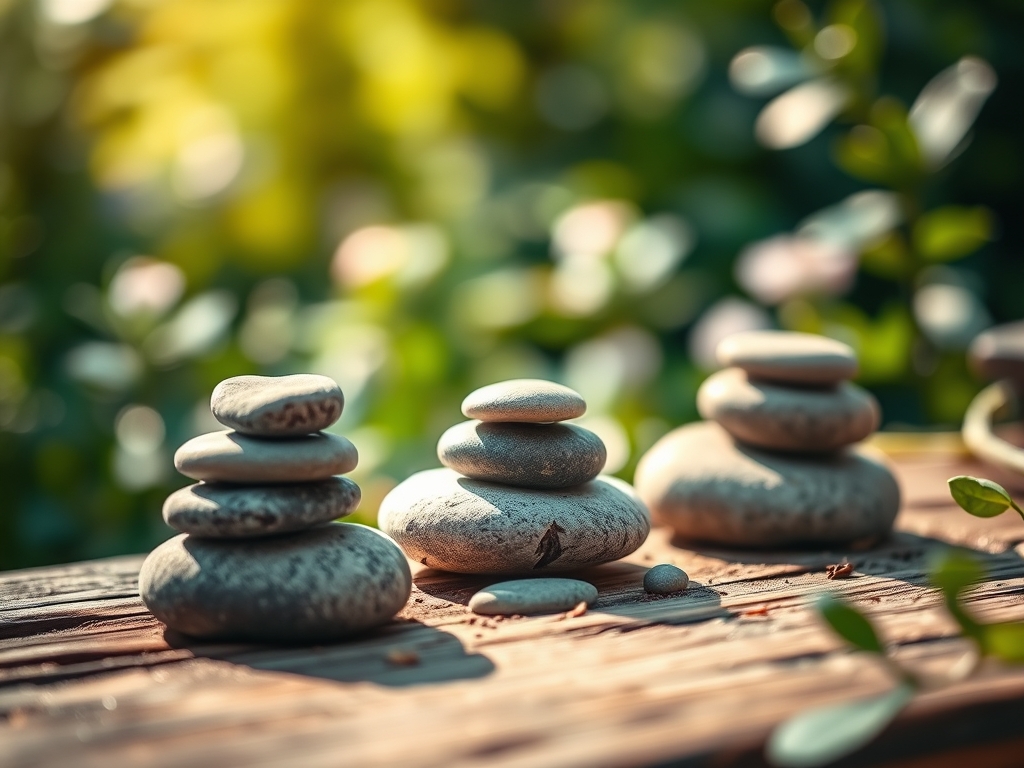
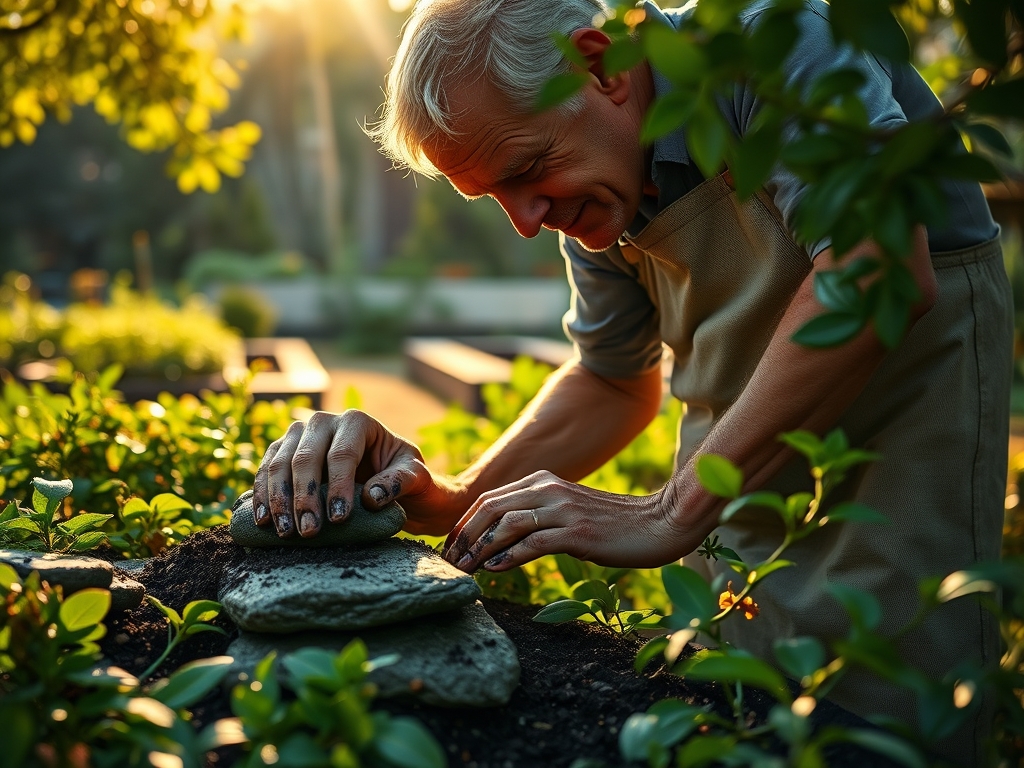
Transplanting and Anchoring
When placing the stones, bury the bottom third of each rock into the substrate. This creates a "naturalized" appearance and ensures the stone acts as a heat sink. Orient the stones so their grain follows the primary line of sight. If you are integrating low-growing groundcovers like Sagina subulata, ensure the root balls are tucked tightly against the stone base.
Pro-Tip: Use the principle of auxin suppression by keeping the tallest stones toward the center. This prevents shading of lower-growing species, ensuring that light reaches the leaf surface to maintain high rates of photosynthesis.
Establishing the Microclimate
Once the stones are set, apply a 2-inch layer of fine mulch or pea gravel. This reduces soil temperature fluctuations and prevents the germination of opportunistic weed seeds. Water the area deeply to settle the soil around the stones, using a flow rate that does not exceed the infiltration capacity of your loam.
Pro-Tip: The presence of large stones creates a "rain shadow" effect. Monitor the soil moisture on the leeward side of the stones, as phototropism will cause plants to lean toward the light, potentially exposing their roots to drier soil patches.
The Clinic:
Physiological disorders often manifest shortly after stone installation due to soil compaction or pH shifts.
- Symptom: Interveinal chlorosis (yellowing leaves with green veins).
- Solution: This indicates a micronutrient deficiency, often Iron or Manganese. Test the soil pH. If it is above 7.5, the nutrients are "locked" and unavailable to the plant. Lower the pH using chelated iron drench.
- Symptom: Marginal leaf burn or necrosis.
- Solution: This is typically a sign of salt accumulation or drought stress. The stones may be reflecting too much infrared radiation. Increase irrigation frequency and apply a layer of organic mulch to cool the root zone.
- Symptom: Stunted growth and purplish foliage.
- Solution: Phosphorus deficiency. This often occurs in cold, wet soils where root uptake is inhibited. Apply a high-phosphorus (0-20-0) fertilizer directly to the root zone.
Fix-It: For general Nitrogen chlorosis (uniform yellowing of older leaves), apply a quick-release urea-based fertilizer at a rate of 0.5 pounds of actual nitrogen per 1,000 square feet.
Maintenance:
Precision is the hallmark of a professional horticulturist. Maintain the stone arrangement by ensuring the surrounding plants receive 1.5 inches of water per week, measured at the drip line. Use a soil moisture meter to verify that the moisture has penetrated at least 6 inches deep. Every spring, use a hori-hori knife to edge the perimeter of the stones, preventing turf grass from encroaching on the design. If woody perennials are part of the arrangement, use bypass pruners to remove dead or diseased wood, making cuts at a 45-degree angle just above a lateral bud to encourage outward growth. Check the stones for shifting after heavy rain events; if a stone has tilted, use a pry bar to reset it and backfill with additional crushed aggregate.
The Yield:
While a stone arrangement is primarily structural, the "yield" is the health and longevity of the micro-ecosystem. If you have incorporated mosses, harvest them only when they have reached a thickness of at least 1 inch. Use a flat spatula to lift sections, ensuring you keep the rhizoids intact. To maintain "day-one" freshness for any cuttings or mosses used in the arrangement, immediately mist them with distilled water and keep them in a shaded, high-humidity environment until they are replanted. This prevents the collapse of cellular turgor and ensures the plants remain physiologically active during the transition.
FAQ:
How deep should I bury the stones?
Bury at least one third of the stone's height. This provides structural stability and creates a seamless transition between the stone and the soil, preventing the rock from appearing as if it is merely sitting on the surface.
What is the best soil for a zen garden?
A well-draining, friable loam with a pH of 6.0 to 7.0 is ideal. The soil should have a high Cation Exchange Capacity to ensure that essential nutrients like potassium and magnesium remain available for plant uptake.
How do I prevent weeds between stones?
Install a heavy-duty geotextile fabric beneath the gravel layer. Additionally, maintain a 2-inch layer of inorganic mulch, such as decomposed granite, which creates a sterile environment that inhibits the germination of wind-blown weed seeds.
Can I move stones after they are set?
It is possible but discouraged once the surrounding root systems have established. Moving a stone can cause significant root pruning and disrupt the mycorrhizal networks in the soil, leading to localized plant stress and potential dieback.