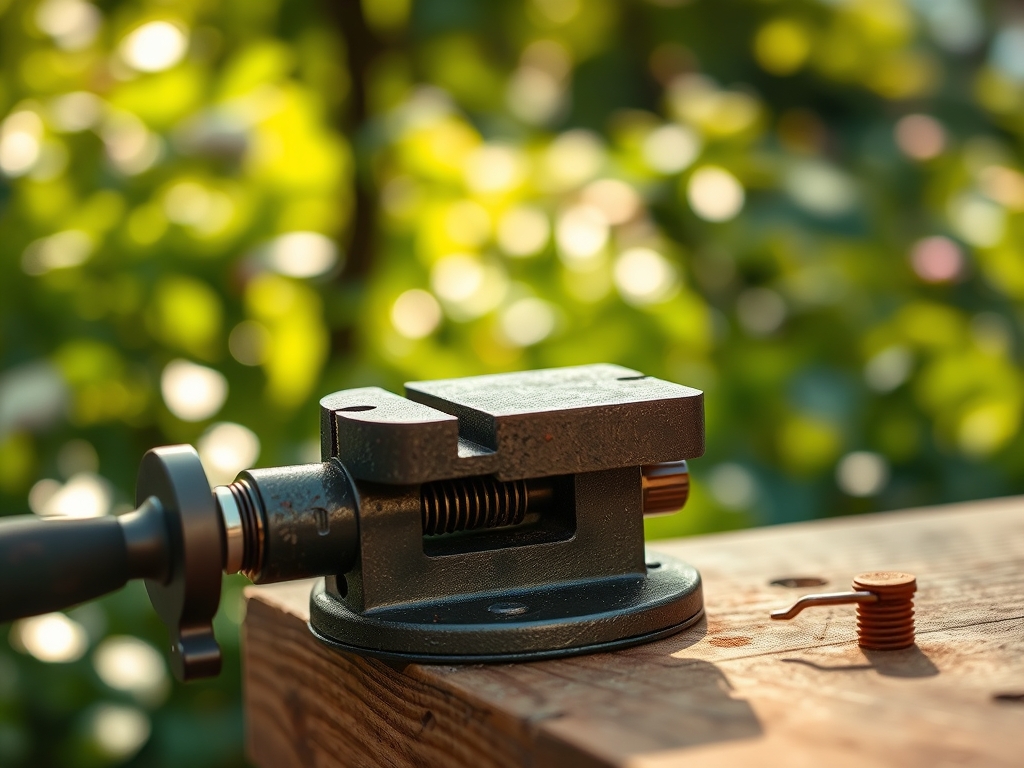
8 Simple Steps to Install a Bench Vice
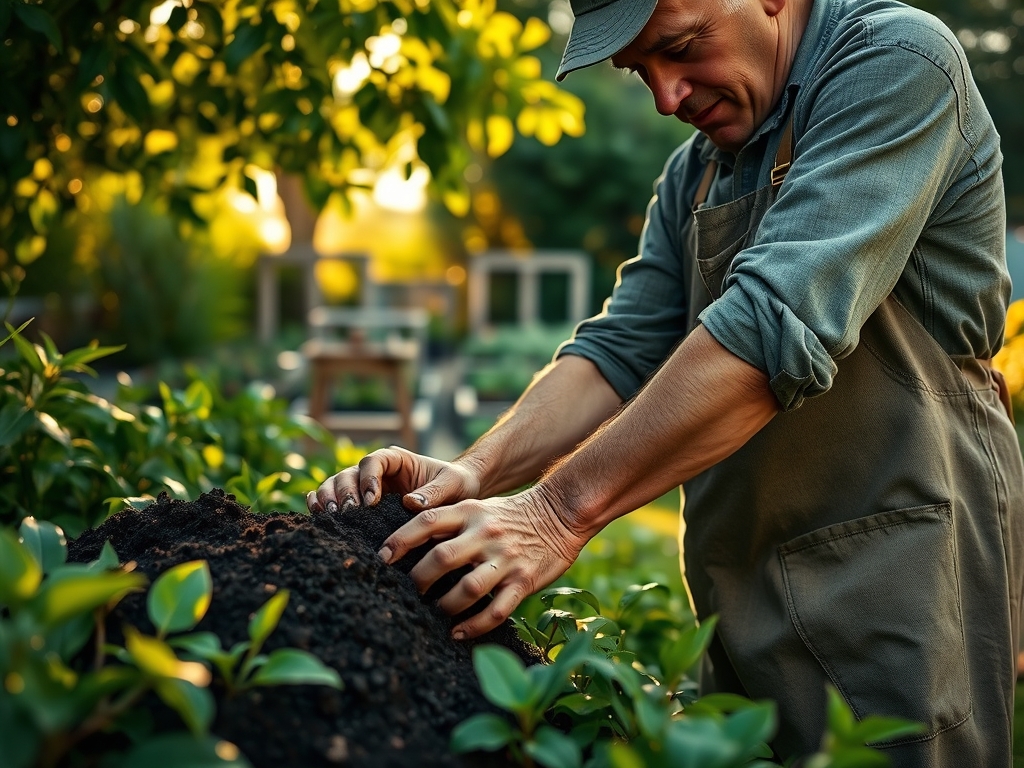
The scent of damp, well-aggregated soil and the high turgor pressure of a healthy leaf define the successful garden workspace. A potting bench is the central nervous system of any horticultural operation; it is where seeds are sown and rootstocks are grafted. To ensure stability during rigorous tasks like splitting dense rhizomes or repairing irrigation components, you must master the steps to install a bench vice. A loose vice leads to uneven cuts and damaged plant tissue. Proper installation requires a substrate that can withstand significant torque and mechanical stress. You must secure the hardware to a bench with a minimum thickness of 1.5 inches to prevent structural failure under load. This guide applies the same precision used in soil science to mechanical assembly, ensuring your workspace is as resilient as a perennial in peak season.
Materials:
The ideal potting bench substrate is a friable loam composed of hardwood or heavy-gauge steel. If your bench is timber, it should be treated to resist a soil pH ranging from 5.5 to 7.5, as acidic runoff from peat-based mixes can corrode standard fasteners. Use Grade 5 galvanized bolts to prevent oxidation in high-humidity greenhouse environments.
For the surrounding garden beds, maintain a Cation Exchange Capacity (CEC) of 15 to 25 milliequivalents per 100 grams. Use a balanced NPK ratio of 10-10-10 for general maintenance, or a 5-10-15 ratio if you are prioritizing root development and stem strength over foliage. Ensure the work surface is level to prevent gravitational water runoff, which can lead to localized anaerobic conditions in seedling trays.
Timing:
Installation should occur during the dormant season, typically between the first hard frost and the spring thaw. In Hardiness Zones 5 through 7, this window falls between late November and early March. Completing mechanical upgrades during this period prevents interference with the biological clock of your crops.
As plants transition from the vegetative stage to the reproductive stage, their demand for phosphorus and potassium increases. By installing your vice before the spring equinox, you ensure the tool is ready for the intense labor of the primary growing season. This timing aligns with the photoperiod shifts that trigger flowering in short-day plants, allowing you to focus entirely on crop management once the frost-free date passes.
Phases:
Sowing the Foundation
Position the vice over a primary support leg of the bench. This transfers the kinetic energy directly to the ground, much like a taproot anchors a heavy shrub. Mark the mounting holes using a center punch to prevent the drill bit from wandering.
Pro-Tip: Align the stationary jaw slightly proud of the bench edge. This follows the principle of thigmotropism; just as a vine requires a physical contact point to climb, your workpiece needs a clear vertical path to the floor without obstruction from the bench frame.
Transplanting the Hardware
Drill pilot holes using a bit 1/16th of an inch smaller than your bolt diameter. This ensures a tight friction fit within the cellulose fibers of the wood. Insert the bolts from the top down to utilize gravity in maintaining the assembly if a nut should ever vibrate loose.
Pro-Tip: Apply a thin layer of lithium grease to the screw mechanism. This mimics the mucilage produced by root tips, reducing friction and protecting the metal from the abrasive silicates found in common potting soils.
Establishing the Grip
Tighten the mounting nuts in a star pattern to distribute pressure evenly across the mounting plate. Over-tightening can crush the wood fibers, compromising the structural integrity of the bench. Use a torque wrench to reach 25 foot-pounds for standard 1/2-inch hardware.
Pro-Tip: Place a sacrificial wood block between the vice jaws when not in use. This prevents auxin suppression in the surrounding workflow by maintaining a clear, organized space that promotes efficient movement and plant handling.
The Clinic:
Physiological disorders in the garden often mirror mechanical failures in the shop. Use the following diagnostic criteria to maintain your equipment and your plants.
Symptom: Leaf margins turning yellow while veins remain green (Interveinal Chlorosis).
Solution: This indicates a lack of iron or magnesium. Check soil pH; if it exceeds 7.0, iron becomes chemically locked. Apply chelated iron or elemental sulfur to lower the pH.
Symptom: Vice jaw slippage or "chatter" during operation.
Solution: Inspect the serrated jaw inserts for soil buildup. Clean with a wire brush and check for stripped threads on the main spindle.
Symptom: Stunted growth and purplish tint on lower leaves.
Solution: This is a classic Phosphorus deficiency. It often occurs in cold soils where microbial activity is low. Apply a high-phosphorus starter fertilizer (NPK 10-52-10) to stimulate ATP production and root expansion.
Fix-It Section:
For Nitrogen chlorosis (general paling of the plant), apply a quick-release nitrate-based fertilizer. Nitrogen is highly mobile in the soil and must be replenished if leaching occurs due to heavy rainfall exceeding 2 inches per week.
Maintenance:
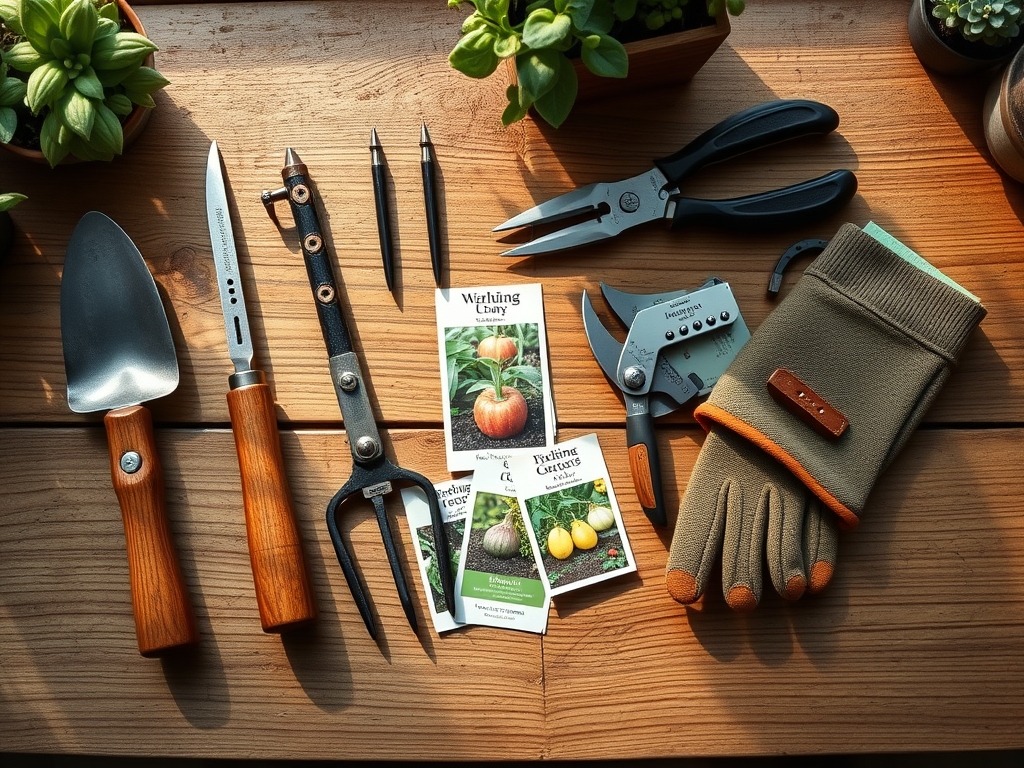
Precision horticulture requires consistent data. Use a soil moisture meter daily to ensure your containers maintain a consistent moisture profile. Most temperate species require 1.5 inches of water per week delivered at the drip line to maximize absorption by the fine root hairs.
Keep your hori-hori knife sharpened to a 20-degree angle for clean cuts that heal quickly. When pruning, use bypass pruners rather than anvil types to avoid crushing the vascular cambium. After each use, wipe your tools with a 10 percent bleach solution or isopropyl alcohol to prevent the transmission of soil-borne pathogens like Fusarium or Phytophthora.
The Yield:
Harvesting is the culmination of the plant's life cycle. For most fruiting crops, harvest when the fruit reaches "breaker stage" or full color. Use a sharp blade to sever the pedicel; do not pull, as this can cause mechanical damage to the main stem and invite fungal infection.
Post-harvest, cool the produce immediately to reduce the rate of senescence. Removing "field heat" slows down the plant's metabolic processes, preserving sugars and maintaining turgor for "day-one" freshness. For flowers, sear the stems or place them in 110-degree Fahrenheit water to break air embolisms in the xylem, ensuring maximum water uptake.
FAQ:
What is the best height for a bench vice?
The top of the vice jaws should be at elbow height. This ergonomic positioning prevents back strain and allows for maximum leverage when using a hori-hori knife or heavy shears for root pruning and tool maintenance.
Can I install a vice on a plastic bench?
No. Plastic lacks the structural density to handle the torque. Use a solid wood or steel bench. High-density polyethylene (HDPE) will deform under the compression of the mounting bolts, leading to a total loss of stability during operation.
How do I prevent the vice from rusting?
Apply a thin coat of paste wax or machine oil to all unpainted surfaces. In high-humidity zones, use a dehumidifier to keep the ambient moisture below 60 percent. This prevents oxidation and ensures the lead screw moves smoothly.
What bolt size is standard for vice installation?
Most medium-duty vices require 1/2-inch or 5/8-inch diameter bolts. Always use washers on both the top and bottom surfaces to distribute the load and prevent the bolt heads from sinking into the wood substrate over time.