10 Authentic Ways How to Design a Japanese Garden
The smell of damp humus and the distinct metallic tang of wet granite define the sensory baseline of a functional landscape. Success depends on the turgor pressure of the foliage and the structural integrity of the root systems. Learning how to design a Japanese garden requires a shift from decorative thinking to ecological engineering. You are not merely placing stones; you are managing microclimates and soil hydrology to create a self-sustaining botanical system.
Materials:
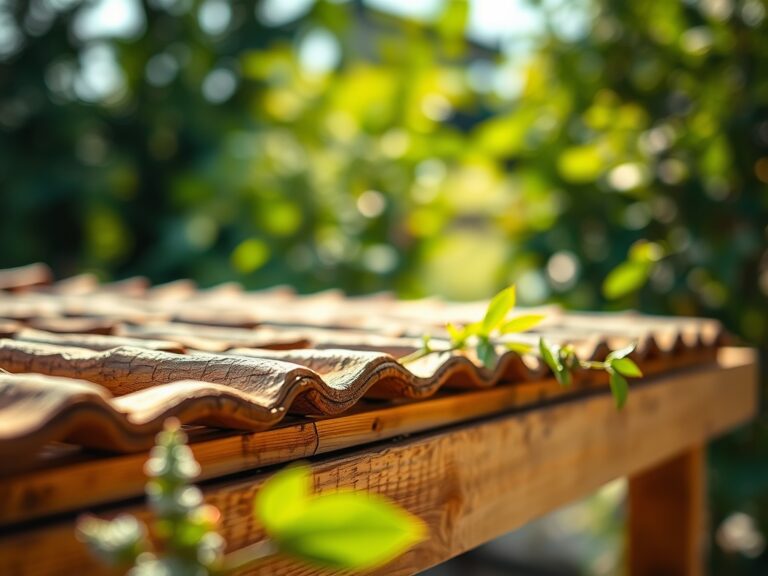
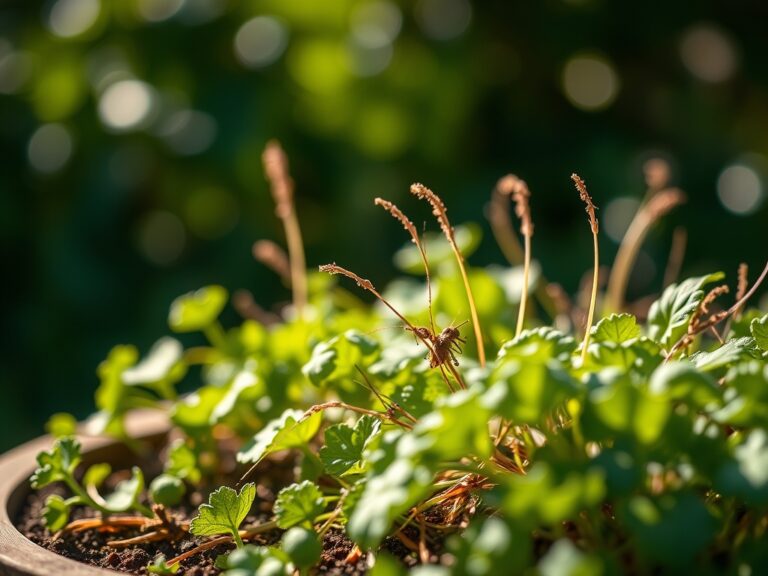
The foundation of the Japanese aesthetic is the substrate. Most traditional Japanese species, such as *Acer palmatum* or *Pinus thunbergii*, require a **soil pH between 5.5 and 6.5**. The ideal substrate is a **friable loam** with a high sand content to ensure rapid drainage.
For the rhizosphere to thrive, the Cation Exchange Capacity (CEC) must be managed through precise nutrient inputs. During the establishment phase, utilize an NPK ratio of 10-10-10 to support balanced root and shoot development. Once the woody perennials are established, transition to a low-nitrogen 5-10-10 formula to prevent excessive vegetative growth and maintain the desired stunted, sculptural form. Incorporate decomposed granite to improve aeration and prevent anaerobic conditions in the lower soil horizons.
Timing:
Timing is dictated by the USDA Hardiness Zones, typically ranging from Zone 5 to Zone 9 for most traditional species. Planting should occur during the dormant window, specifically four to six weeks before the first hard frost in autumn or four weeks before the last spring frost.
The biological clock of the garden is governed by the photoperiod. Deciduous elements transition from the vegetative stage to senescence as daylight hours decrease, triggering the translocation of carbohydrates to the root system. Evergreens require consistent soil moisture during this transition to prevent winter desiccation. Monitor the soil temperature; root elongation occurs most efficiently when the rhizosphere remains between 45 and 55 degrees Fahrenheit.
Phases:
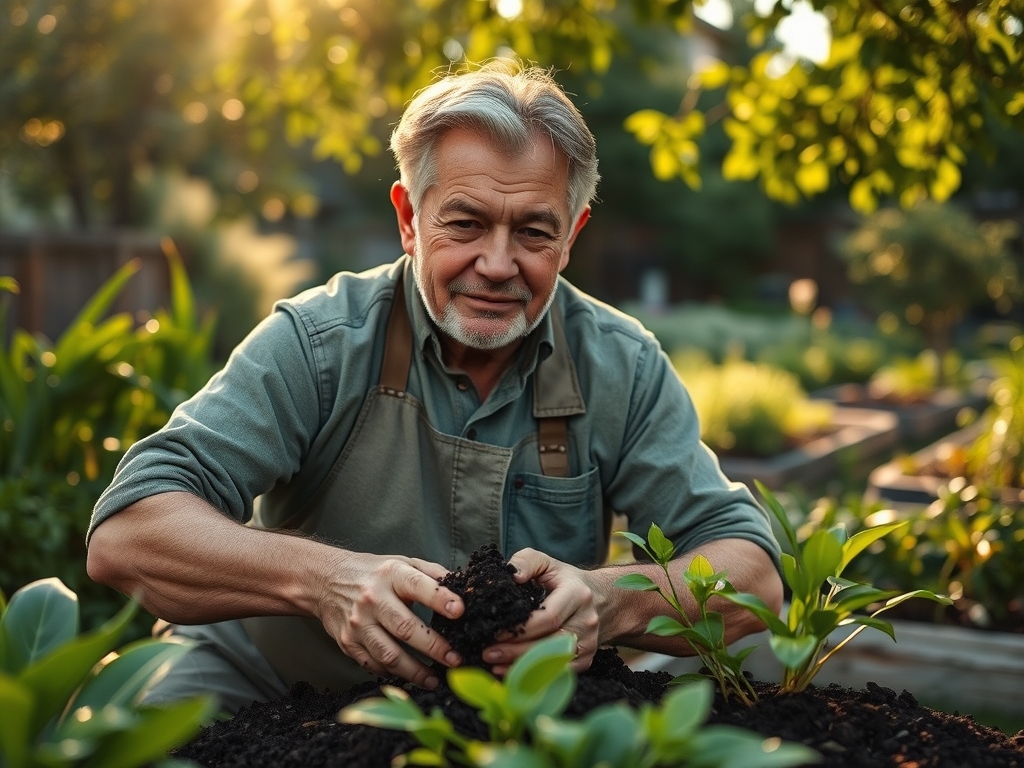
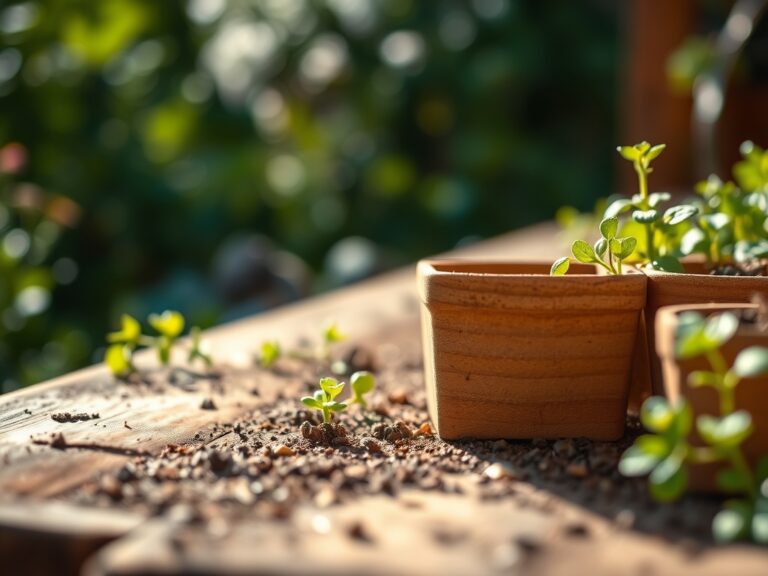
Sowing and Soil Preparation
Begin by excavating the site to a depth of 18 inches. Incorporate organic matter to increase the water-holding capacity without sacrificing drainage. If using mosses such as Leucobryum glaucum, ensure the surface is compacted and clear of debris to allow for direct contact between the rhizoids and the soil.
Pro-Tip: Mycorrhizal fungi inoculation is essential during this phase. Biological Why: These symbiotic fungi extend the reach of the root system, increasing the surface area for phosphorus uptake and improving the plant's resistance to drought stress.
Transplanting
When moving specimen trees, the root ball must remain intact to protect the fine feeder roots. Dig a hole twice the width of the root ball but no deeper than the original container depth. Backfill with the native soil to avoid creating a "bathtub effect" where water pools in the looser planting hole.
Pro-Tip: Orient the plant's "best face" toward the primary viewing angle before backfilling. Biological Why: Minimizing the rotation of the plant after it is in the ground prevents the shearing of delicate root hairs, which are responsible for the majority of water absorption.
Establishing and Pruning
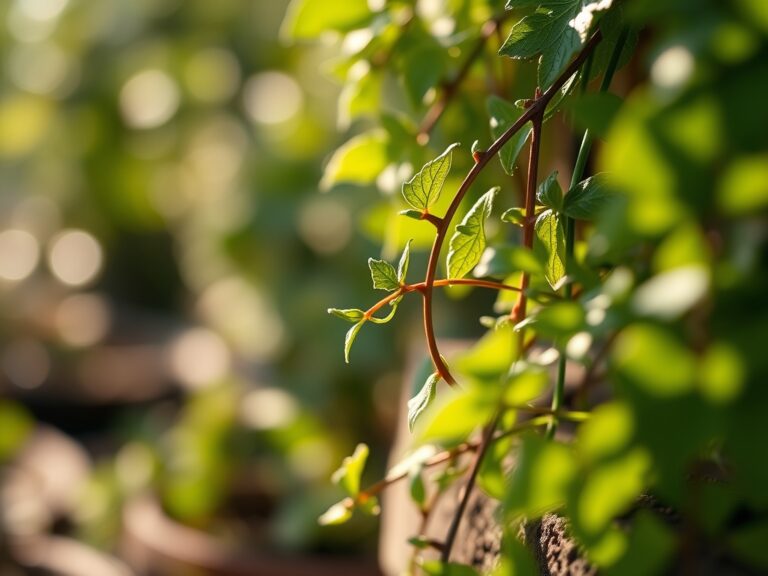
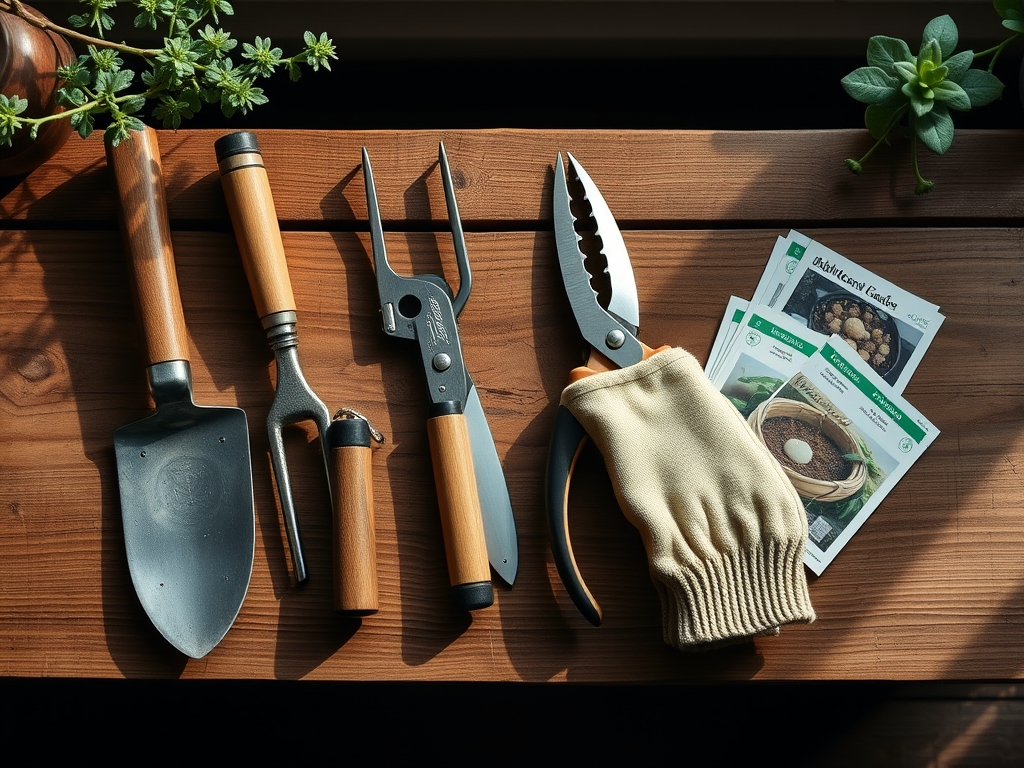
Initial structural pruning should focus on the removal of the "three Ds": dead, damaged, or diseased wood. Use bypass pruners for clean cuts that allow the plant to compartmentalize the wound quickly.
Pro-Tip: Use "niwaki" pruning techniques to control the growth of terminal buds. Biological Why: By removing the dominant terminal bud, you suppress auxin production, which encourages lateral branching and results in a denser, more controlled canopy.
The Clinic:
Physiological disorders often manifest as visual cues in the foliage.
-
Symptom: Interveinal chlorosis (yellowing between green veins) in new leaves.
Solution: This indicates an Iron deficiency, often caused by a pH above 7.0. Apply chelated iron and amend the soil with elemental sulfur to lower the pH. -
Symptom: Marginal leaf burn or browning of leaf edges.
Solution: This is typically a sign of Potassium deficiency or salt accumulation. Flush the soil with 2 inches of water and apply a 0-0-50 sulfate of potash. -
Symptom: Stunted growth and pale green older leaves.
Solution: Nitrogen chlorosis. Apply a slow-release organic fertilizer with a 4-2-2 ratio to provide a steady supply of nitrogen without triggering a growth spike that attracts aphids. -
Symptom: Needle cast or premature needle drop in pines.
Solution: Often a result of poor air circulation or fungal pathogens. Thin the interior branches to increase airflow and reduce humidity within the canopy.
Maintenance:
Precision is the hallmark of professional maintenance. Irrigate with 1.5 inches of water per week delivered at the drip line. Use a soil moisture meter to verify that the moisture has penetrated to a depth of 6 inches.
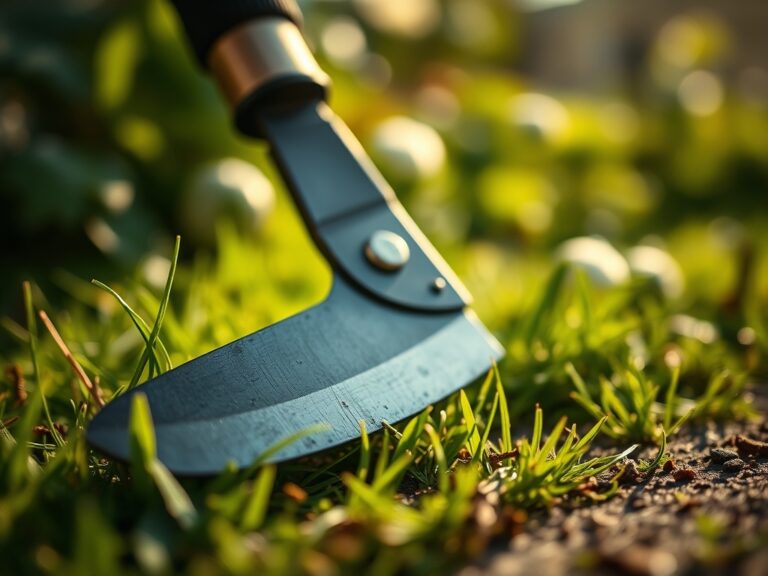
Maintain the edges of moss beds and gravel areas using a hori-hori knife to slice through encroaching grass rhizomes. Rake gravel patterns weekly to prevent the accumulation of organic detritus, which can lead to weed germination. Every three years, perform a professional soil test to monitor the Cation Exchange Capacity and adjust the mineral balance accordingly.
The Yield:
While Japanese gardens are primarily ornamental, the "yield" is found in the harvest of aesthetic materials like moss or the pruning of structural branches. When harvesting moss for propagation, take small 2-inch plugs from various locations to allow the parent colony to regenerate.
For floral elements like Camellia or Iris, harvest in the early morning when turgor pressure is at its peak. Use a sharp blade to make a diagonal cut and immediately submerge the stems in 100-degree Fahrenheit water to remove air bubbles from the xylem, ensuring maximum hydration and "day-one" freshness.
FAQ:
What is the best soil for a Japanese garden?
A well-draining, friable loam with a pH of 5.5 to 6.5 is ideal. Incorporate coarse sand and organic compost to ensure a high Cation Exchange Capacity while maintaining rapid drainage for sensitive root systems.
How often should I water my Japanese maple?
Provide 1.5 inches of water per week at the drip line. In periods of extreme heat, use a soil moisture meter to ensure the rhizosphere remains hydrated at a depth of 6 to 8 inches.
Can I build a Japanese garden in a cold climate?
Yes. Select species hardy to your USDA Zone. Ensure adequate mulching to protect the root zone from freeze-thaw cycles and use windbreaks to prevent winter desiccation of evergreen needles and broadleaf foliage.
What is the purpose of gravel in these designs?
Gravel serves as a functional mulch that suppresses weeds and regulates soil temperature. It also facilitates drainage and provides a sterile surface that prevents the splash-back of soil-borne pathogens onto the foliage of specimen plants.