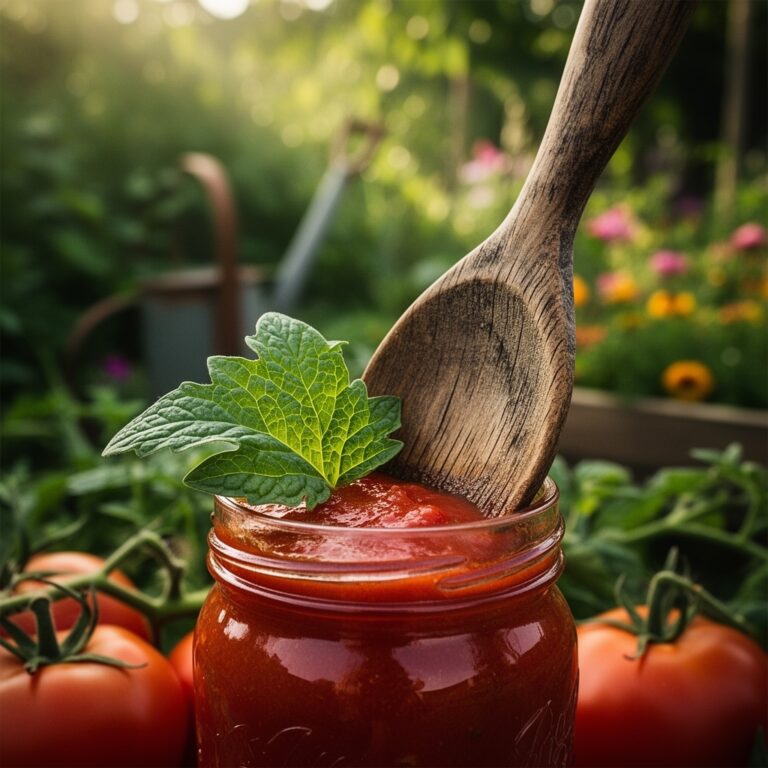
8 Basic Steps to Bread and Butter Pickles
The first bite of a bread and butter pickle delivers sweetness, tang, and the snap of fresh cucumber pressed into brine. These golden coins of preserved produce demand attention to detail from seed to jar. The steps to bread and butter pickles begin not in the kitchen but in prepared soil where cucumber cultivars meet precise growing conditions. Each phase builds toward that signature balance of sugar and vinegar, crunch and softness.
Materials
Cucumber production for pickling requires soil pH between 6.0 and 6.8. Test soil three weeks before planting and amend with dolomitic limestone if pH falls below 5.8. The calcium supports cell wall integrity, reducing post-harvest softening.
Select a balanced organic fertilizer at 4-4-4 or 5-5-5 NPK ratio. Excessive nitrogen produces leafy growth at the expense of fruit set. Incorporate 2 pounds of fertilizer per 100 square feet during bed preparation. Add granular sulfur if pH exceeds 7.2, applying at 1 pound per 100 square feet.
Pickling cucumber varieties suited to bread and butter preparation include 'Calypso', 'Boston Pickling', and 'National Pickling'. These determinate types produce 3- to 4-inch fruits with thin skins and minimal seed cavities. Purchase certified disease-free seed from suppliers offering resistance to cucumber mosaic virus and powdery mildew.
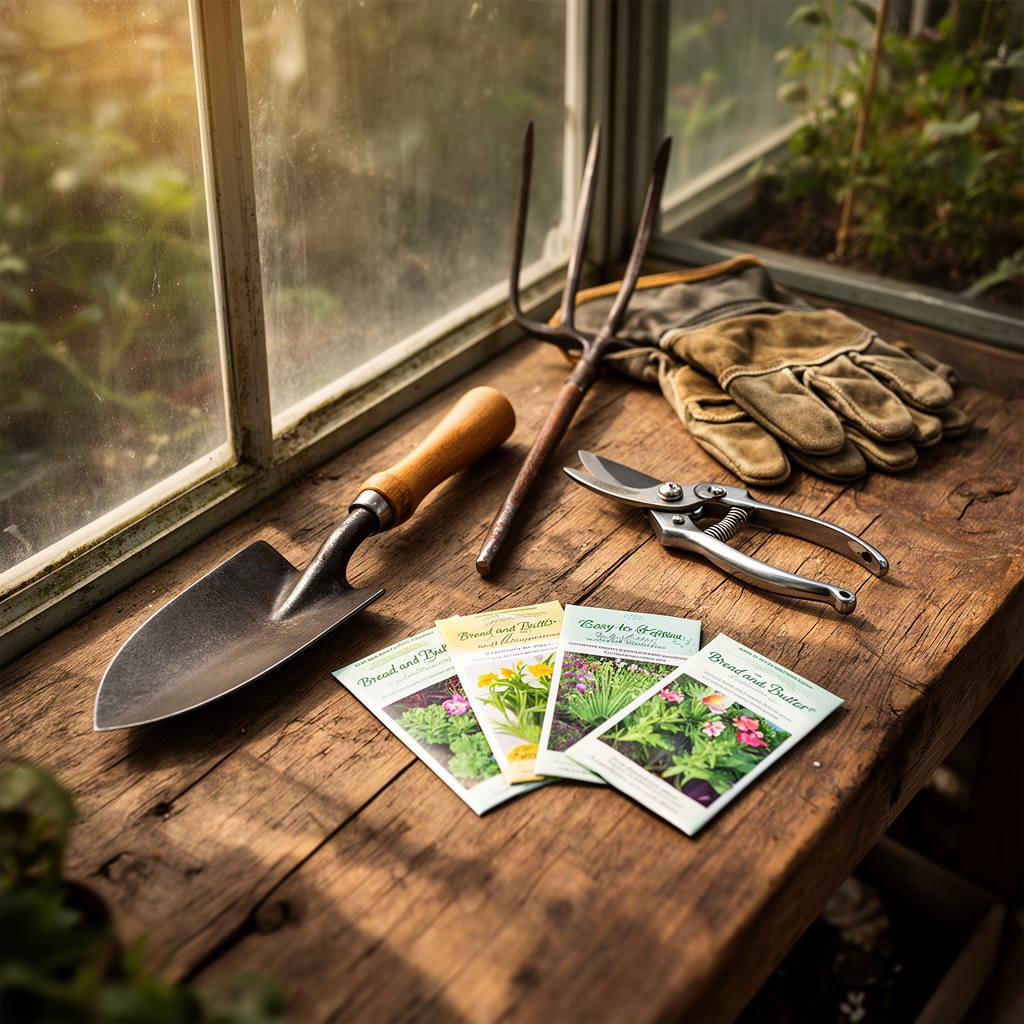
Canning supplies include wide-mouth pint jars, two-piece metal lids, a water bath canner, and a jar lifter. The brine requires white vinegar at 5% acidity, granulated sugar, pickling salt (without anti-caking agents), mustard seed, celery seed, and turmeric.
Timing
Cucumbers are warm-season annuals damaged by frost. In USDA Hardiness Zones 3 through 5, direct-seed or transplant after the last spring frost date when soil temperature reaches 65°F at 2-inch depth. Zones 6 through 8 allow planting two weeks before the last frost if row covers provide protection. Zones 9 through 11 support fall planting from August through September when temperatures moderate below 95°F.
Germination occurs in 7 to 10 days at soil temperatures between 70°F and 85°F. Harvest begins 50 to 65 days after seeding, depending on cultivar. Plan successive sowings every 14 days through early summer to extend the pickling window into August.
Phases
Sowing Phase
Create raised beds 6 inches high to improve drainage and accelerate soil warming. Space rows 5 feet apart. Sow seeds 1 inch deep in groups of three, spacing groups 12 inches apart. Thinning to the strongest seedling per station occurs when true leaves emerge.
Pro-Tip: Inoculate seeds with mycorrhizal fungi at planting. Mix 1 teaspoon of inoculant per planting hole. The symbiotic relationship enhances phosphorus uptake and drought tolerance through expanded root surface area.
Transplanting Phase
Indoor seed starting provides a 3-week advantage in short-season climates. Sow in 2-inch cells filled with sterile seed-starting mix 3 to 4 weeks before the target outdoor planting date. Maintain soil temperature at 75°F using heat mats. Harden off seedlings over 7 days by gradually exposing them to outdoor conditions.
Transplant when seedlings develop two true leaves. Disturb roots minimally. Plant at the same depth as the cell, firming soil around the stem base. Water immediately with a starter solution of 10-52-10 fertilizer diluted to half strength.
Pro-Tip: Install trellises at transplanting to support vertical growth. Train vines upward at a 60-degree angle to maximize light interception and air circulation. This reduces fungal pressure and simplifies harvest.
Establishing Phase
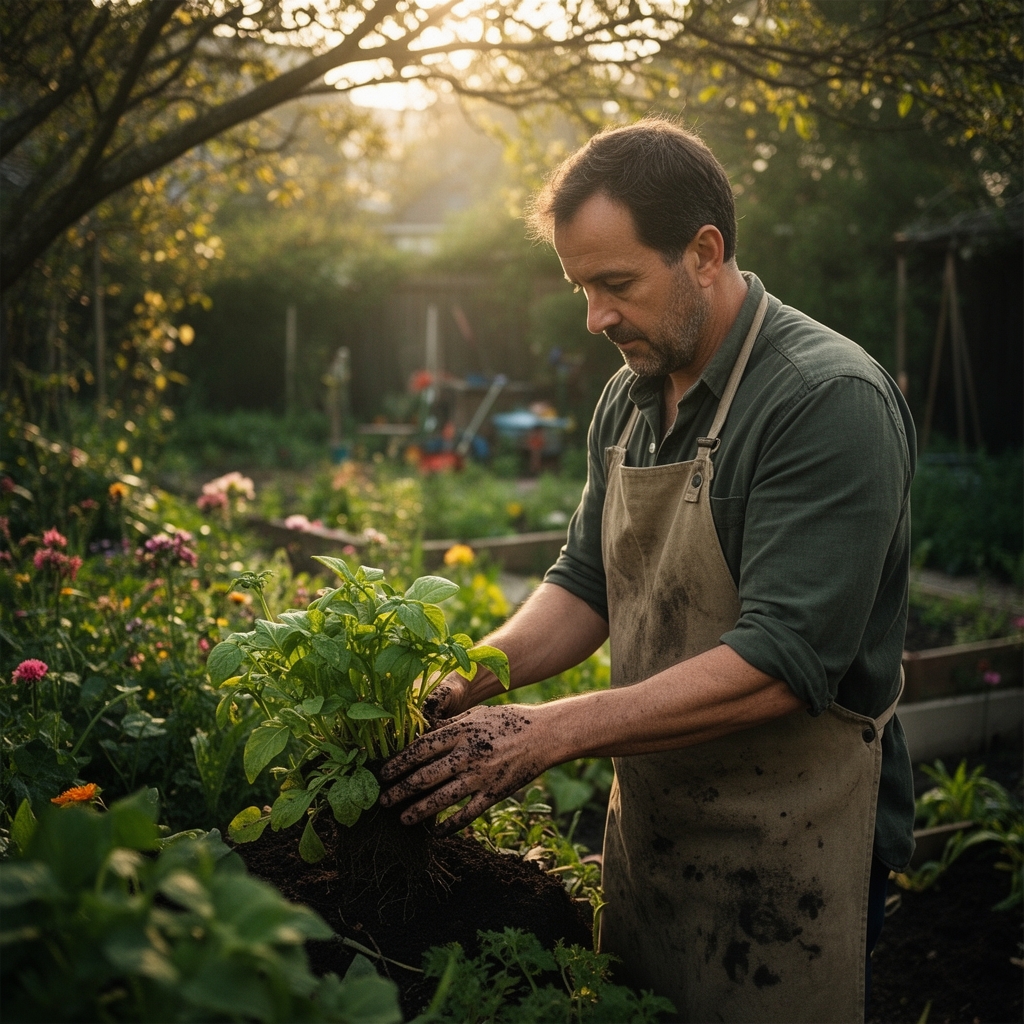
Side-dress with compost or aged manure when vines reach 12 inches in length. Apply a 1-inch layer in a 6-inch band on both sides of the row, keeping material 4 inches from stems. This slow-release nitrogen supports steady fruit development without promoting excessive vegetative growth.
Maintain consistent soil moisture. Fluctuating water availability causes misshapen fruit and bitter flavor compounds. Mulch with 3 inches of straw or shredded leaves to moderate soil temperature and reduce moisture loss.
Pro-Tip: Remove the first two flowers on each plant. This practice redirects auxin distribution toward root development, establishing a stronger foundation for heavy fruit production.
Troubleshooting
Symptom: Yellow stippling on leaves, fine webbing on undersides.
Solution: Spider mites thrive in hot, dry conditions. Spray plants with water to increase humidity. Apply insecticidal soap at 2% concentration every 5 days for three applications.
Symptom: White powdery coating on leaf surfaces.
Solution: Powdery mildew reduces photosynthetic capacity. Remove infected leaves. Apply sulfur-based fungicide at label rates. Ensure 18-inch spacing between plants to improve air movement.
Symptom: Fruit develops bitter taste despite proper watering.
Solution: Cucurbitacin accumulation increases with heat stress above 90°F. Provide afternoon shade using 30% shade cloth. Harvest fruit at 3 to 4 inches before compounds concentrate.
Symptom: Blossom end appears water-soaked and collapses.
Solution: Insufficient calcium uptake, often linked to irregular watering. Apply calcium nitrate foliar spray at 1 tablespoon per gallon weekly. Maintain consistent soil moisture at 1 inch per week.
Maintenance
Apply 1 inch of water per week through drip irrigation or soaker hoses. Water in early morning to allow foliage to dry, reducing disease pressure. Monitor soil moisture at 4-inch depth using a moisture probe. Sandy soils require more frequent irrigation at 0.5 inches every 3 days.
Scout for cucumber beetles weekly. These pests vector bacterial wilt. Hand-pick beetles into soapy water. Apply kaolin clay as a physical barrier if populations exceed 1 beetle per plant.
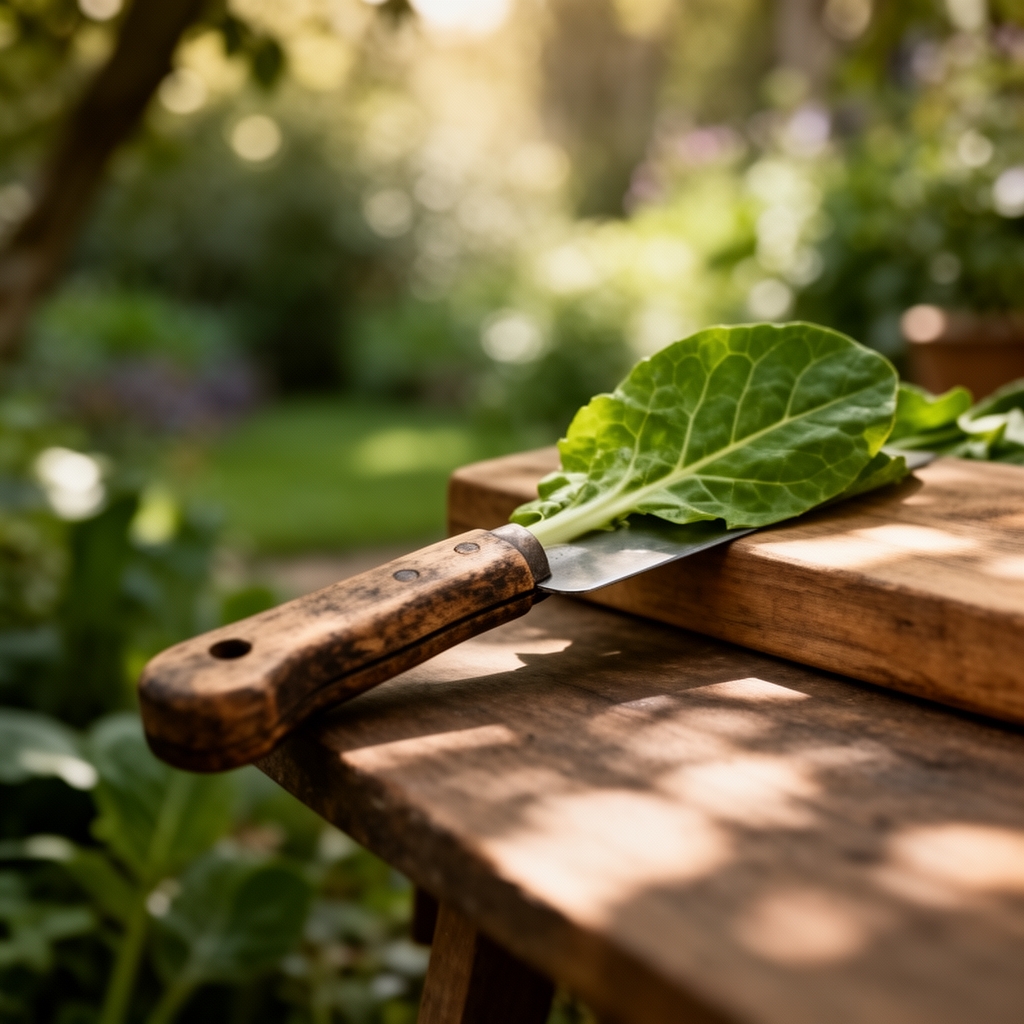
Harvest cucumbers every 2 days once production begins. Overripe fruit signals the plant to cease flowering. Cut stems rather than pulling to avoid vine damage.
FAQ
How many cucumber plants produce enough for canning?
Four plants yield approximately 20 pounds of pickles over 4 weeks, sufficient for 10 pint jars of bread and butter pickles.
Can pickling cucumbers be grown in containers?
Yes. Use containers at least 5 gallons in volume with drainage holes. Choose bush varieties like 'Bush Pickle' that require less space than vining types.
Why do my pickles turn soft after processing?
Soft pickles result from overripe cucumbers, insufficient salt, or water bath processing that exceeded 10 minutes. Harvest firm fruit and follow tested canning times.
What causes hollow cucumbers?
Rapid growth from excess nitrogen or irregular watering creates hollow centers. Maintain balanced fertility and consistent moisture throughout fruit development.
When should I pick cucumbers for bread and butter pickles?
Harvest at 3 to 4 inches in length when skin color shifts from bright to pale green. Smaller fruit produces crunchier pickles with better brine penetration.