8 Vital Steps to Pressure Canner Safety
The steel hiss of escaping steam and the rhythmic jiggle of a pressure regulator mark the threshold between preserved harvest and kitchen disaster. Home canners processing low-acid foods must master steps to pressure canner safety to prevent botulism contamination, equipment failure, and thermal injury. Each year, pressure canning preserves millions of pounds of green beans, corn, and meat, but only when operators follow temperature protocols that reach 240°F at sea level. The margin for error narrows to minutes and pounds per square inch.
Materials
Pressure canners require dial-gauge or weighted-gauge models tested to USDA specifications. Dial gauges demand annual calibration against mercury manometers to ensure accuracy within 2 psi. Weighted gauges self-regulate at 5, 10, or 15 pounds of pressure depending on stackable weight configuration.
Canning jars need tempered glass rated for thermal shock, with two-piece lids comprising flat metal discs and threaded bands. The sealing compound on flat lids contains plastisol, a single-use gasket that softens at 180°F to create hermetic seals. Reusing lids compromises the compound's integrity and prevents vacuum formation.
Acidity governs processing method. Foods with pH below 4.6 allow boiling water bath canning, while neutral or alkaline items (pH 4.6 to 7.0) require pressure canning. Test soil pH with a meter calibrated to 0.1 precision when growing produce for preservation. Amend acidic soils with dolomitic limestone at 5 pounds per 100 square feet to raise pH one full point, adjusting cation exchange capacity for nutrient availability.
Select canning recipes formulated with NPK ratios appropriate to crop type. Tomatoes benefit from 5-10-10 fertilizer applications during fruit set, while legumes thrive on 4-4-4 organic meal that supports nitrogen-fixing rhizobia without excess vegetative growth.
Timing
Pressure canner safety protocols begin months before harvest. Plant low-acid vegetables according to hardiness zone frost dates. Zone 5 gardeners direct-sow bush beans May 15 through June 30 for successive harvests. Zone 7 extends the window from April 15 to July 15, maximizing canning volume across 90-day growing periods.
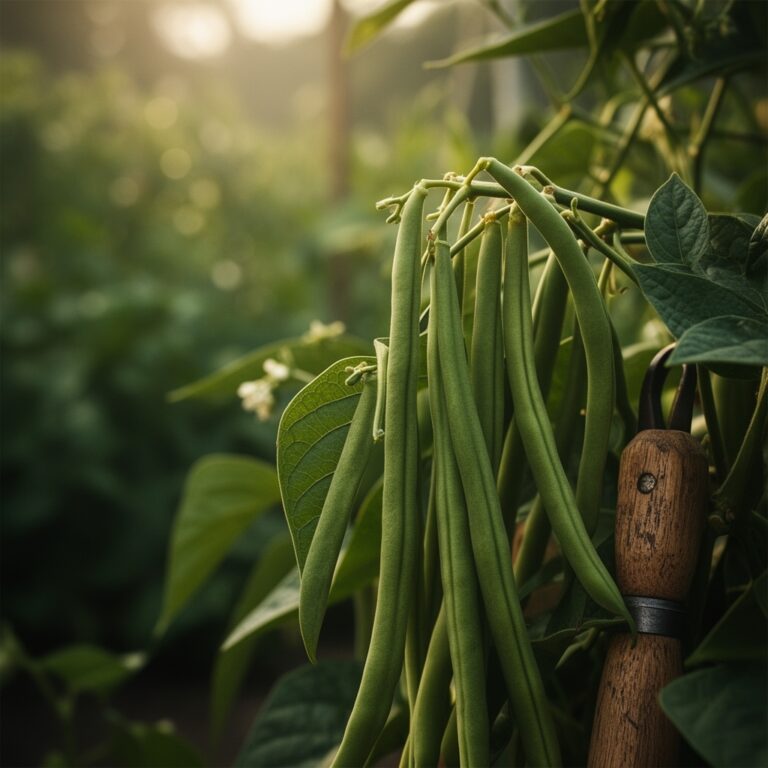
Harvest timing affects texture retention during processing. Pick snap beans when pods reach 4 to 6 inches but before seeds swell beyond 1/4 inch diameter. Overmature beans develop lignin deposits that create tough, woody texture regardless of processing time.
Process filled jars within two hours of packing. Enzymatic activity continues post-harvest, degrading cell walls and reducing nutritional density. Blanching vegetables for 3 minutes in 212°F water deactivates polyphenol oxidase and peroxidase enzymes before raw or hot packing.
Phases

Step One: Equipment Inspection
Examine the rubber gasket for cracks, stiffness, or food residue. Replace gaskets annually or after 50 canning cycles. Check vent pipes for obstructions using a pipe cleaner or thin wire. Mineral deposits from hard water constrict steam flow and prevent proper pressure buildup.
Step Two: Water Volume Calibration
Add 2 to 3 inches of water to canner base, measuring with a ruler from the interior bottom. Insufficient water allows boil-dry conditions that warp aluminum canners. Excess water contacts jar lids during processing, interfering with seal formation.
Pro-Tip: Add 2 tablespoons white vinegar per quart of water to prevent mineral scaling on canner interior and jar exteriors, maintaining heat transfer efficiency.
Step Three: Jar Loading Geometry
Position jars on rack without touching canner walls or each other. Maintain 1/2-inch spacing for steam circulation. Tilted or unstable jars crack from uneven thermal expansion when internal temperatures climb from 140°F to 240°F in 15 minutes.
Step Four: Venting Protocol
Exhaust air by maintaining steady steam flow from vent pipe for 10 minutes before closing petcock or placing weighted gauge. Residual air pockets insulate jar contents, preventing center temperatures from reaching sterilization thresholds. Air reduces effective pressure by 1 psi per 5% air content.
Step Five: Pressure Monitoring
Watch gauge until target pressure stabilizes. Adjust heat to maintain pressure within 1 psi of target. Fluctuations above target waste energy; drops below require restarting timing from zero. Altitude corrections add 1/2 psi per 1,000 feet above sea level for dial gauges, or jump from 10 to 15 pounds for weighted gauges above 1,000 feet.
Pro-Tip: Install an electric coil burner with infinite heat control rather than gas burners. Gas flames create rapid temperature swings that destabilize pressure.
Step Six: Timed Processing
Begin timing only when pressure reaches specification. Pint jars of green beans require 20 minutes at 11 psi, quarts need 25 minutes. Reducing time by even 2 minutes allows Clostridium botulinum spore survival in low-acid anaerobic environments.
Step Seven: Depressurization
Remove canner from heat. Allow pressure to drop naturally to zero over 30 to 45 minutes. Forced cooling via cold water immersion or manual venting creates violent internal boiling that siphons liquid from jars and breaks seals.
Step Eight: Post-Process Inspection
Wait 12 hours before testing seals. Press lid centers; properly sealed lids remain concave and immobile. Unsealed jars require immediate refrigeration and consumption within 3 days, or reprocessing with new lids within 24 hours.
Pro-Tip: Label jars with contents and processing date. Consume home-canned goods within 12 months for peak nutrient retention, as ascorbic acid degrades 10% per year in sealed storage.
Troubleshooting
Symptom: Jars fail to seal after cooling.
Solution: Inspect jar rims for chips or food residue. Wipe rims with vinegar-dampened cloth before applying lids. Insufficient headspace (less than 1 inch for low-acid foods) allows food contact with sealing compound.
Symptom: Liquid loss during processing.
Solution: Reduce heat gradually during depressurization. Rapid pressure drops create internal boiling at temperatures below 212°F due to reduced atmospheric pressure inside jars. Pack jars to proper headspace; overfilling forces expansion-driven siphoning.
Symptom: Cloudy liquid in sealed jars.
Solution: Indicates spoilage from under-processing or starch leaching from overcooked vegetables. Dispose of contents without tasting. Botulinum toxin remains odorless and invisible at lethal concentrations of 30 nanograms.
Symptom: Safety valve releases during processing.
Solution: Excess pressure above 15 psi triggers emergency release. Reduce heat immediately. Verify gauge accuracy with county extension office or purchase replacement dial gauge calibrated to +/- 0.5 psi tolerance.
Symptom: Gasket extrudes from lid during processing.
Solution: Gasket deterioration or improper lid closure. Replace gasket and ensure lid lugs align with canner body lugs before twisting to locked position. Never force lid closure.
Maintenance
Clean canner interior after each use with non-abrasive nylon brush and dish soap. Rinse thoroughly to remove soap residue that creates off-flavors. Dry all components completely to prevent rust formation on metal surfaces.
Store canner with lid inverted or placed beside body. Never store with lid sealed, as trapped moisture encourages mold growth and gasket degradation. Position gasket loosely in lid channel rather than stretched tight.
Test dial gauges annually before canning season. Contact county extension offices for free testing services in most states. Replace gauges reading more than 2 psi high or low at 5, 10, and 15 psi test points.
Apply food-grade silicone lubricant to gaskets twice per season. Rub thin layer onto both sides, avoiding petroleum-based products that degrade rubber compounds. Flexible gaskets seal at lower torque and extend service life to 100 cycles.
Descale weighted gauges monthly during active canning by soaking in 1:1 vinegar and water solution for 30 minutes. Verify vent hole patency by holding to light and confirming clear passage.
FAQ
How long do pressure canners last?
Aluminum models function 15 to 20 years with proper gasket replacement and gauge calibration. Stainless steel canners operate 25+ years, justifying higher initial costs through extended service and superior heat retention.
Can I use my pressure cooker for canning?
No. Pressure cookers lack capacity for proper jar spacing and accurate pressure regulation required for safe low-acid food preservation. USDA approves only canners holding 4 or more quart jars for tested processing times.
What causes jar breakage during processing?
Thermal shock from temperature differentials exceeding 40°F per minute cracks glass. Preheat jars in 180°F water before filling with hot food. Avoid placing cold jars directly into hot canner water.
Do I need to adjust processing time for pint versus quart jars?
Yes. Quarts require 20% to 30% longer processing because heat penetrates to jar centers more slowly. Center temperature lags behind outer product by 15°F to 20°F in quart jars versus 8°F to 10°F in pints.
Why does altitude affect pressure canning?
Atmospheric pressure decreases 0.5 psi per 1,000 feet of elevation. Lower external pressure allows water to boil at temperatures below 212°F. Increasing canner pressure compensates, maintaining 240°F sterilization temperature at jar centers regardless of elevation.