6 Basic Steps to Mix Mortar for Bricks
The smell of damp earth and the turgor of a healthy leaf define the success of a well-structured garden. In the same way that a plant requires a stable rhizosphere to thrive, a garden wall or raised bed requires a structural foundation built on precision. Mastering the steps to mix mortar for bricks is a fundamental skill for any horticulturist constructing permanent garden features. Just as a soil profile must balance drainage with water retention, mortar must achieve a specific plasticity to support weight while resisting the freeze-thaw cycles of the surrounding environment. A poor mix leads to structural senescence; a proper mix ensures the longevity of the landscape.
Materials:
The substrate for masonry is not unlike a specialized potting medium. You require a base of sharp sand, which mimics the drainage properties of a **friable loam**. The sand should be clean and well-graded to ensure a high Cation Exchange Capacity (CEC) is not present, as organic matter or high clay content in the sand will weaken the chemical bond.
For the binder, use Type N masonry cement for general garden applications. This cement typically maintains a pH level near 12.0 to 13.0, which is highly alkaline and prevents fungal growth within the joints. The NPK ratio of the surrounding soil must be protected from this alkalinity; therefore, ensure no runoff reaches acid-loving plants. The ideal texture of the dry mix should be uniform, resembling a dry, silty clay before water is introduced. The water used must be potable and free of salts to prevent efflorescence, a white powdery mineral deposit that disrupts the aesthetic and structural integrity of the brickwork.
Timing:
Successful masonry construction is dictated by the Hardiness Zone and local frost-date windows. In Zones 4 through 7, masonry work should only occur when the ambient temperature is consistently above 40 degrees Fahrenheit (4.4 degrees Celsius) for a minimum of 48 hours. If the temperature drops below freezing before the mortar reaches its initial set, the water within the mix will expand, fracturing the crystalline structure of the cement.
This window mirrors the biological clock of many perennials. Just as you avoid transplanting during the peak heat of the summer to prevent transpiration stress, you must avoid mixing mortar in direct sunlight or high winds. High evaporation rates will "burn" the mortar, leading to a brittle finish. The goal is to work during the transition from the vegetative to the reproductive stages of the garden calendar, typically in mid-spring or early autumn, when humidity levels are stable and the "Biological Clock" of the landscape is not under extreme heat pressure.
Phases:

Sowing the Dry Mix
Begin by measuring your ingredients using a standard ratio of 3 parts sand to 1 part masonry cement. Use a clean wheelbarrow or a mixing tub. Combine the dry materials thoroughly until the color is a consistent, pale grey. This ensures that the chemical binders are evenly distributed throughout the aggregate.
Pro-Tip: Uniformity in the dry mix prevents "hot spots" of unreacted lime. This is similar to ensuring even distribution of granular fertilizer to prevent root burn; consistent particle distribution ensures every square inch of the joint has equal compressive strength.
Transplanting to a Wet State
Create a crater in the center of your dry pile and add water in small increments. Use a hoe to pull the dry material into the center. The goal is a consistency that clings to a trowel when turned upside down but slides off cleanly when shaken. This is known as the "mud" phase.
Pro-Tip: The "Biological Why" here relates to capillary action. Just as water moves through xylem vessels in a plant, water moves through the mortar to hydrate the cement particles. If the mix is too dry, the brick will wick all moisture away, stopping the chemical hydration process prematurely and causing structural failure.
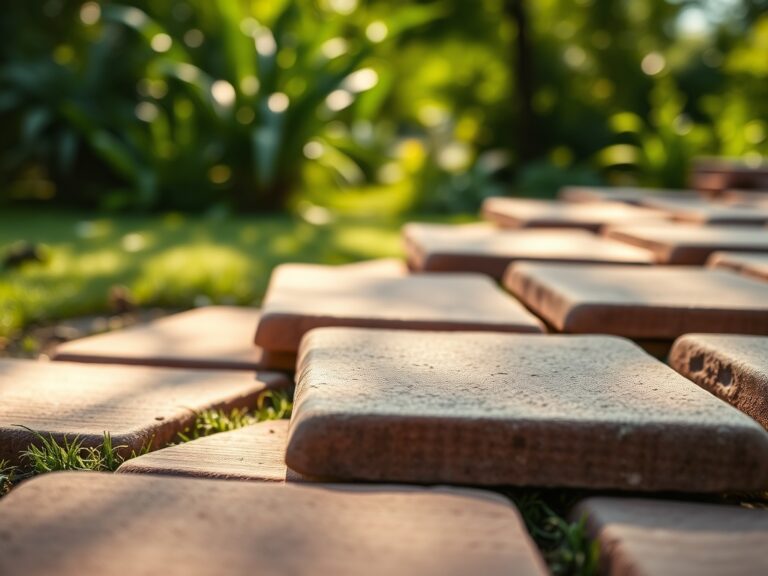
Establishing the Joint
Apply the mortar to the bricks in a 0.5-inch thick layer. Press the brick into place until the joint is compressed to approximately 0.375 inches. Use a jointer tool to compress the mortar once it is "thumbprint hard." This seals the surface against water penetration.
Pro-Tip: Compressing the joint is vital because of the "Biological Why" of surface area. By smoothing the joint, you reduce the surface area exposed to the elements, much like how a waxy cuticle on a leaf reduces water loss. This compaction prevents moisture from entering and harbor pathogens or moss.
The Clinic:
Symptom: Efflorescence
Solution: This is the emergence of white salt crystals on the brick surface. It occurs when water leaches soluble salts from the mortar. Use a stiff brush and a mild acidic wash to neutralize the salts, ensuring the pH of the runoff does not drop below 6.0 near your plantings.
Symptom: Hairline Cracking
Solution: Often caused by rapid dehydration. If the mortar dries too fast, it shrinks. To fix this, keep the masonry damp by misting it with a fine spray, similar to maintaining high humidity for a fresh cutting to prevent loss of turgor pressure.
Symptom: Nitrogen Chlorosis in Adjacent Plants
Solution: If plants near your new brickwork show yellowing leaves with green veins, the alkaline runoff from the mortar may be locking up iron. Apply a chelated iron supplement and a dose of 10-10-10 NPK fertilizer to restore soil balance and lower the rhizosphere pH.
Maintenance:
Once the mortar has cured for 28 days, it reaches its full compressive strength. During the first week, however, maintenance is critical. If the weather is dry, provide the equivalent of 1.5 inches of water per week by lightly misting the brickwork to ensure slow curing.
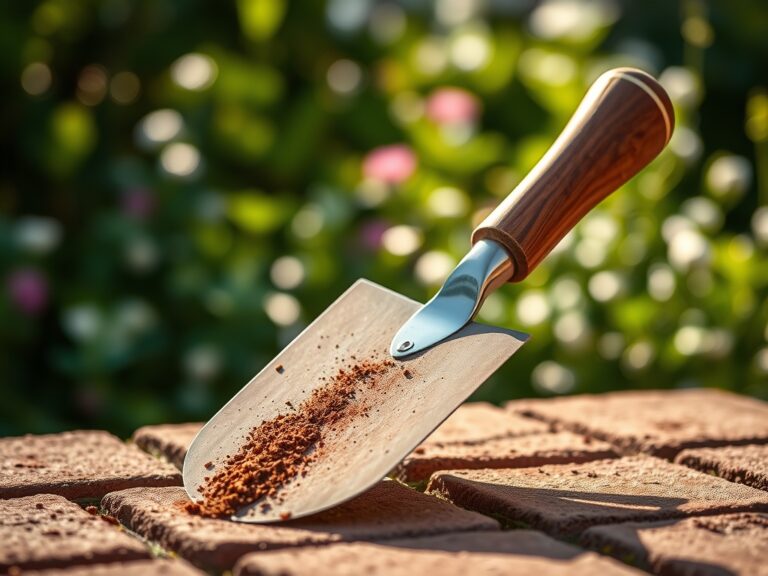
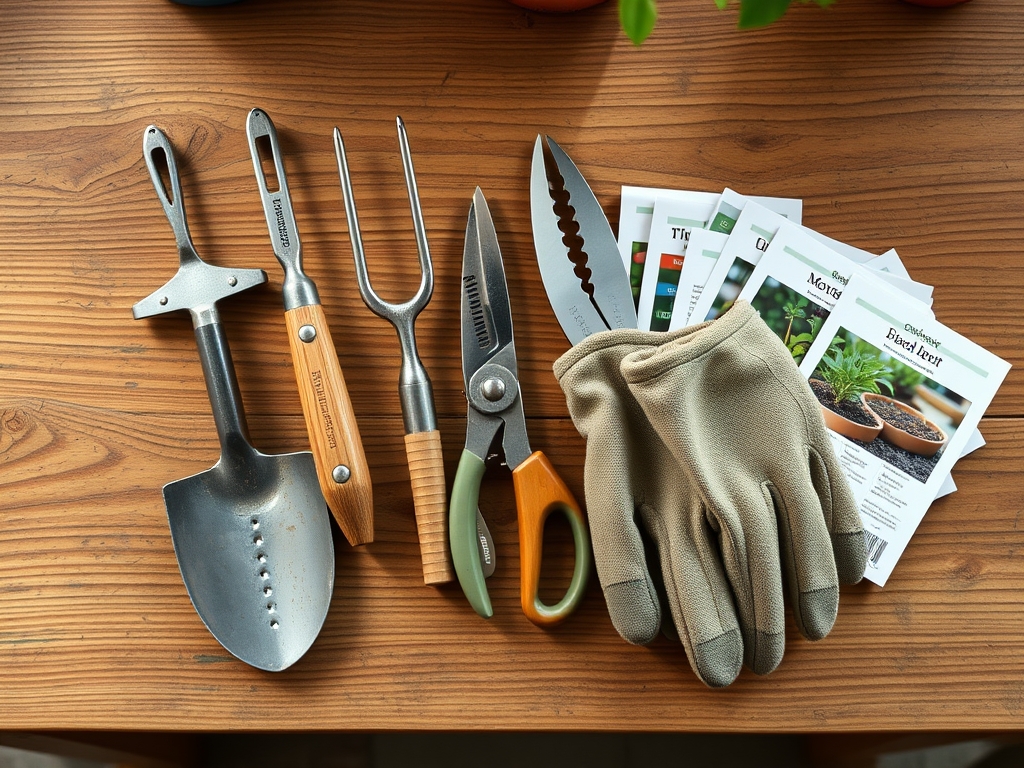
Use professional tools for ongoing garden maintenance around your new structure. A hori-hori knife is excellent for removing any weeds that attempt to seed in the micro-fissures of older mortar. Use bypass pruners to keep climbing vines like English Ivy away from the joints; the aerial roots of these plants can exert enough pressure to crack the mortar over time. Regularly check the soil moisture levels near the base of the wall with a soil moisture meter to ensure that drainage patterns haven't shifted, which could lead to hydrostatic pressure against the bricks.
The Yield:
While mortar does not produce a harvestable crop, the "yield" of a well-executed masonry project is the microclimate it creates. A brick wall acts as a thermal mass, absorbing solar radiation during the day and releasing it at night. This can raise the ambient temperature by 3 to 5 degrees Fahrenheit, effectively extending your growing season and allowing for the cultivation of species typically reserved for a warmer Hardiness Zone. To maintain this "day-one" freshness of the structure, avoid using high-pressure power washers, which can erode the mortar surface and increase porosity.
FAQ:
What is the best ratio for mixing mortar?
The standard ratio for garden brickwork is 3 parts sharp sand to 1 part Type N masonry cement. This provides a balance of strength and flexibility, allowing the structure to withstand minor soil shifts without cracking.
Can I mix mortar in the winter?
Avoid mixing mortar if temperatures are below 40 degrees Fahrenheit. Cold temperatures halt the chemical hydration process. If the water in the mix freezes, it will destroy the bond and lead to immediate structural failure.
How long does mortar take to dry?
Mortar reaches an initial set within 24 to 48 hours, but it takes a full 28 days to reach its maximum design strength. Keep the mortar damp during the first few days to ensure a slow, strong cure.
Why is my mortar crumbling?
Crumbling is usually the result of "burning," where the water evaporated too quickly, or using sand with too much organic matter. Ensure your sand is clean and keep the work area shaded to prevent rapid moisture loss.