7 Easy Steps to Install a Dog Run
The smell of damp earth and the crisp turgor of healthy fescue are the hallmarks of a well managed landscape. When high energy pets enter the equation, the soil structure often suffers from compaction and nitrogen burn. Implementing specific steps to install a dog run preserves the integrity of your primary gardens while providing a dedicated zone for canine activity. This process requires an understanding of drainage, substrate durability, and the chemical impact of urea on the local rhizosphere.
Proper site selection is the foundation of this installation. You must identify a location with a slight 1 percent to 2 percent slope to facilitate hydraulic movement and prevent anaerobic conditions in the root zones of nearby flora. A successful dog run balances the physical needs of the animal with the biological requirements of the surrounding vegetation. By segregating this space, you mitigate the risk of soil compaction which otherwise restricts oxygen flow to beneficial aerobic bacteria.
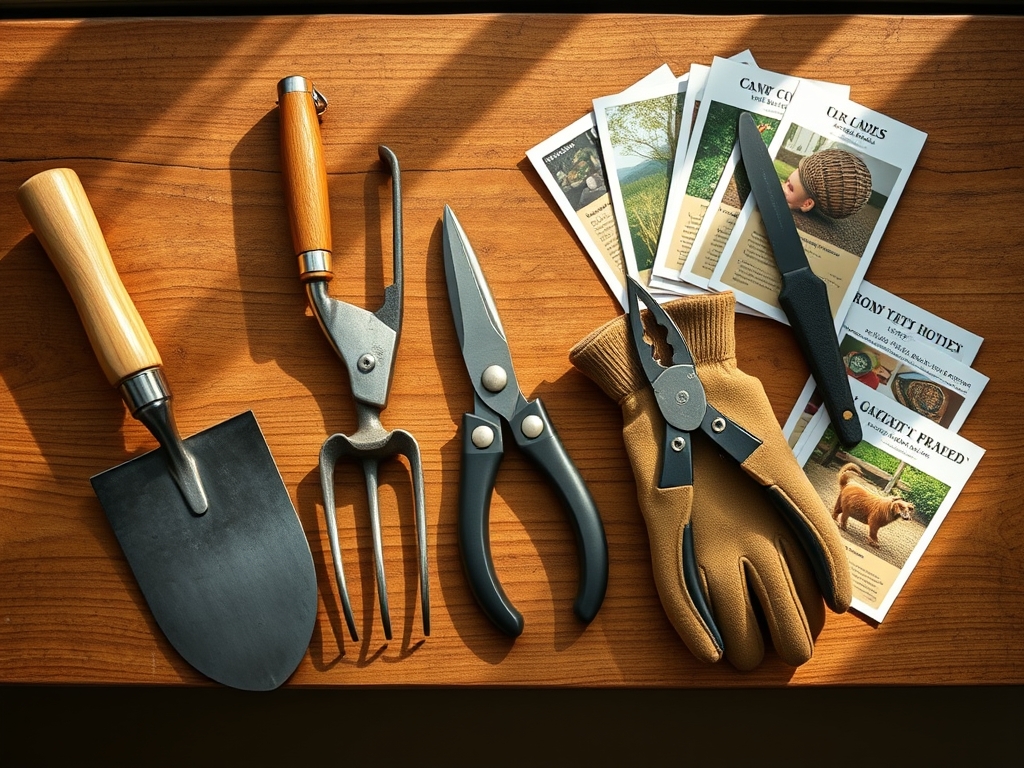
Materials:
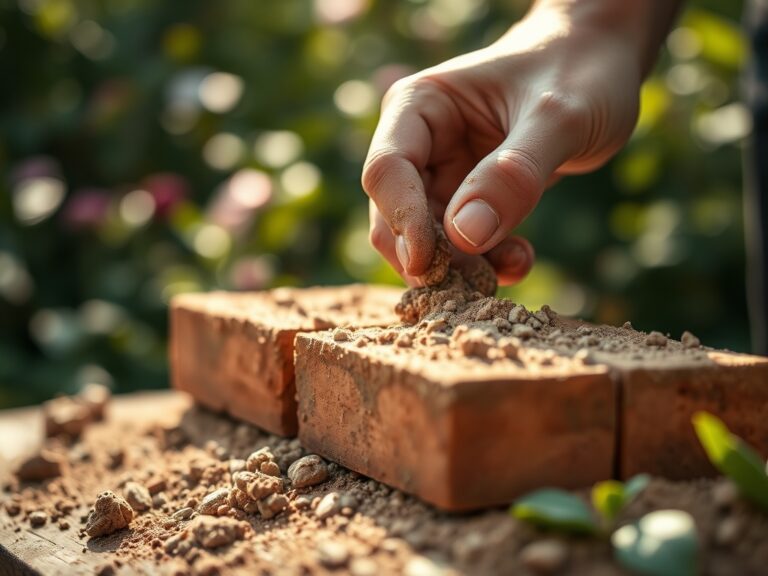
The substrate must be porous and chemically stable. For a run that incorporates living turf, aim for a **friable loam** with a Cation Exchange Capacity (CEC) between **15 and 25 meq/100g**. This ensures the soil can retain and exchange essential nutrients like potassium and calcium despite heavy use.
If using organic mulch, select cedar or hemlock chips. Avoid cocoa mulch due to its theobromine content which is toxic to canines. For mineral based runs, use crushed limestone or pea gravel at a depth of 4 inches. If you are planting "dog-tough" grass like Tall Fescue or Zoysia, the soil pH should be maintained between 6.0 and 7.0. Before sowing, incorporate a starter fertilizer with an NPK ratio of 10-20-10 to encourage rapid root elongation and high phosphorus availability for cellular energy transfer.
Timing:
The biological clock of your landscape dictates the installation window. In Hardiness Zones 4 through 7, the ideal time for installation is during the shoulder seasons of early spring or early autumn. This coincides with the cooling of soil temperatures to approximately 55 to 65 degrees Fahrenheit, which is the optimal range for root development in cool-season grasses.
Avoid installation during the peak of summer when high evapotranspiration rates lead to moisture stress and reduced turgor pressure. During the transition from vegetative to reproductive stages, plants prioritize seed production over structural resilience. By installing during the vegetative growth phase of the surrounding perennials, you ensure that any root disturbance caused by fence post installation can be rectified by the plant's natural auxin production before the first hard frost of the winter dormancy period.
Phases:
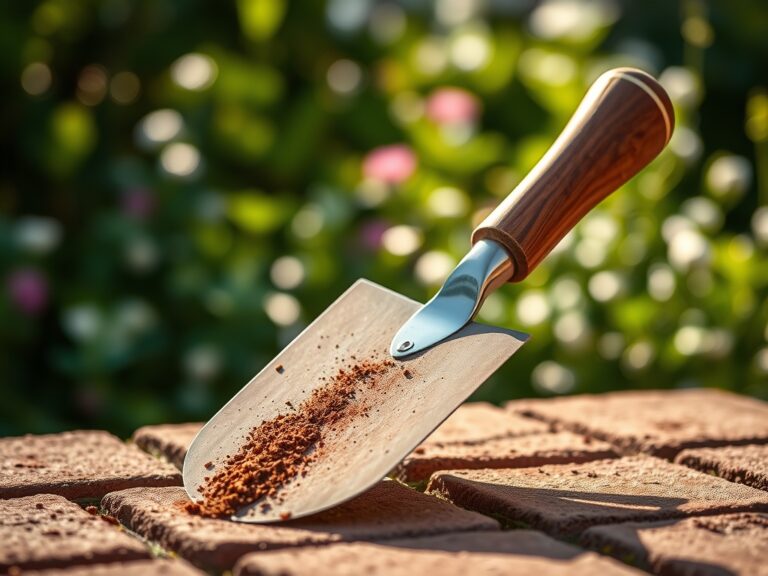
Sowing and Site Prep
Clear the area of all debris and excavate to a depth of 6 inches. If the soil is heavy clay, incorporate 20 percent coarse sand to improve macropore space. Level the subgrade to ensure uniform water distribution across the site.
Pro-Tip: When leveling, maintain a slight crown in the center. This utilizes gravitational potential energy to move liquid waste toward the perimeter, preventing the buildup of salts that can lead to osmotic stress in the plants.
Transplanting and Fencing
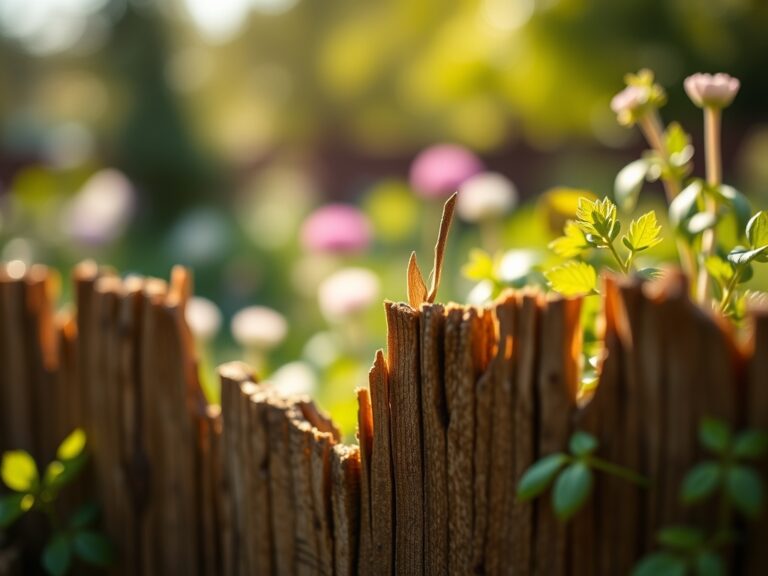
Install your perimeter fencing using pressure treated posts set at least 24 inches deep. If you are transplanting mature shrubs to provide shade within the run, ensure the root ball is twice the width of the container.
Pro-Tip: Apply a mycorrhizal inoculant to the root zone during transplanting. This fungal symbiosis expands the root surface area by up to 100 times, significantly increasing the plant's ability to uptake water and phosphorus under the stress of a high traffic environment.
Establishing the Substrate
Lay your chosen surface material. If using gravel, install a heavy duty geotextile fabric beneath the stones to prevent them from migrating into the subsoil. If using turf, keep the area off limits for 21 to 28 days to allow for primary root establishment.
Pro-Tip: Avoid heavy pruning of nearby trees during this phase to prevent the suppression of auxins. These hormones are synthesized in the shoot tips and transported basipetally to the roots, where they stimulate the cell division necessary for the plant to anchor itself against the physical impact of a running dog.
The Clinic:
Physiological Disorders
- Symptom: Yellowing of grass blades in circular patterns.
Solution: This is Nitrogen Burn caused by concentrated urea. Flush the area with 5 gallons of water per square foot to dilute the salts and move them below the active root zone. - Symptom: Soil surface becomes hard, slick, and sheds water.
Solution: This indicates severe soil compaction. Use a core aerator to remove 3 inch plugs, increasing gas exchange and water infiltration. - Symptom: Stunted growth and purplish tint on lower leaves of perimeter plants.
Solution: This is Phosphorus deficiency. Apply a high phosphorus bone meal or a 0-20-0 fertilizer to the drip line to restore ATP production within the plant cells.
Nutrient Fix-It
For general Nitrogen chlorosis (overall pale green or yellow leaves), apply a slow release urea-based fertilizer. Maintain a strict application rate of 1 pound of actual nitrogen per 1,000 square feet. Monitor the soil with a digital pH probe monthly to ensure the waste decomposition is not acidifying the substrate beyond the tolerance of your chosen plant species.
Maintenance:
Consistency is the key to longevity. Use a soil moisture meter twice weekly to check the hydration levels at a depth of 4 inches. The run and its surrounding buffer zone require exactly 1.5 inches of water per week delivered at the drip line. This volume ensures deep percolation rather than shallow evaporation.
Keep a hori-hori knife on hand to remove deep rooted weeds that compete for nutrients. Use bypass pruners to maintain a clear line of sight and remove any branches that show signs of senescence or mechanical damage from the dog. If using a gravel substrate, rake the material bi-weekly to redistribute the stones and prevent the formation of "low spots" where pathogens might proliferate in standing water.
The Yield:
While a dog run is not a traditional harvest site, the "yield" is the health of the surrounding ecosystem. If you have planted clover or hardy herbs like lavender along the exterior, harvest these during the morning hours when essential oil concentration is at its peak. Use sharp shears to cut just above a node to stimulate lateral branching. For lavender, hang the bundles in a dark, ventilated area to maintain "day-one" freshness and prevent the degradation of volatile compounds by UV light.
FAQ:
What is the best base for a dog run?
A 4 inch layer of pea gravel or crushed limestone over geotextile fabric provides the best drainage. These materials prevent soil compaction and allow for easy sanitation, maintaining a neutral pH in the underlying soil layers.
How do I stop dog urine from killing my grass?
Dilute the area immediately with 2 gallons of water to lower the nitrogen concentration. Maintaining a soil pH of 6.5 and using deep rooted fescue varieties increases the lawn's resilience to high salt indices.
Can I use wood chips in a dog run?
Yes, but only use untreated cedar or hemlock. These woods are naturally rot-resistant and do not contain the toxins found in cocoa mulch. Replace the top 2 inches annually to prevent the buildup of organic pathogens.
How do I fix compacted soil in a run?
Use a manual or mechanical core aerator to remove soil plugs. This breaks the surface tension and restores the macropore spaces necessary for oxygen to reach the rhizosphere, facilitating healthy aerobic microbial activity.