7 Vital Steps to Maintain Indoor Garden Safety
The smell of damp earth and the high turgor pressure of a rigid, waxen leaf signify a balanced indoor ecosystem. Maintaining this balance requires more than casual watering; it demands a rigorous adherence to protocol to prevent structural damage, fungal outbreaks, and chemical imbalances. Implementing precise steps to maintain indoor garden safety ensures that the rhizosphere remains aerobic and the household environment remains free from volatile organic compounds or mold spores. Success is measured in milliliters, parts per million, and degrees Celsius.
Indoor horticulture is an exercise in controlled environmental variables. When these variables fluctuate, the risk to both the plant and the grower increases. A stagnant container of soil can become a breeding ground for anaerobic bacteria, while improper lighting setups pose electrical hazards. Safety in the indoor garden is synonymous with precision. By monitoring the Cation Exchange Capacity (CEC) of your substrate and ensuring structural integrity of shelving units, you create a sustainable sanctuary. This guide provides the technical framework required to manage these biological and mechanical risks effectively.
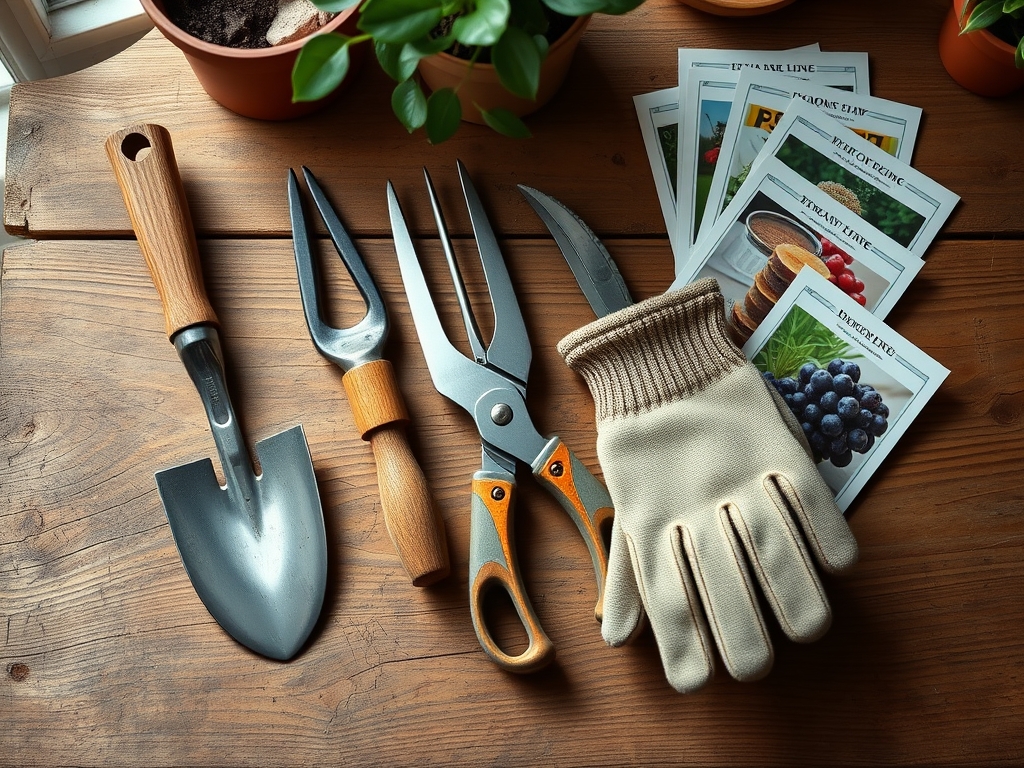
Materials:
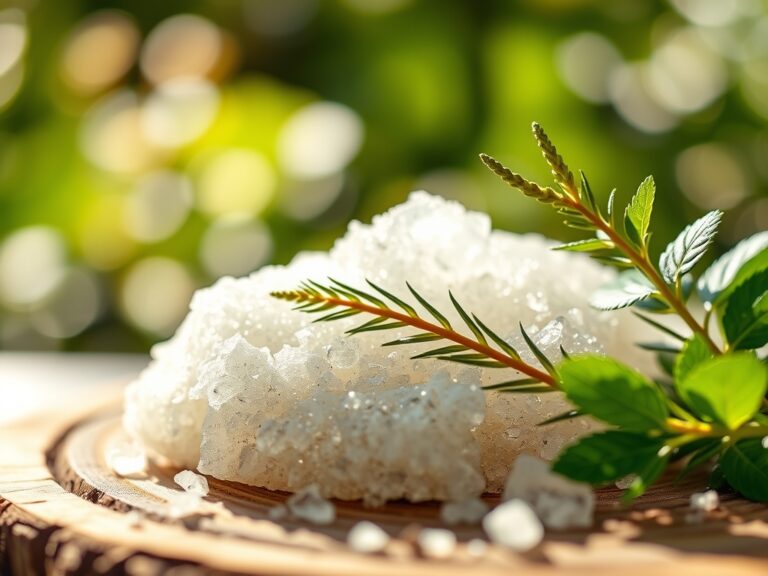
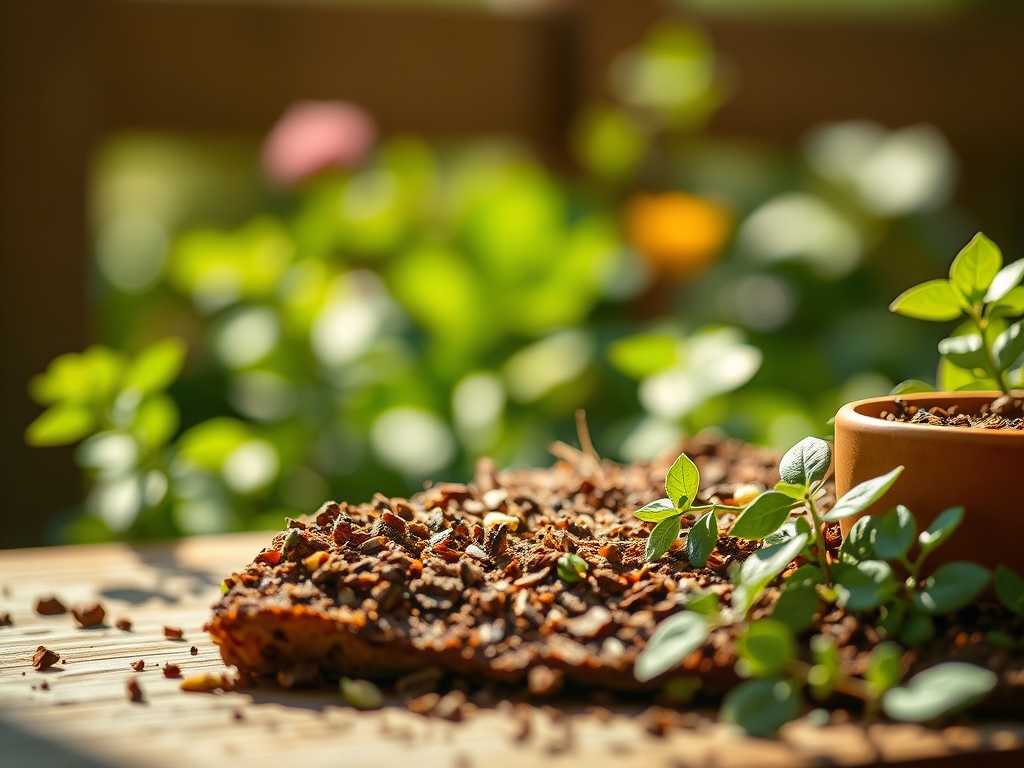
The foundation of a safe indoor garden is the substrate. For most tropical and temperate indoor species, a pH range of 6.0 to 6.8 is mandatory to ensure nutrient bioavailability. The ideal substrate is a friable loam consisting of 40 percent peat or coco coir, 40 percent perlite for aeration, and 20 percent sterilized compost. This mixture prevents compaction, which leads to root rot and fungal gnats.
Nutrient management requires specific NPK ratios tailored to the growth stage. During the vegetative phase, use a 10-5-5 NPK ratio to support chlorophyll production. Transition to a 5-10-10 NPK ratio for flowering species to promote root development and reproductive health. Always store concentrated fertilizers in airtight, HDPE plastic containers away from heat sources to prevent chemical degradation or accidental off-gassing.
Timing:
While indoor gardens are shielded from the elements, they are still tethered to the "Biological Clock" of their species. Even in a climate-controlled room, plants react to the subtle shifts in ambient light and barometric pressure. If you are starting seeds for later outdoor transplanting, you must align your schedule with your local Hardiness Zone. For example, in Zone 7, indoor sowing of solanaceous crops should begin 6 to 8 weeks before the last frost date, typically occurring in mid-April.
The transition from the vegetative stage to the reproductive stage is governed by the photoperiod. For short-day plants, safety involves ensuring a strict 12-hour darkness cycle to prevent hormonal stress. Stress leads to the production of ethylene gas, which can cause premature senescence in neighboring plants. Monitoring these windows prevents the accumulation of dead biomass, which is a primary fire hazard in indoor setups using high-intensity discharge (HID) lighting.
Phases:

Sowing
Start seeds in sterile, soilless media to avoid damping-off caused by Pythium fungi. Maintain a consistent soil temperature of 21 to 24 degrees Celsius using a waterproof heat mat. Ensure the mat is plugged into a Ground Fault Circuit Interrupter (GFCI) outlet to mitigate water-related electrical shorts.
Pro-Tip: Maintaining high humidity during germination is vital because seeds lack a cuticle. This prevents desiccation through the process of osmosis, ensuring the embryo survives until the first true leaves appear.
Transplanting
Move seedlings when they have developed at least two sets of true leaves. Use a hori-hori knife to gently loosen the root ball, ensuring you do not crush the delicate root hairs. The new container must have a diameter at least 2 inches wider than the previous one to allow for lateral root expansion.
Pro-Tip: Mycorrhizal symbiosis is critical during transplanting. Adding beneficial fungi to the new hole increases the root surface area, allowing for better phosphorus uptake and reducing transplant shock through enhanced water absorption.
Establishing
Once transplanted, the plant enters a rapid growth phase. Secure tall specimens to bamboo stakes using soft ties to prevent stem breakage. Position fans to provide a gentle breeze; this mechanical stress strengthens the stalk by stimulating the production of lignin.
Pro-Tip: Auxin suppression occurs when you pinch off the apical meristem. This redirects the plant's energy to lateral buds, creating a bushier, more stable structure that is less likely to tip over and cause a safety hazard.
The Clinic:
Physiological disorders often mimic infectious diseases. Identifying the difference is key to maintaining a safe environment.
- Symptom: Interveinal chlorosis on young leaves.
Solution: This indicates an Iron (Fe) deficiency, often caused by a pH above 7.0. Lower the pH of your irrigation water to 6.2 using phosphoric acid. - Symptom: Tip burn on new growth.
Solution: This is typically Calcium (Ca) deficiency. Ensure constant transpiration by maintaining a Vapor Pressure Deficit (VPD) of 0.8 to 1.2 kPa. - Symptom: Leaf cupping and stunted growth.
Solution: Check for high salts (EC levels above 2.5). Flush the substrate with distilled water until the runoff EC matches the input EC.
Fix-It for Nitrogen Chlorosis: If older leaves turn uniform pale yellow, the plant is scavenging nitrogen. Apply a water-soluble fertilizer with a high Nitrogen (N) value immediately. The recovery should be visible within 72 hours as chlorophyll density increases.
Maintenance:
Precision maintenance prevents the buildup of pathogens. Use a soil moisture meter to ensure the substrate is never saturated for more than 24 hours. Most indoor plants require the top 1.5 inches of soil to dry out between watering cycles. When irrigating, apply water at the drip line rather than the base of the stem to prevent crown rot.
Sterilize your bypass pruners with 70 percent isopropyl alcohol between every plant to prevent the mechanical transmission of viruses. Remove any fallen leaves immediately; decaying organic matter increases ambient CO2 levels slightly but, more dangerously, provides a host for Botrytis mold. Inspect electrical cords monthly for signs of salt corrosion or heat damage.
The Yield:
For indoor herbs or greens, harvest during the morning hours when turgor pressure is at its peak. Use sharp shears to make clean cuts at a 45-degree angle, which allows the wound to callous quickly and prevents water from pooling on the cut surface.
Post-harvest, submerge leafy greens in 4-degree Celsius water for 10 minutes. This rapid cooling halts the metabolic process of respiration, preserving the cellular structure and nutrient density. For flowers, remove the lower foliage and place the stems in a solution with a pH of 3.5 to 4.5 to maximize water uptake and prevent vascular plugging.
FAQ:
How do I prevent mold in an indoor garden?
Maintain relative humidity below 60 percent and ensure constant airflow using oscillating fans. Clean all surfaces with a mild hydrogen peroxide solution to eliminate spores. Proper spacing between pots prevents micro-climates of stagnant, moist air.
What is the safest way to handle fertilizers?
Always wear nitrile gloves and eye protection when mixing concentrates. Dilute fertilizers in a dedicated vessel and never mix different products together in concentrated form, as this can cause hazardous chemical reactions or nutrient lockout.
How can I tell if my grow lights are safe?
Ensure all lights are UL-rated and mounted securely to structural studs. Check that the total wattage does not exceed 80 percent of your circuit's capacity. Keep ballasts off the floor to avoid contact with runoff water.
What is the best way to manage indoor pests safely?
Identify the specific insect using a 10x loupe. Use mechanical controls like yellow sticky traps or pressurized water sprays first. If necessary, apply horticultural oils or insecticidal soaps during the dark cycle to prevent leaf burn.