9 Useful Ways How to Use Biological Pest Controls
The smell of damp, oxygenated earth indicates a thriving microbial population. When you squeeze a handful of friable loam, it should hold its shape momentarily before shattering; this signifies optimal pore space for root respiration. Maintaining high turgor pressure in plant tissues requires more than just hydration. It demands a balanced ecosystem. Understanding how to use biological pest controls allows a grower to replace broad-spectrum chemical interventions with targeted, predatory interactions that preserve the integrity of the rhizosphere.
Materials:
Success starts with the substrate. Biological controls thrive in soils with a high Cation Exchange Capacity (CEC), typically ranging from **15 to 25 meq/100g**. The soil pH must remain between **6.2 and 6.8** to ensure nutrient availability and microbial longevity. For heavy feeders, a pre-planting NPK ratio of **10-5-5** provides the necessary nitrogen for early leaf development without inducing salt stress.
The physical texture must be a well-aggregated, friable loam. This structure facilitates the movement of beneficial nematodes and soil-dwelling predatory mites. Avoid compacted clays with a bulk density exceeding 1.6 g/cm3, as low oxygen levels in these soils will suffocate aerobic biological agents.
Timing:
The implementation of biological controls must align with the "Biological Clock" of the crop. In Hardiness Zones 5 through 8, the window for releasing predatory insects usually begins two weeks after the last spring frost, once ambient daytime temperatures consistently exceed 55 degrees Fahrenheit.
During the transition from the vegetative stage to the reproductive stage, the plant's metabolic demands shift. High phosphorus levels (an NPK of 5-10-10) are often introduced here. Biological agents like Encarsia formosa must be introduced during the early vegetative phase, specifically when the photoperiod reaches 12 to 14 hours of light, to ensure they establish a population before pest pressure peaks during the flowering senescence.
Phases:

Sowing and Inoculation
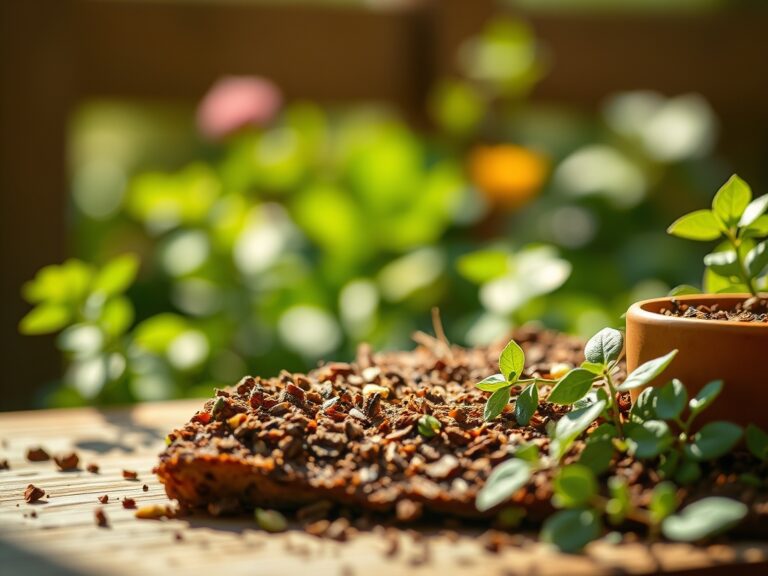
When sowing seeds, incorporate Bacillus thuringiensis or mycorrhizal fungi directly into the seed furrow. This ensures the emerging radicle is immediately colonized by beneficial organisms. Maintain a consistent soil temperature of 65 to 70 degrees Fahrenheit to optimize germination rates.
Pro-Tip: Mycorrhizal symbiosis increases the surface area of the root system by up to 100 times. This allows the plant to access immobile nutrients like phosphorus, which are otherwise locked in the soil matrix.
Transplanting and Integration
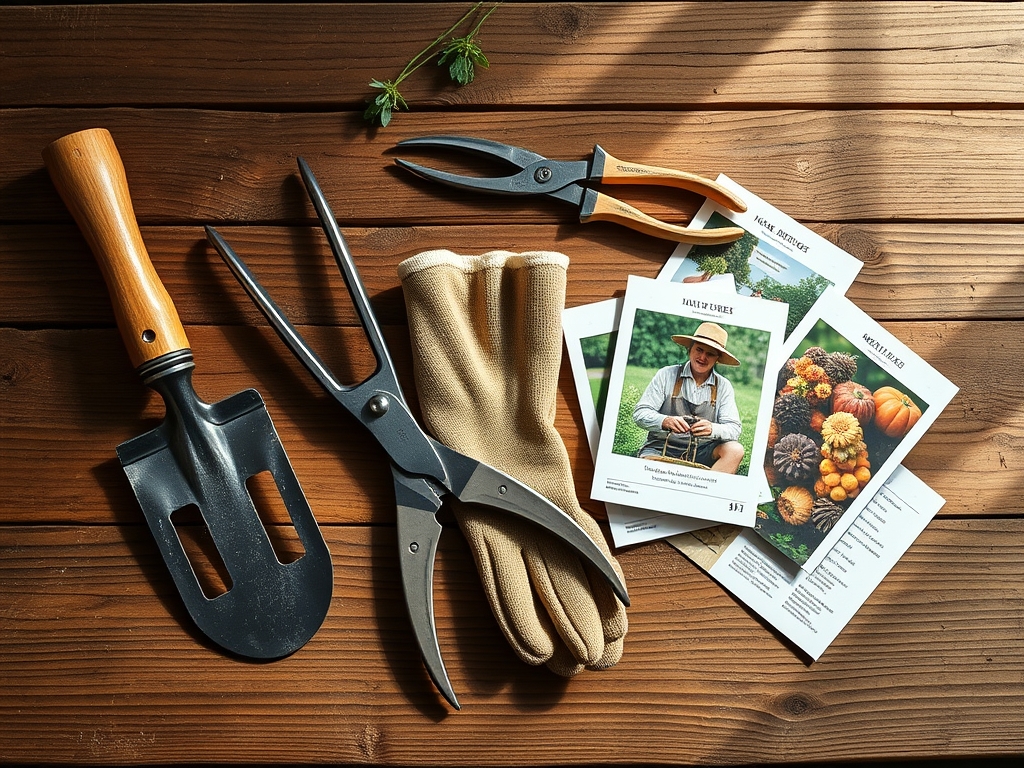
When moving starts into the field, use a hori-hori knife to ensure the planting hole is twice the width of the root ball. This is the critical moment to release predatory mites such as Phytoseiulus persimilis. These mites require a relative humidity of at least 60 percent to remain active and mobile.
Pro-Tip: Proper spacing prevents "bridge" formation for crawling pests. It also optimizes air circulation, which reduces the localized humidity that pathogenic fungi require for spore germination.
Establishing the Colony
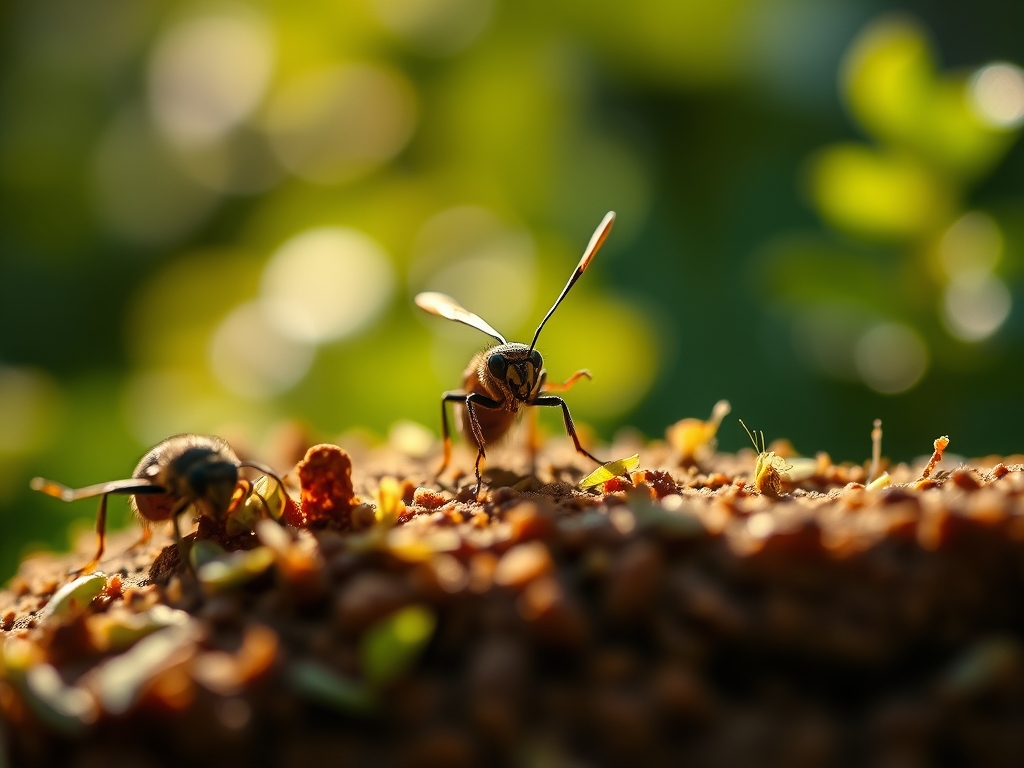
Once the plant is established, monitor the leaf undersides for the first signs of pest activity. Introduce generalist predators like Chrysoperla carnea (green lacewings). These larvae are highly effective in temperatures between 60 and 90 degrees Fahrenheit.
Pro-Tip: Auxin suppression occurs when a plant is under heavy insect attack. By introducing biological controls early, you maintain apical dominance and prevent the plant from diverting energy away from growth and toward defensive secondary metabolites.
The Clinic:
Symptom: Interveinal Chlorosis (Nitrogen Deficiency)
Solution: This appears as yellowing on older, lower leaves while veins remain green.
Fix-It: Apply a water-soluble fertilizer with a high nitrogen count, such as blood meal or fish emulsion, to restore chlorophyll production. Ensure the soil pH has not drifted above 7.0, which can lock out nitrogen.
Symptom: Stippling and Fine Webbing (Spider Mites)
Solution: Microscopic yellow dots on the leaf surface indicate sap-sucking activity.
Fix-It: Release Neoseiulus californicus mites. These predators can survive lower prey densities and higher temperatures than other species, providing long-term suppression.
Symptom: Marginal Leaf Burn (Potassium Deficiency)
Solution: Browning and curling of the outer edges of the foliage.
Fix-It: Increase potassium levels using sulfate of potash. Potassium is essential for regulating stomatal opening and closing, which maintains turgor pressure during heat stress.
Maintenance:
Precision is mandatory for biological success. Use a soil moisture meter daily to ensure the substrate stays at 50 to 70 percent of field capacity. For most crops, this equates to 1.5 inches of water per week delivered directly at the drip line. Overhead watering should be avoided as it washes away predatory insects and encourages foliar pathogens.
Pruning must be done with sharpened bypass pruners to ensure clean cuts that callouse quickly. Remove any necrotic tissue or "suckers" that draw energy away from the primary fruit or flower sites. Sterilize your tools with a 70 percent isopropyl alcohol solution between plants to prevent the mechanical transmission of viral loads.
The Yield:
Harvesting should occur during the "cool of the day," typically between 5:00 AM and 8:00 AM, when the plant's turgor pressure is at its maximum. For leafy greens, use a sharp blade to cut stems at a 45-degree angle. For fruiting bodies, ensure the pedicel remains attached to prevent moisture loss and pathogen entry.
Post-harvest handling is critical for "day-one" freshness. Immediately submerge harvested produce in a cold water bath (hydro-cooling) to remove field heat. This slows the rate of respiration and enzymatic degradation, extending the shelf life by several days.
FAQ:
What is the best time to release ladybugs?
Release ladybugs at dusk or early dawn when temperatures are cool. Lightly mist the foliage with water beforehand. This encourages them to settle and hydrate rather than immediately flying away in search of moisture or cooler thermals.
Can I use biological controls with chemical pesticides?
Most broad-spectrum pesticides will kill your biological agents. If intervention is necessary, use selective "soft" soaps or oils. Always check the compatibility charts for specific predatory species before applying any supplemental treatments to the crop or soil.
How do I know if the predatory mites are working?
Use a 10x or 20x hand lens to inspect the underside of leaves. You should see the faster-moving predatory mites actively hunting the slower-moving pest mites. A reduction in new stippling damage on emerging growth is a primary indicator.
Why are my beneficial insects leaving the garden?
Beneficials leave if the pest population is too low to support them or if environmental conditions (heat/humidity) are outside their tolerance. Planting "refugia" or insectary strips with flowering herbs provides alternative pollen and nectar sources to keep them resident.