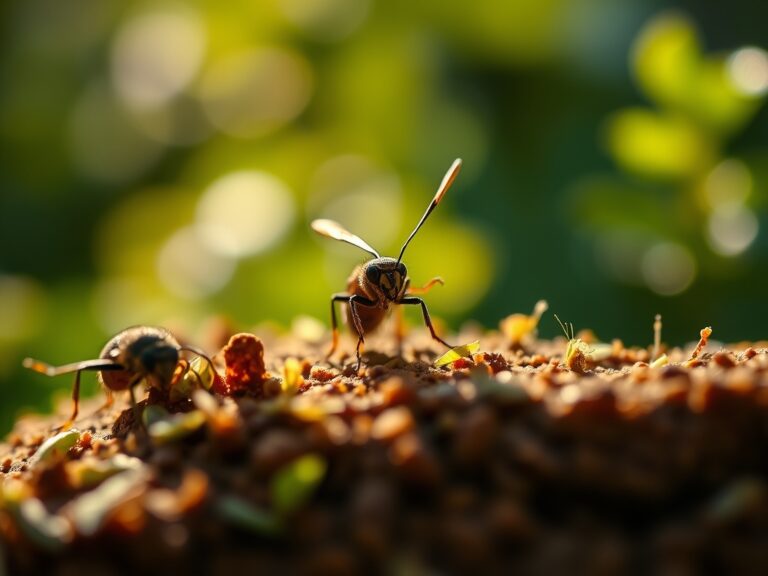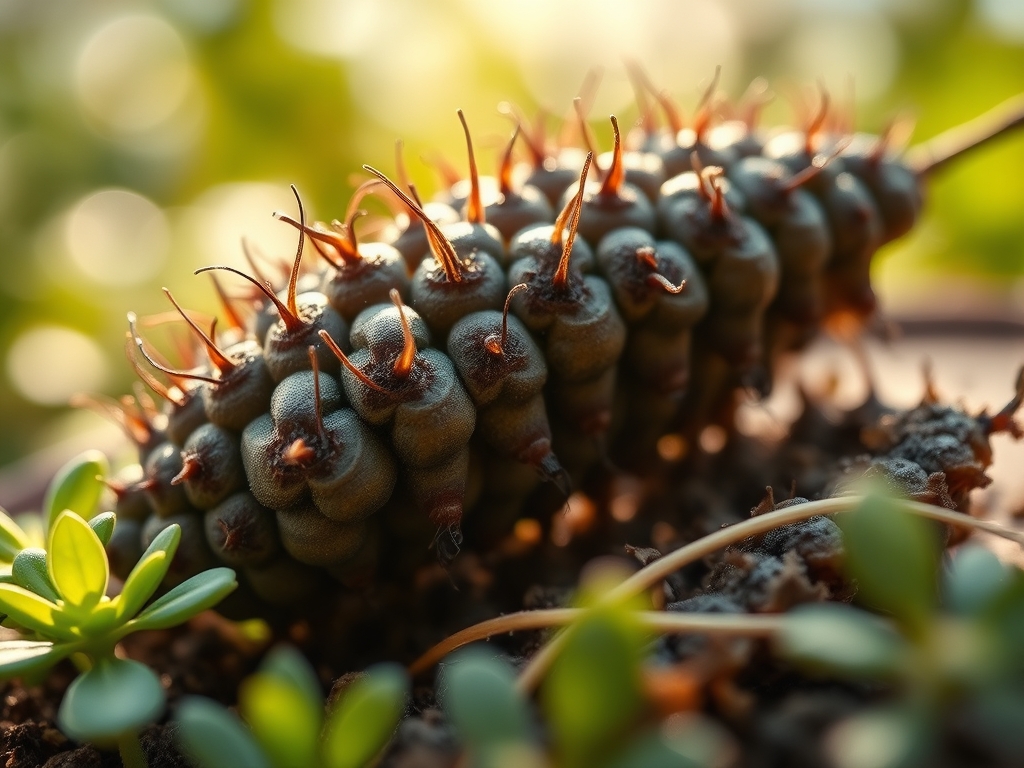
10 Best Beneficial Nematodes Indoors
The smell of damp, oxygenated earth indicates a healthy rhizosphere where microscopic life thrives. When a plant maintains high turgor pressure, its leaves stand rigid and resist the encroachment of soft-bodied soil dwellers. Achieving this balance in a controlled environment requires the best beneficial nematodes indoors to act as a biological control layer. These microscopic roundworms operate within the interstitial films of water surrounding soil particles. They do not damage plant tissue; instead, they seek out larvae that consume root hairs and disrupt nutrient uptake. Successful indoor cultivation depends on maintaining a substrate that supports these organisms without becoming anaerobic. A grower must understand that the soil is not just a physical anchor but a living matrix. By introducing specific species like Steinernema feltiae or Heterorhabditis bacteriophora, you establish a predatory cycle that replaces synthetic chemical interventions. This approach ensures that the vascular system of the plant remains unobstructed by larval feeding, allowing for maximum hydraulic conductance and photosynthetic efficiency throughout the life cycle of the crop.
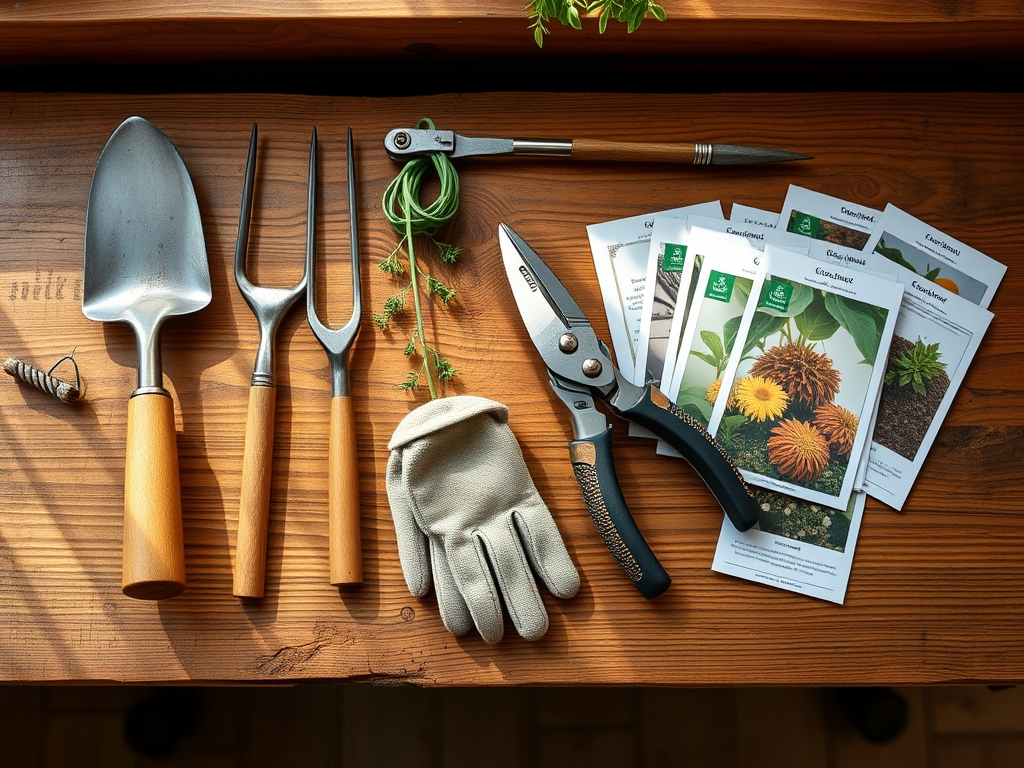
Materials:
The efficacy of nematodes depends heavily on the physical and chemical properties of the growing medium. A **friable loam** with a high sand content provides the necessary pore space for nematode mobility. The soil pH must be maintained between **5.5 and 7.0** to prevent osmotic shock to the nematodes. In terms of nutrition, the substrate should reflect a balanced NPK ratio of **10-10-10** for general vegetative growth, or a **5-10-10** ratio if the plant is entering a reproductive phase. High Cation Exchange Capacity (CEC) materials, such as peat moss or coconut coir, help retain the moisture essential for nematode survival. Ensure the medium has a **bulk density of approximately 1.1 to 1.3 grams per cubic centimeter** to allow for adequate gas exchange. If the soil is too compacted, oxygen levels drop, leading to the death of beneficial aerobic organisms and the rise of anaerobic pathogens.
Timing:
Indoor gardening bypasses traditional Hardiness Zones, yet the "Biological Clock" of the plant remains dictated by the photoperiod. For most indoor species, the transition from vegetative growth to the reproductive stage occurs when light exposure shifts from 18 hours to 12 hours. Nematodes should be introduced during the early vegetative stage when root systems are expanding rapidly. The ideal soil temperature for nematode activity is between 60 and 85 degrees Fahrenheit. If the substrate temperature drops below 50 degrees, the nematodes enter a state of quiescence and cease hunting. Conversely, temperatures exceeding 90 degrees can cause rapid desiccation. Monitor the soil temperature using a probe to ensure the window for biological activity remains open.
Phases:

Sowing
Start seeds in a sterile, fine-textured medium to ensure high germination rates. Maintain a constant temperature of 72 degrees Fahrenheit. Once the first true leaves appear, the plant begins its primary metabolic functions.
Pro-Tip: Maintain high humidity to prevent the desiccation of emerging radicles. This supports phototropism, ensuring the seedling grows vertically toward the light source rather than wasting energy on lateral searches for light.
Transplanting
When the root ball fills the starter cell, move the plant to its permanent container. Use a hori-hori knife to gently loosen the outer roots. This is the optimal time to inoculate the new soil with beneficial nematodes.
Pro-Tip: Inoculating at this stage encourages mycorrhizal symbiosis. The nematodes protect the burgeoning root-fungi relationship from larval interference, allowing for enhanced phosphorus uptake through the fungal hyphae.
Establishing
During the first 14 to 21 days after transplanting, the plant focuses on root architecture. Ensure the soil remains consistently moist but not saturated.
Pro-Tip: Avoid excessive pruning during this phase to prevent auxin suppression. Auxins are hormones produced in the apical meristem that signal the roots to grow; removing too much foliage halts root development and slows nematode integration into the rhizosphere.
The Clinic:
Physiological disorders often mimic pest damage. Accurate diagnosis is required before treatment.
Symptom: Interveinal chlorosis on older leaves.
Solution: This indicates Magnesium deficiency. Magnesium is the central atom in the chlorophyll molecule. Apply a foliar spray of Epsom salts at a rate of 1 tablespoon per gallon of water.
Symptom: Marginal leaf necrosis and "hooking" of new growth.
Solution: This points to Calcium deficiency. Calcium is immobile within the plant. Check the soil pH; if it is below 5.0, calcium uptake is blocked. Amend with liquid lime to raise the pH to 6.5.
Symptom: Stunted growth and dark purple tinting on stems.
Solution: This is a classic sign of Phosphorus deficiency, often caused by soil temperatures below 55 degrees Fahrenheit. Increase the ambient temperature to improve nutrient solubility.
Fix-It for Nitrogen Chlorosis: If the entire plant turns pale green, it lacks Nitrogen. Apply a high-nitrogen fertilizer with an NPK of 20-10-10 to restore protein synthesis and vegetative vigor.
Maintenance:
Precision is the hallmark of a master horticulturist. Use a soil moisture meter daily to ensure the substrate stays within the 40% to 60% saturation range. Apply exactly 1.5 inches of water per week at the drip line to avoid wetting the foliage, which can invite fungal spores. For woody indoor plants, use bypass pruners to remove any crossing branches, ensuring maximum airflow through the canopy. Regularly calibrate your light intensity to provide 400 to 600 micromoles of light per square meter per second. Check the drainage holes of your containers; if they become clogged with salt buildup, flush the medium with three times the pot's volume in distilled water to reset the EC (Electrical Conductivity) levels.
The Yield:
Harvesting is the culmination of precise environmental control. For herbs and leafy greens, harvest in the early morning when turgor pressure is at its peak. Use sharp shears to make clean cuts, preventing the crushing of vascular bundles. For flowering plants, monitor the trichomes or senescence of the bracts. Once harvested, plunge the stems into 40-degree Fahrenheit water immediately. This rapid cooling slows the respiration rate and preserves the volatile oils and sugars within the tissue. Store the harvest in a dark, humidity-controlled environment to maintain "day-one" freshness and prevent the degradation of cellular structures.
FAQ:
Which nematode species is best for fungus gnats?
Steinernema feltiae is the most effective species for indoor fungus gnat control. They enter the larvae through natural body openings and release bacteria that kill the host within 24 to 48 hours at room temperature.
How often should I apply nematodes indoors?
Apply nematodes every two weeks during an active infestation. For preventative maintenance, a single application every two to three months is sufficient to keep the soil population stable and the rhizosphere protected.
Can I use nematodes with chemical fertilizers?
Yes, but avoid high concentrations. Dilute fertilizers to half-strength before application. Never mix nematodes directly into a concentrated fertilizer solution, as the high salt content will kill the organisms through osmotic dehydration.
Do nematodes need light to survive?
No, nematodes are highly sensitive to ultraviolet (UV) light. They should be applied in the evening or when grow lights are turned off. They live entirely within the dark, moist environment of the soil substrate.
How do I know if the nematodes are working?
Observe the reduction in adult pest sightings over 7 to 14 days. You will also notice improved plant vigor and increased turgor in the leaves as the root system recovers from larval feeding pressure.