6 Easy Ways How to Can Green Beans
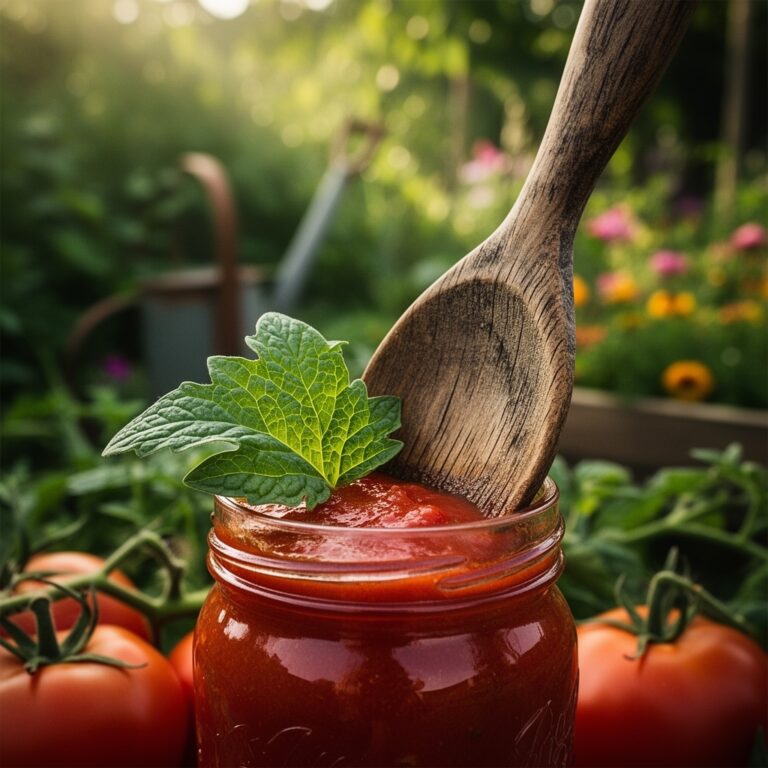
Preserving summer's harvest requires both precision and speed. Fresh green beans, still warm from the garden, transform through pressure canning into shelf-stable provisions that retain their snap and color through winter. Learning how to can green beans begins with understanding that low-acid vegetables demand strict time and temperature protocols to eliminate botulism risk. The process requires attention to water bath temperatures, jar seal integrity, and processing duration rather than complex culinary technique.
Materials
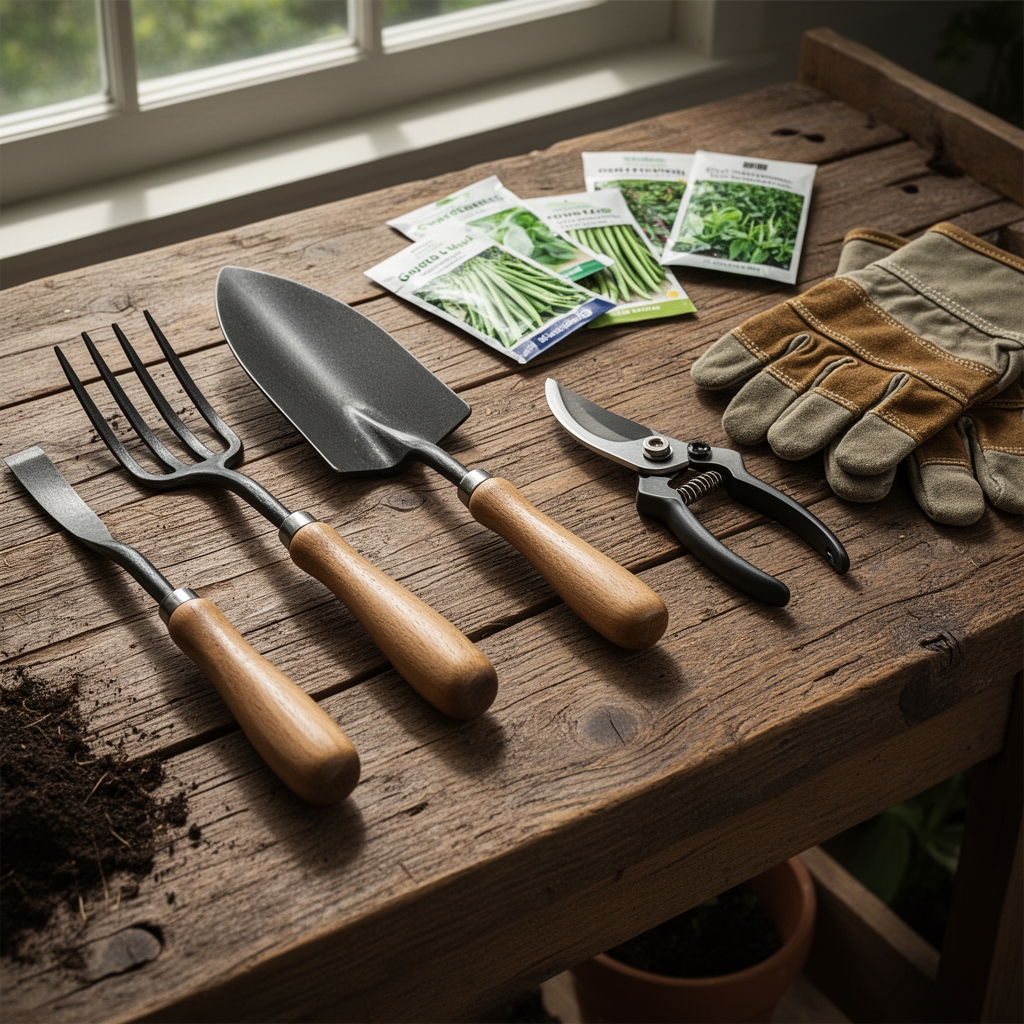
Pressure canning equipment forms the non-negotiable foundation. Standard models maintain 10-15 PSI at sea level. Altitude adjustment increases pressure by 0.5 PSI per 1,000 feet above 2,000 feet elevation. Purchase dial-gauge or weighted-gauge models. Dial gauges require annual calibration.
Sterilized pint or quart mason jars accept processed beans. New lids seal through compound activation at 180°F. Reuse bands after inspection for rust or warping. Non-iodized canning salt measures 1 teaspoon per quart without affecting preservation chemistry. Iodine particles cloud brine through oxidation reactions.
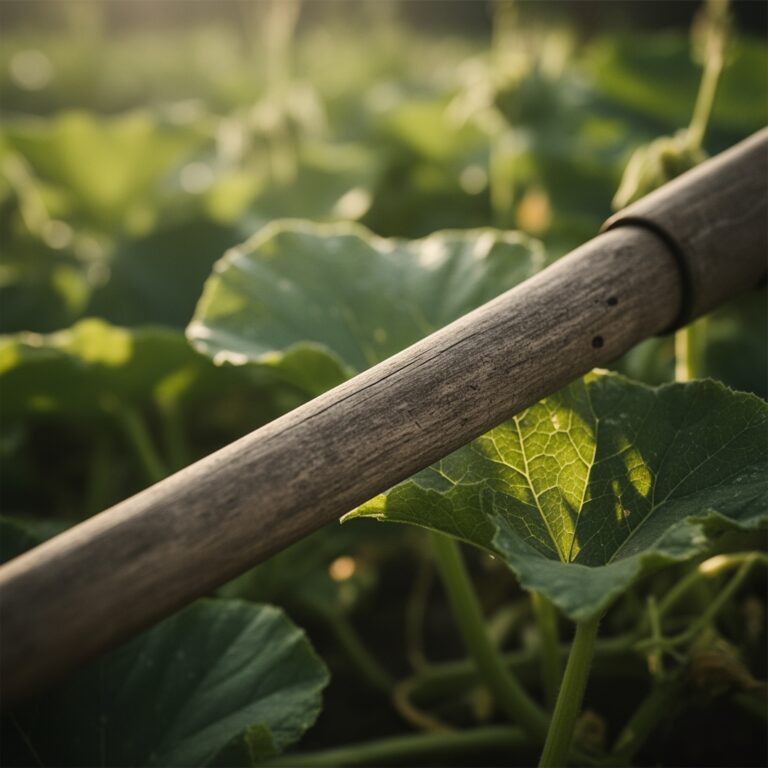
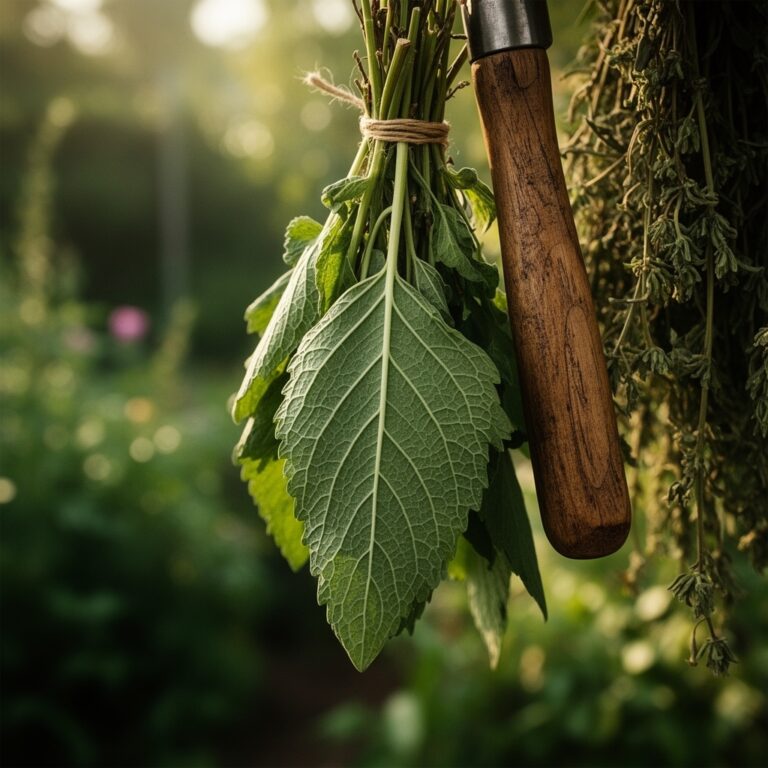
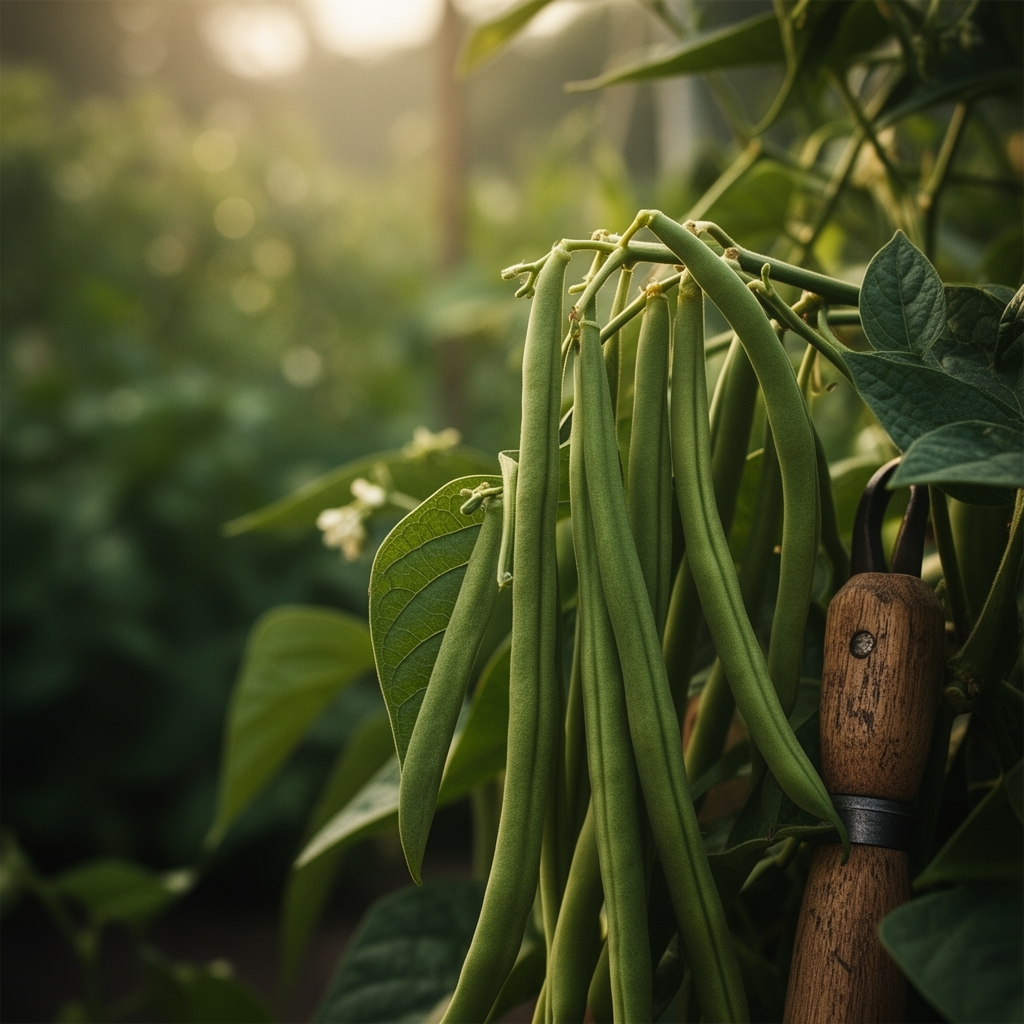
Green bean varieties influence texture retention. Bush types (Phaseolus vulgaris) like 'Provider' or 'Contender' mature in 50-55 days with concentrated yield. Pole varieties stretch harvest windows but require trellising infrastructure. Harvest at 4-6 inches before seed bulges distort pod walls.
Timing
Hardiness zones 3-10 support green bean cultivation through staggered plantings. Soil temperature above 60°F triggers germination within 8-10 days. Frost sensitivity demands planting 1-2 weeks after last spring frost date. Northern zones (3-5) plant mid-May through June. Southern zones (8-10) schedule spring plantings in March with fall succession crops in August.
Peak harvest arrives 55-65 days post-sowing depending on cultivar. Morning picking before temperatures exceed 75°F preserves turgor pressure in cell walls. Canning within 2 hours of harvest maintains textural integrity as post-harvest respiration depletes sugars and converts starches.
Autumn canning aligns with second plantings. Calculate backward 65 days from first fall frost date. Zone 5 gardeners sowing August 1st harvest before mid-October freeze events.
Phases

Preparation Phase
Wash beans under cold running water. Remove stem ends with sharp paring knife in single motion. Leave blossom ends intact or remove based on preference. Cut beans into 1-2 inch segments or pack whole. Uniform sizing ensures consistent heat penetration during processing.
Raw pack method layers uncooked beans into hot jars. Hot pack method pre-cooks beans in boiling water for 5 minutes before packing. Hot pack shrinks vegetable matter, fitting 15-20% more beans per jar. Both methods deliver safe results when processing times remain constant.
Pro-Tip: Add 1/4 teaspoon citric acid per pint to enhance color retention. Citric acid lowers pH from 5.8 to 5.4 without altering flavor detectably.
Processing Phase
Fill jars leaving 1-inch headspace. Pour boiling water or cooking liquid over beans maintaining headspace measurement. Release air bubbles by sliding non-metallic spatula between glass and beans. Wipe jar rims with vinegar-dampened cloth to remove pectin or starch deposits that prevent sealing.
Center lids on jar mouths. Apply bands fingertip-tight (resistance without torque). Over-tightening buckles lids during thermal expansion.
Place jars on pressure canner rack with 2-3 inches of water. Vent steam for 10 minutes before closing petcock or placing weight. Process pints 20 minutes, quarts 25 minutes at 10 PSI (11 PSI for weighted gauge). Timing begins when pressure stabilizes.
Pro-Tip: Position jars with 1-inch spacing for steam circulation. Crowding creates cold spots that harbor Clostridium botulinum spores.
Cooling Phase
Allow pressure to return to zero naturally. Force-cooling warps jars and unseats lids. Remove jars after pressure drops completely. Set on towel-covered counter away from drafts. Audible "ping" signals vacuum seal formation within 12-24 hours.
Test seals by pressing lid centers. Sealed lids resist pressure and show slight concavity. Unsealed jars require refrigeration and consumption within 3 days or reprocessing with new lids within 24 hours.
Pro-Tip: Invert jars for 5 seconds after removal. This heat-treats the headspace, eliminating oxygen pockets that oxidize pigments.
Troubleshooting
Symptom: Cloudy liquid
Solution: Replace iodized salt with pure canning salt. Cloudiness from starch or mineral leaching remains cosmetic but safe. Bacterial spoilage produces foul odor. Discard any jars with off-smells without tasting.
Symptom: Floating beans
Solution: Use hot pack method. Raw beans contain air in intercellular spaces that expands during processing. Pre-cooking collapses these pockets through steam displacement.
Symptom: Seal failure
Solution: Inspect jar rims for chips using fingertip. Chips prevent lid compound contact. Examine bands for rust that corrodes during storage. Replace damaged components.
Symptom: Brown discoloration
Solution: Process at correct altitude-adjusted pressure. Under-processing allows enzymatic browning through polyphenol oxidase activity. Maintain recommended PSI throughout entire cycle.
Symptom: Soft texture
Solution: Harvest beans at immature stage before lignification toughens fibers. Over-processing beyond recommended minutes hydrolyzes cell wall pectins into mush.
Maintenance
Store sealed jars in dark location between 50-70°F. Temperatures above 70°F accelerate nutrient degradation and color loss. Remove bands after 24 hours to prevent rust rings. Label jars with contents and processing date using permanent marker.
Consume within 12-18 months for peak quality. Annual inventory rotation prevents extended storage. Inspect jars before opening. Bulging lids, spurting liquid, or mold growth indicate spoilage. Discard without tasting.
Check pressure canner gaskets annually for cracking or hardening. Replace per manufacturer specifications. Test dial gauges through county extension offices or hardware stores offering calibration services.
FAQ
Can I use a water bath canner for green beans?
No. Green beans register pH 5.3-5.8, requiring pressure canning. Boiling water reaches only 212°F, insufficient to destroy botulism spores in low-acid foods. Pressure canning achieves 240°F.
How much salt should I add?
Salt remains optional for preservation. Add 1/2 teaspoon per pint or 1 teaspoon per quart for flavor enhancement only. Omit for sodium-restricted diets without affecting safety.
What causes jars to break during processing?
Thermal shock from temperature extremes cracks glass. Preheat jars in 180°F water before filling. Avoid placing hot jars on cold surfaces. Gradual temperature transitions prevent structural failure.
Can I reprocess jars that didn't seal?
Yes, within 24 hours. Empty jars, check rim integrity, refill with hot beans and fresh liquid, apply new lid, and reprocess for full duration. Do not reprocess after 24 hours.
Why do my beans turn dark after storage?
Oxidation reactions degrade chlorophyll into pheophytin. Minimize headspace oxygen by maintaining proper fill levels. Store in dark conditions to slow photochemical degradation.