8 Vital Steps to Garlic Powder Homemade
The scent of dehydrating garlic transforms any kitchen into a working apothecary, each clove releasing sulfur compounds that bite the nostrils and promise months of preserved flavor. Learning the steps to garlic powder homemade means controlling every variable from bulb selection through final milling, ensuring no anti-caking agents or irradiation compromise the allicin content. This process demands precision in temperature, humidity, and timing to preserve both pungency and nutritional integrity.
Materials
Begin with hardneck garlic varieties (Allium sativum var. ophioscorodon) grown in soil with pH 6.0-7.0 and amended with 5-10-10 NPK fertilizer at planting. Superior bulbs originate from loam with cation exchange capacity above 15 meq/100g, which ensures adequate sulfur uptake for robust flavor compound development. Select firm bulbs without sprouting, as auxin distribution shifts toward shoot growth once vernalization triggers occur.
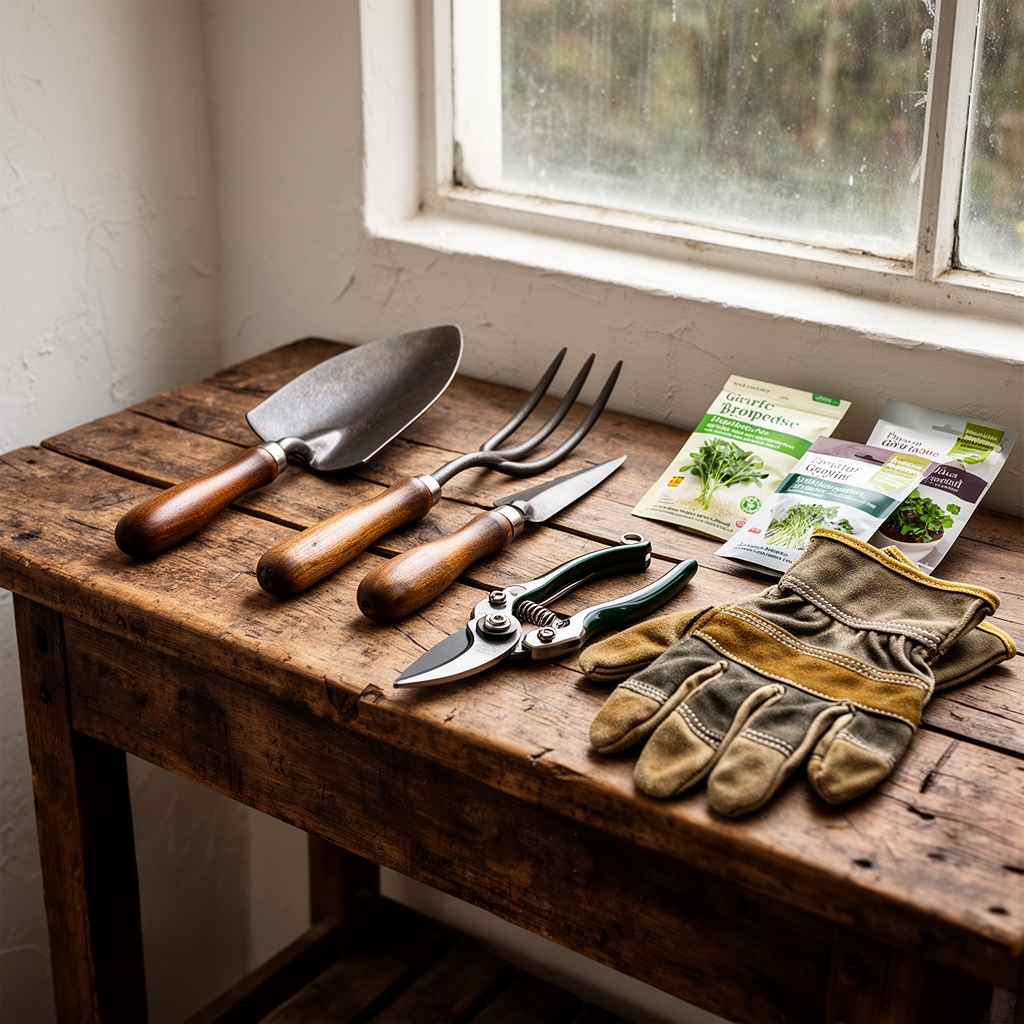
For dehydration, acquire a food-grade dehydrator with adjustable thermostat (95-135°F range) or use a convection oven with minimum temperature setting. Mandoline slicers ensure uniform 1/8-inch thickness, critical for even moisture removal. A high-speed spice grinder or mortar achieves the 80-100 mesh particle size characteristic of commercial garlic powder. Store finished powder in amber glass jars with silica gel packets to prevent moisture reabsorption and oxidative degradation of organosulfur compounds.
Timing
Harvest garlic when lower leaves brown but 4-5 upper leaves remain green, typically late June through July in Zones 4-7 and May through early June in Zones 8-10. Bulbs lifted prematurely contain excess moisture and lower allicin precursor concentrations. Post-harvest curing requires 2-3 weeks in 80-90°F ambient temperature with 60-70% relative humidity. This period allows enzymatic conversion of sulfur compounds and reduces moisture content from 60% to approximately 35%.
Process cured garlic within 8 weeks of harvest for peak enzyme activity. Autumn processing (September-October) in northern zones coincides with lower ambient humidity, accelerating dehydration time by 15-20%. Spring garlic harvested in warmer zones benefits from immediate processing before summer heat degrades volatile compounds.
Phases
Step 1: Separation and Inspection
Break bulbs into individual cloves. Discard any showing soft spots, which indicate Penicillium rot. Remove papery skins but retain the thin membrane directly adhering to clove flesh, as it contains concentrated flavonoids.
Step 2: Trimming
Cut root plate flush with clove base at 90-degree angle. Remove any green shoots exceeding 1/4 inch, as chlorophyll content introduces bitterness. The shoot contains indole-3-acetic acid that alters flavor profile.
Pro-Tip: Freeze cloves for 20 minutes before slicing to firm cell structure and reduce lachrymatory factor release during cutting.
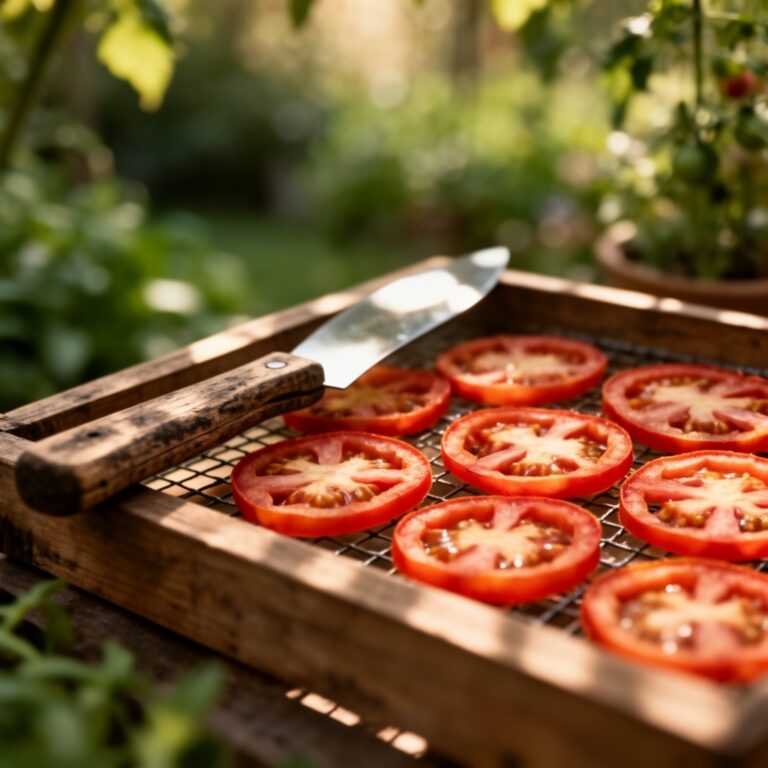
Step 3: Slicing
Slice cloves crosswise to 1/8-inch thickness using mandoline set to uniform depth. Transverse cuts expose maximum surface area of vascular bundles where alliin concentrates. Slices thicker than 3/16 inch require 40% longer dehydration time and risk incomplete moisture removal.
Step 4: Pre-Treatment
Arrange slices on dehydrator trays in single layer with 1/4-inch spacing for air circulation. Overlapping slices create moisture pockets that extend drying time and risk mold development. No blanching is required. Blanching denatures alliinase enzyme responsible for allicin formation.
Pro-Tip: Sprinkle slices with 1/4 teaspoon ascorbic acid per pound to prevent oxidative browning and preserve white color.
Step 5: Dehydration
Set dehydrator to 125°F. Higher temperatures denature alliinase. Lower temperatures extend process beyond safe moisture removal window. Rotate trays every 3 hours to compensate for uneven heat distribution in stacked configurations. Total drying time ranges 8-12 hours depending on slice thickness and initial moisture content.
Step 6: Dryness Assessment
Properly dehydrated garlic snaps cleanly when bent, producing audible crack. Slices should contain less than 5% residual moisture. Leathery texture indicates incomplete drying. Over-dried garlic becomes translucent brown and loses 30-40% of volatile compounds.
Step 7: Cooling
Cool dried slices completely to room temperature before grinding, approximately 45 minutes. Residual heat creates condensation in sealed grinder, introducing moisture that causes clumping.
Pro-Tip: Store dried slices whole for up to 1 year. Grind in small batches to preserve volatile compounds that oxidize rapidly once cell structure is pulverized.
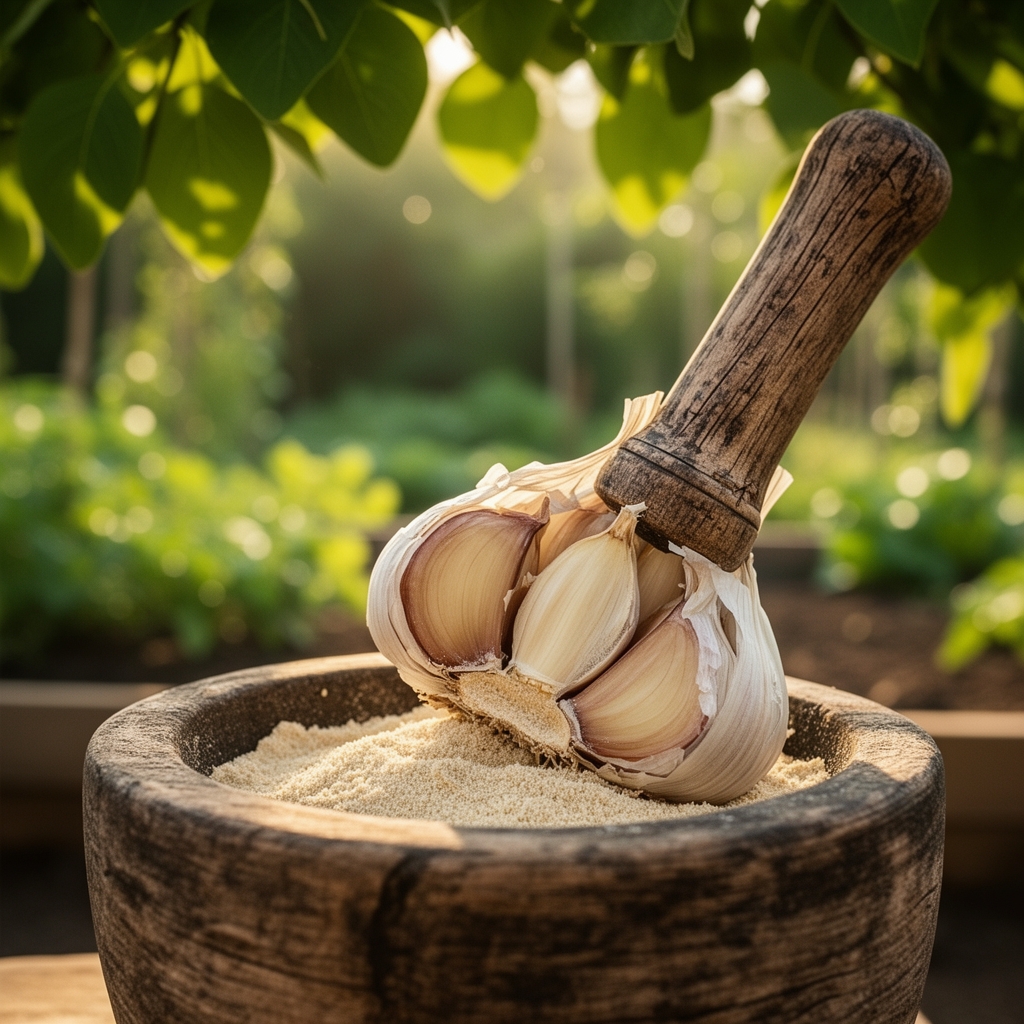
Step 8: Grinding and Storage
Pulse grinder in 3-second intervals to prevent heat buildup from friction. Sift powder through fine-mesh strainer. Re-grind larger particles. Transfer immediately to airtight container. Store in location below 70°F with less than 50% relative humidity. Properly stored garlic powder maintains potency for 12-18 months.
Troubleshooting
Symptom: Pink or purple discoloration during dehydration.
Solution: Enzymatic reaction with trace copper or iron. Use stainless steel equipment exclusively. Add 1/2 teaspoon citric acid per pound of sliced garlic.
Symptom: Powder clumps within days of grinding.
Solution: Residual moisture above 5%. Re-dehydrate at 115°F for 2 hours. Add food-grade silica gel packet (2 grams per 4 ounces powder).
Symptom: Weak flavor and aroma.
Solution: Dehydration temperature exceeded 135°F, denaturing alliinase. No remedy exists. Reserve batch for applications where pungency is not critical.
Symptom: Brown powder with burnt odor.
Solution: Over-drying or excessive friction heat during grinding. Reduce dehydration time by 1 hour. Grind in shorter pulses with cooling intervals.
Maintenance
Monitor storage container monthly for moisture accumulation on interior walls. Replace silica gel packets when indicator crystals turn pink, typically every 3-4 months in humid climates. Transfer powder to smaller containers as quantity diminishes to minimize headspace and oxygen exposure. Vacuum-sealing extends shelf life to 24 months but requires oxygen absorber packets to prevent oxidation of sulfur compounds. Test potency semi-annually by rubbing small amount between fingers. Pungent sulfur release indicates active allicin precursors remain intact.
FAQ
How does homemade garlic powder differ from commercial products?
Commercial powder often contains silicon dioxide anti-caking agents and undergoes irradiation that reduces allicin potential by 25-40%. Homemade powder retains full enzyme activity.
Can I use a conventional oven instead of dehydrator?
Yes. Set to lowest temperature (typically 170°F) and prop door open 2 inches for moisture escape. Monitor closely as oven heat is less uniform.
Why does my powder turn green in oil?
Organosulfur compounds react with amino acids under acidic conditions. This color shift is harmless. Store infused oils refrigerated and use within 1 week.
What is the conversion ratio for fresh garlic to powder?
One clove fresh garlic equals 1/8 teaspoon garlic powder. Powder is approximately 8 times more concentrated by weight.
Does freezing affect powder quality?
Freezing extends shelf life to 36 months but causes condensation during thawing. Bring to room temperature sealed before opening container.