7 Easy Ways How to Oven Dry Herbs
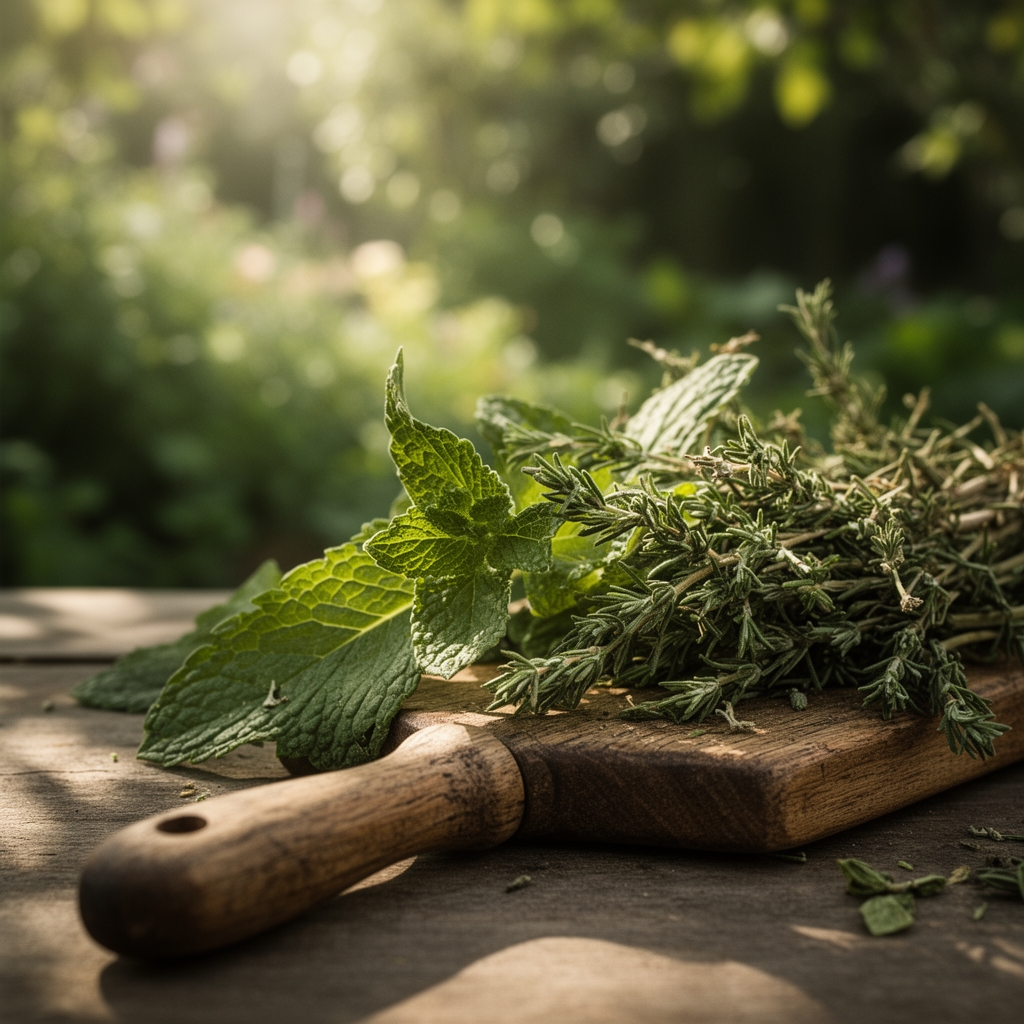
The scent of fresh basil, thyme, and oregano can fill a kitchen long after the growing season ends. Learning how to oven dry herbs preserves summer's harvest through winter months without specialized equipment. This method concentrates essential oils within leaf tissue, producing culinary ingredients with deeper flavor profiles than their fresh counterparts. The process relies on controlled low-temperature dehydration that maintains volatile compounds while removing moisture content to below 10 percent.
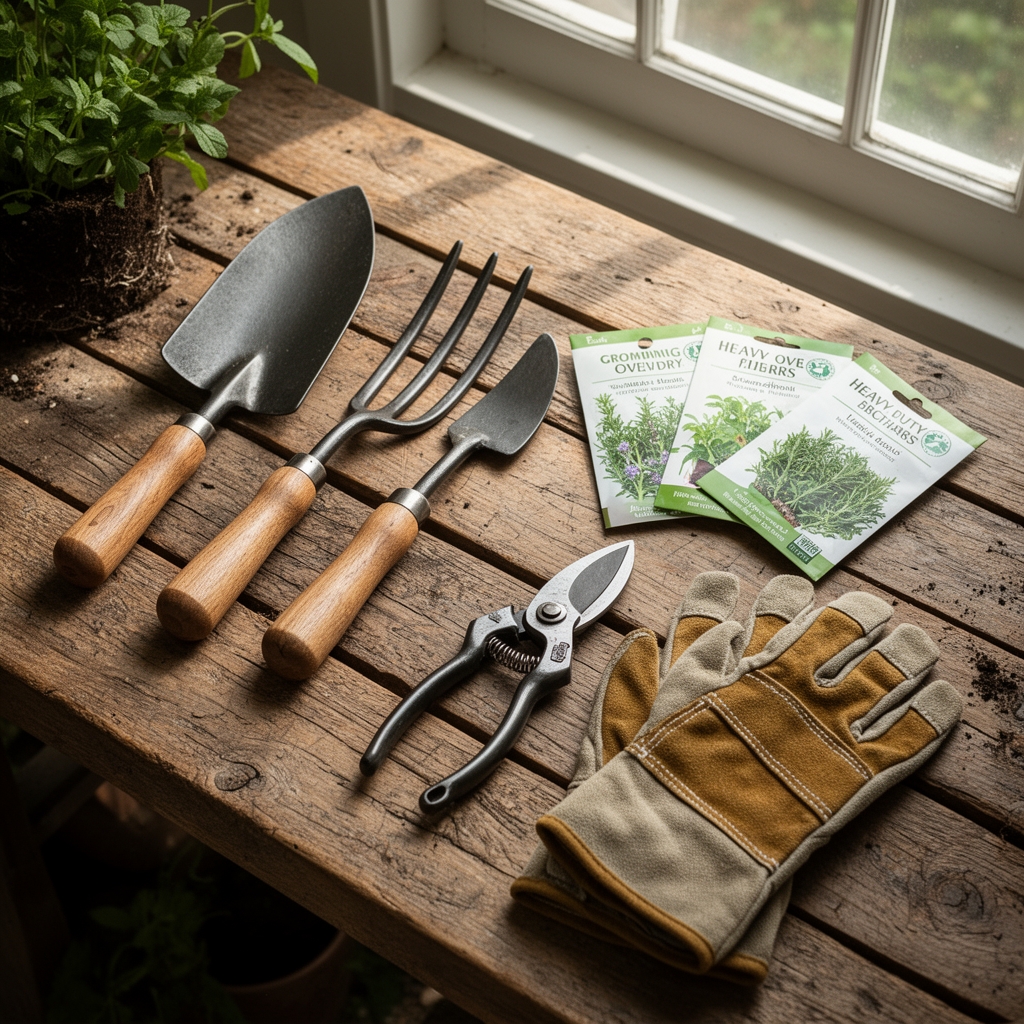
Materials
Select herbs harvested at peak vegetative growth before flower initiation triggers lignin production in stems. Mediterranean species like rosemary, oregano, thyme, and sage contain higher concentrations of phenolic compounds that withstand heat exposure. Soft-leaved varieties including basil, cilantro, parsley, and dill require gentler handling due to increased cellular water content.
Equipment needs include rimmed baking sheets with aluminum surface for even heat distribution, parchment paper with silicone coating to prevent adhesion, and an oven thermometer calibrated to verify accuracy within 5-degree margins. Standard home ovens often display temperatures 15 to 25 degrees higher than actual chamber readings.
Herbs grown in soil with balanced NPK ratios of 5-5-5 or lower produce superior drying results. Excessive nitrogen from synthetic fertilizers above 10-10-10 formulations creates lush foliage with thin cell walls that collapse during dehydration. Organic amendments like aged compost or kelp meal at 1-0.1-2 ratios support essential oil production while maintaining structural integrity. Soil pH between 6.0 and 7.0 optimizes nutrient uptake for aromatic compound synthesis.
Timing
Harvest timing directly affects volatile oil concentration and final product quality. Morning collection between 10 a.m. and noon, after dew evaporation but before afternoon heat stress, captures peak essential oil content. Trichome density on leaf surfaces reaches maximum levels during this window.
In USDA Hardiness Zones 7 through 10, harvest perennial herbs from May through October. Annual herbs in Zones 3 through 6 require collection before first frost dates. Consult local agricultural extension offices for specific frost-free period data. Plan final harvests two weeks before average first frost to allow regrowth energy storage in perennial root systems.
Flowering reduces leaf quality as plants redirect auxin distribution toward reproductive structures. Cut stems when plants reach 6 to 8 inches in vegetative growth. Remove no more than one-third of total plant mass per harvest to maintain photosynthetic capacity.
Phases

Preparation Phase
Rinse harvested stems under cool running water to remove soil particles and insect debris. Shake vigorously to eliminate surface moisture. Pat stems with cotton towels, avoiding paper products that shed cellulose fibers. Remove damaged, yellowed, or diseased leaves that contain elevated bacterial populations.
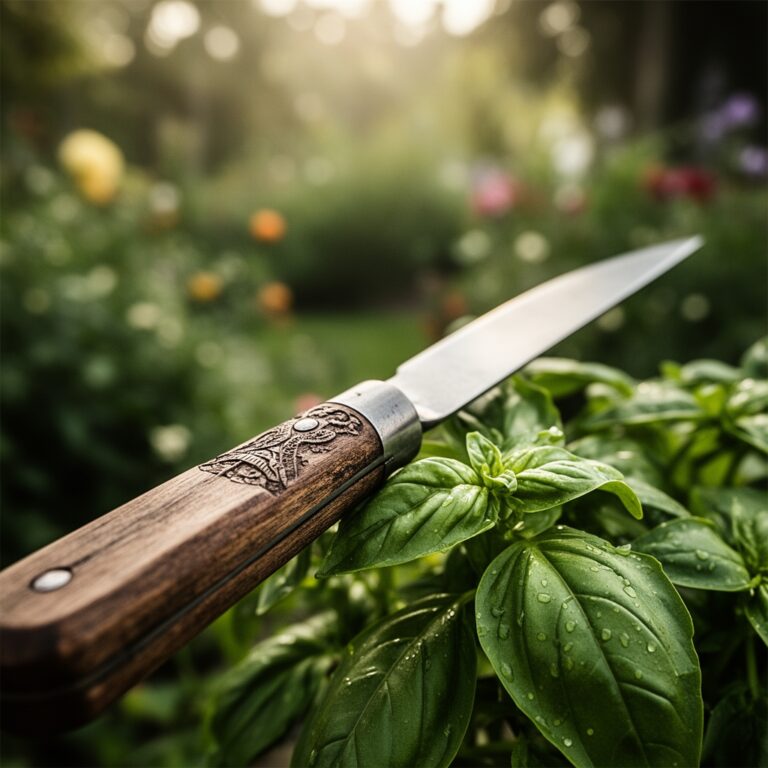
Strip leaves from woody stems in downward motions following natural growth direction. Leave tender stem sections attached to leafy herbs like cilantro and dill. Discard thick stems from rosemary and thyme that contribute bitter flavors.
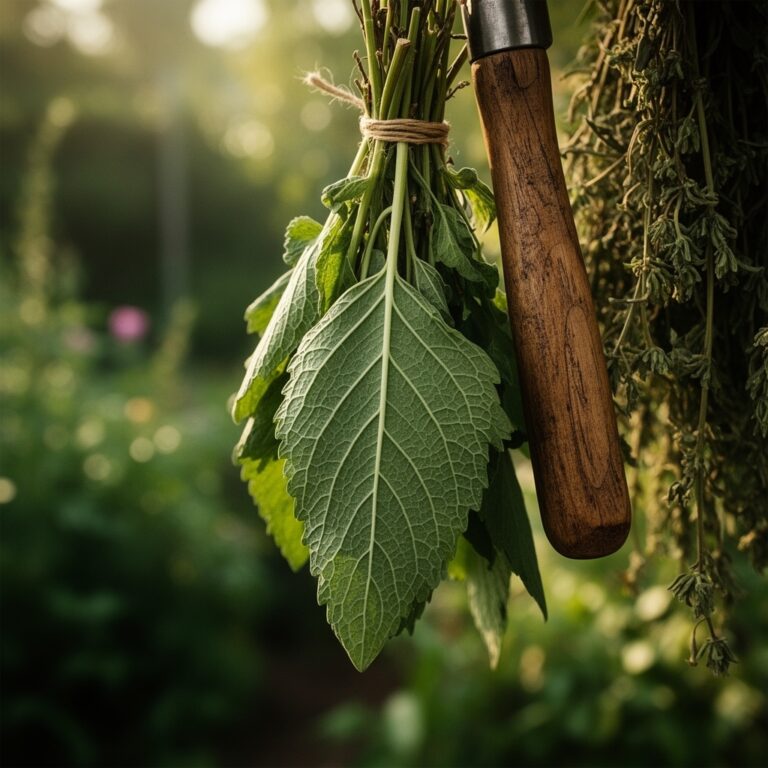
Pro-Tip: Bundle stems with cotton twine before stripping leaves. This stabilizes vascular tissue and reduces bruising that releases moisture prematurely.
Drying Phase
Preheat oven to 180 degrees Fahrenheit. Temperatures above 200 degrees volatilize monoterpenes and sesquiterpenes responsible for characteristic aromas. Position oven rack in center location for optimal air circulation.
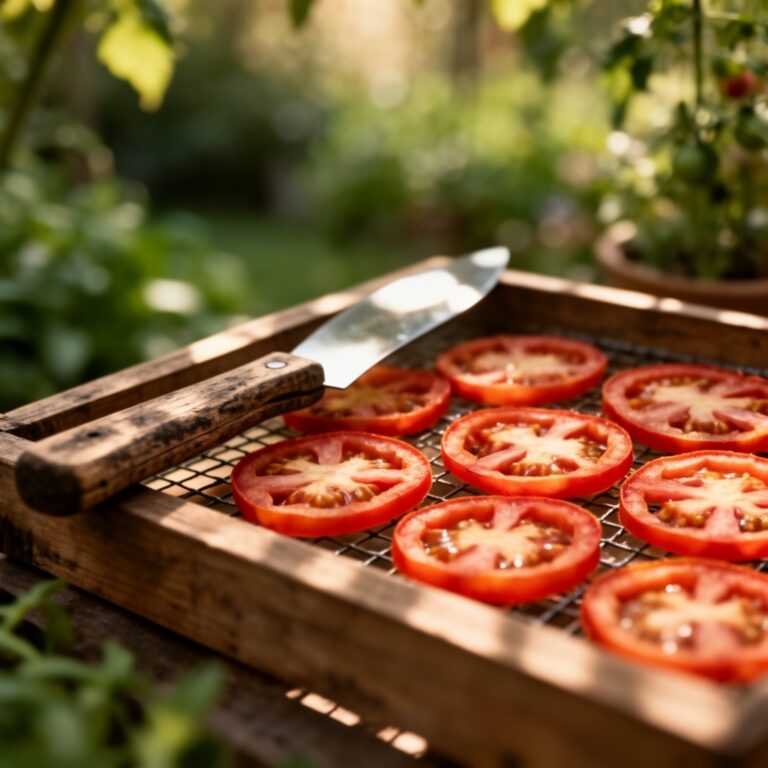
Arrange herb leaves in single layers on parchment-lined baking sheets. Overlapping creates humid microclimates that promote mold development. Space leaves 1/4 inch apart to allow convective heat transfer across all surfaces.
Prop oven door open 2 to 3 inches using wooden spoon handle. This prevents moisture accumulation and maintains consistent temperature. Conventional ovens require this modification while convection models with fan-assisted circulation may operate with doors closed.
Pro-Tip: Rotate baking sheets 180 degrees every 20 minutes. Oven heating elements create temperature gradients up to 30 degrees between front and rear positions.
Completion Phase
Monitor herbs every 15 minutes after the first hour. Soft leafy varieties complete drying in 2 to 3 hours. Woody Mediterranean species require 3 to 4 hours. Properly dried herbs crumble when rubbed between fingers, producing crisp texture without bending.
Cool dried herbs completely at room temperature for 30 minutes before storage. Residual heat continues moisture evaporation during this period. Test dryness by sealing samples in glass jars for 24 hours. Condensation indicates incomplete dehydration requiring additional oven time.
Pro-Tip: Leave small stems attached to herbs like thyme during drying. Strip leaves after cooling using fork tines pulled downward along stems.
Troubleshooting
Symptom: Brown or blackened leaf edges
Solution: Reduce oven temperature by 20 degrees. Discoloration indicates cell wall breakdown from excessive heat. Check oven thermometer calibration and adjust accordingly.
Symptom: Moldy or musty odor
Solution: Increase drying time and improve air circulation. Fungal growth occurs when moisture content remains above 12 percent. Verify oven door remains propped open during entire process.
Symptom: Loss of color and aroma
Solution: Harvest earlier in plant maturity cycle. Over-mature leaves contain degraded essential oils. Temperature exceeded 200 degrees, causing volatile compound evaporation.
Symptom: Brittle texture that powders immediately
Solution: Reduce drying time by 30 minutes. Excessive dehydration damages cellular structure and decreases rehydration capacity during cooking.
Symptom: Hay-like flavor instead of characteristic herb taste
Solution: Extended storage in unsuitable conditions. Exposure to light, heat, or moisture after drying degrades remaining essential oils. Transfer to airtight containers within 2 hours of cooling.
Maintenance
Store dried herbs in glass containers with airtight seals. Plastic containers allow oxygen permeation that oxidizes aromatic compounds. Keep jars in dark cabinets away from heat sources. Light exposure degrades chlorophyll and essential oils within 30 days.
Label containers with herb variety and drying date. Most dried herbs maintain peak flavor for 6 to 12 months. Potency decreases approximately 10 percent every three months after initial drying.
Crush or grind herbs immediately before use rather than storing in processed form. Whole leaves retain essential oils within intact cellular structures. Surface area increases of ground herbs accelerate volatile compound loss through evaporation.
Monitor stored herbs monthly for insect activity. Cigarette beetles and drugstore beetles infest dried plant materials. Freeze compromised batches at 0 degrees Fahrenheit for 48 hours to eliminate larvae before disposal.
Replace stored herbs annually regardless of apparent quality. Subtle flavor degradation occurs even under optimal storage conditions as monoterpenes slowly oxidize.
FAQ
What temperature is best for oven drying herbs?
Maintain 180 degrees Fahrenheit throughout the drying process. This temperature removes moisture while preserving essential oils. Higher temperatures above 200 degrees cause aroma loss and browning.
How long does oven drying take?
Soft herbs like basil and cilantro dry in 2 to 3 hours. Woody herbs including rosemary and thyme require 3 to 4 hours. Test frequently after the first hour by checking crispness.
Should I wash herbs before drying?
Yes. Rinse herbs briefly under cool water to remove soil and insects. Dry thoroughly with towels before placing in oven. Excess surface moisture extends drying time significantly.
Can I dry different herbs together?
Avoid combining varieties with different drying times. Delicate herbs finish before woody types, risking over-drying. Process similar herbs together for consistent results.
How do I know when herbs are completely dry?
Properly dried herbs crumble easily between fingers without bending. Stems snap cleanly rather than bending. No moisture should appear when crushed leaves sit in sealed containers for 24 hours.