5 Quick Steps to Pick Pumpkins Guide
October air carries the scent of drying vines and sugar concentration in maturing fruit. The perfect pumpkin sits heavy on the ground, its stem corked and dry, color deepened from green to full orange. Following proven steps to pick pumpkins guide methods ensures you harvest at peak ripeness when flesh density and seed maturity align. Commercial growers measure days-to-maturity from transplant, monitor stem lignification, and test rind hardness before cutting. Home gardeners benefit from the same precision.
Materials
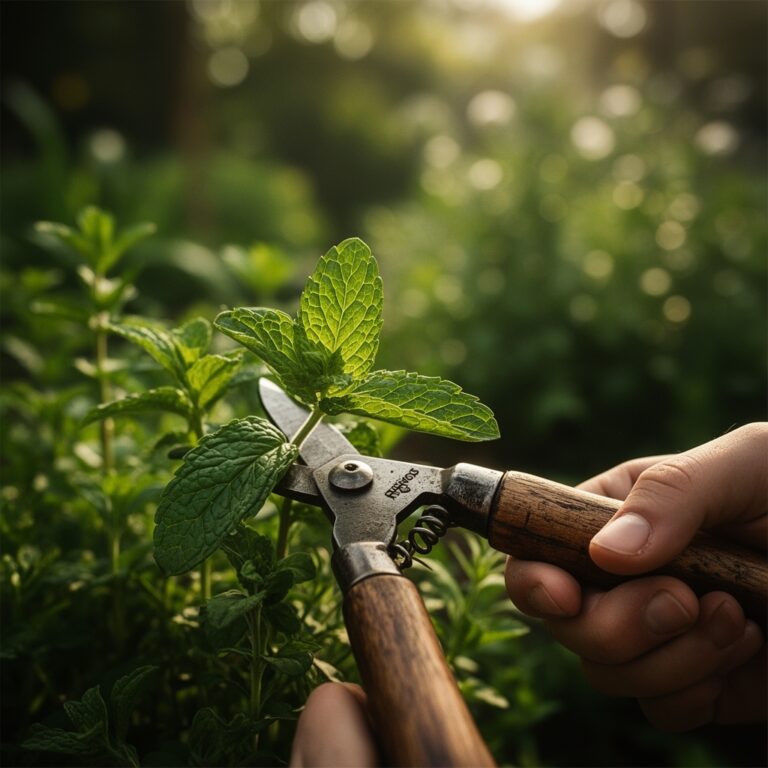
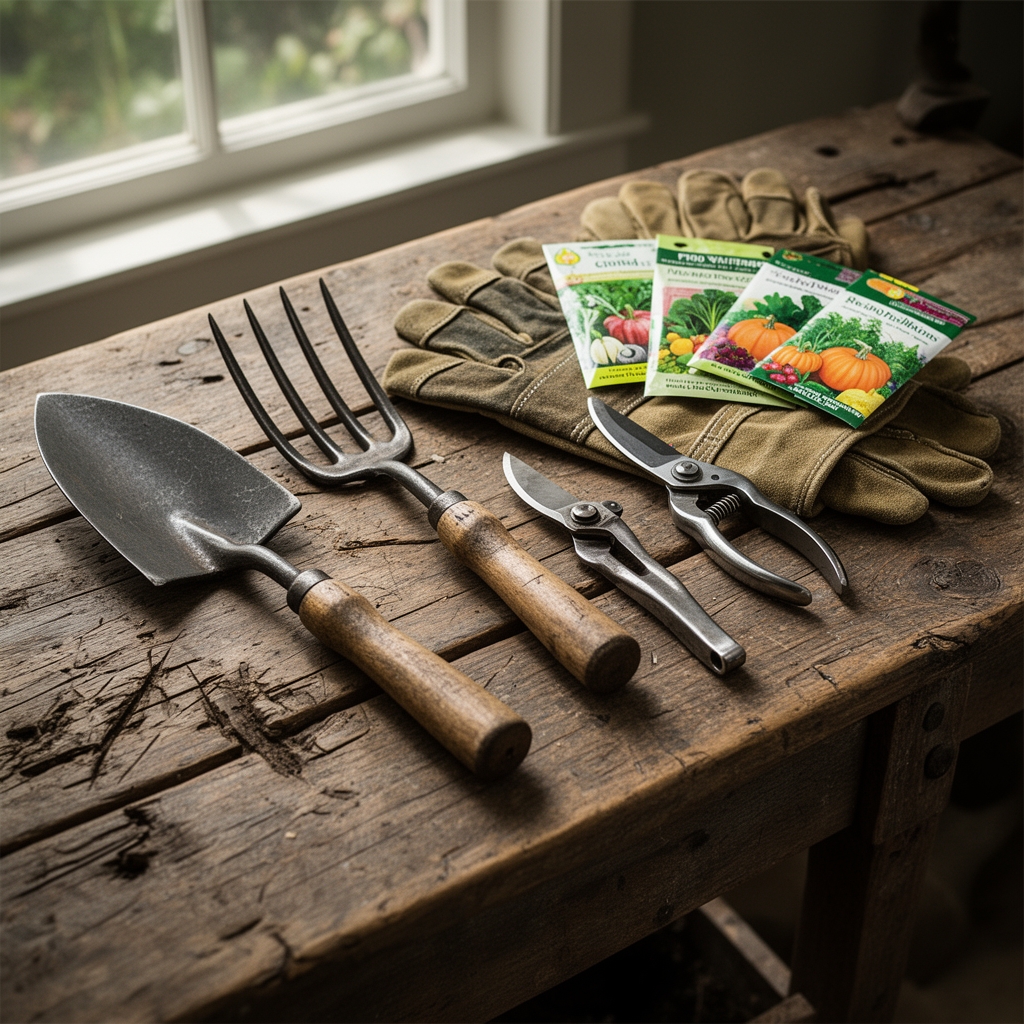
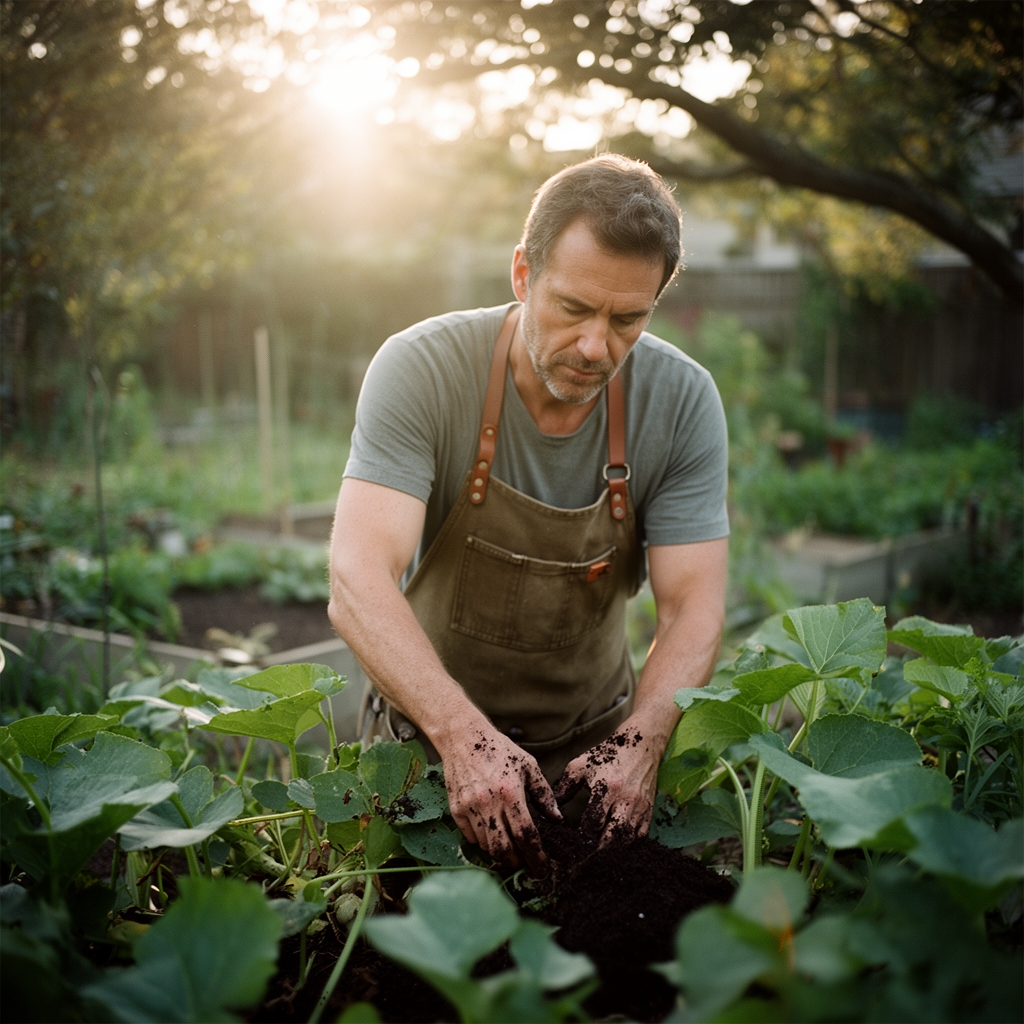
Successful harvest begins before you enter the field. Assemble bypass pruners sanitized in 10% bleach solution to prevent bacterial soft rot transmission. Wear leather gloves with reinforced palms to protect against stem barbs and soil-borne pathogens. Bring a garden cart with pneumatic tires rated for 200-pound loads to minimize bruising during transport.
Soil preparation months earlier determines harvest quality. Target pH 6.0-6.8 for optimal calcium uptake that prevents blossom-end collapse in developing fruit. Apply 4-4-4 organic meal at 2 pounds per 100 square feet three weeks before transplant. Side-dress with 5-10-10 granular fertilizer when vines reach 24 inches, focusing phosphorus for flower initiation. Potassium becomes critical during fruit swell. Broadcast 0-0-22 sulfate of potash at 1 pound per 100 square feet when pumpkins reach softball size. High cation exchange capacity soils hold these nutrients through the 90- to 120-day growing season.
Timing
Zone 5 gardeners transplant after last frost, typically May 15-30. Direct seeding follows soil temperature reaching 65°F at 4-inch depth. Count backward from first expected frost to ensure variety maturity. 'Connecticut Field' requires 110 days; 'Sugar Pie' matures in 100 days. Zone 7 allows June 1 planting for October 20 harvest.
First frost date becomes your deadline. Pumpkins tolerate light frost at 32°F but suffer cell rupture below 28°F. Monitor nighttime lows starting in early September. Plan harvest two weeks before statistical first frost for your microclimate. Coastal zones gain 10-14 additional growing days compared to interior valleys at the same latitude.
Phases
Sowing
Plant seeds 1 inch deep in hills spaced 6 feet apart. Place four seeds per hill. Soil temperature must exceed 60°F for germination within 7 days. Cooler temperatures invite seed rot and damping-off fungi. Emergence occurs in 5-10 days depending on cultivar and thermal accumulation.
Pro-Tip: Inoculate seed holes with mycorrhizal fungi at 1 teaspoon per hill. Glomus intraradices colonizes roots within 14 days, extending phosphorus uptake radius by 400%.
Transplanting
Move seedlings at two true-leaf stage, typically 21 days after sowing. Dig holes 8 inches deep and 12 inches wide. Amend backfill with aged compost at 1:1 ratio. Set root ball crown level with surrounding soil to prevent stem rot. Water immediately with 1 gallon per plant containing kelp extract at 1 tablespoon per gallon for auxin distribution.
Pro-Tip: Transplant in late afternoon when transpiration rates decline. This reduces transplant shock by 30% compared to morning installation.
Establishing
Vines extend rapidly after establishment, reaching 15 feet by day 60. Pin secondary vines at nodes using 6-inch landscape staples to encourage adventitious rooting. This practice stabilizes plants during wind events and increases nutrient absorption surface area. Remove tertiary vines to concentrate carbohydrate allocation into primary fruit.
Pro-Tip: Prune vine tips at 45-degree angles 21 days before target harvest. This stops vegetative growth and redirects sugars into fruit, increasing brix levels by 2-3 points.
Troubleshooting
Symptom: Yellow mottling on leaves with stunted vine growth.
Solution: Cucumber mosaic virus transmitted by aphids. No cure exists. Remove infected plants immediately. Control aphid populations with insecticidal soap at 2% concentration applied every 5 days.
Symptom: White powdery coating on leaf surfaces, primarily upper canopy.
Solution: Powdery mildew (Podosphaera xanthii). Apply sulfur dust at 3 pounds per 1,000 square feet when disease appears. Repeat every 10 days. Maintain adequate spacing for air circulation.
Symptom: Water-soaked lesions on fruit in contact with soil.
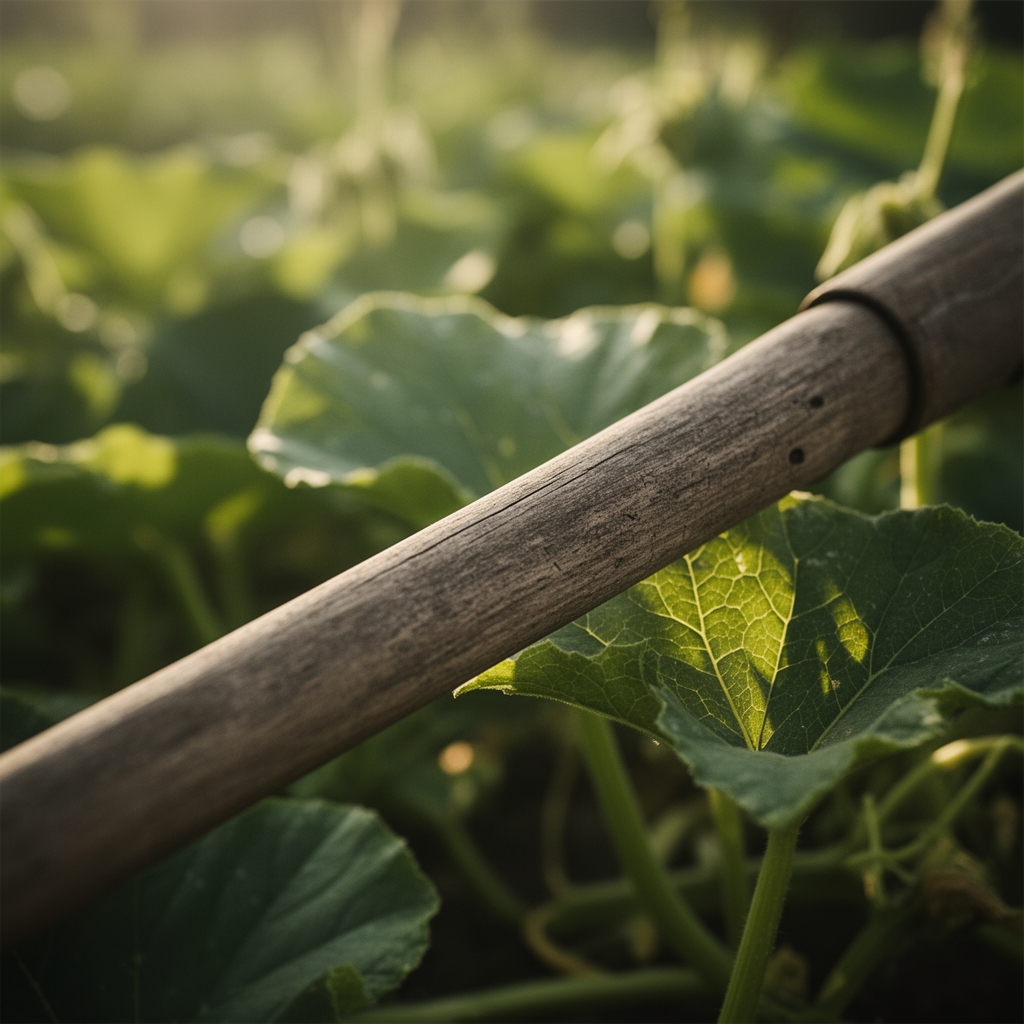
Solution: Belly rot from prolonged moisture exposure. Place 12×12-inch boards under developing pumpkins when fruit reaches cantaloupe size. Rotate boards 90 degrees weekly to prevent flat spots.
Symptom: Premature vine collapse starting at crown.
Solution: Squash vine borer larvae feeding inside stems. Inject Bacillus thuringiensis var. kurstaki into entry holes using syringe. Cover wounded stem sections with mounded soil to encourage emergency rooting.
Maintenance
Apply 1 inch of water weekly from flowering through fruit sizing. Use drip irrigation placed 6 inches from crown to minimize foliar disease. Increase to 1.5 inches during peak heat when evapotranspiration exceeds 0.25 inches daily. Cease irrigation 10 days before harvest to concentrate sugars and improve storage characteristics.
Mulch with straw at 3-inch depth after soil warms to 70°F. This suppresses weeds and moderates soil temperature fluctuations that stress shallow feeder roots. Keep mulch 4 inches away from stems to prevent rodent nesting.
FAQ
How do I know when a pumpkin is ready to harvest?
The stem turns brown and cork-like. Rind resists thumbnail puncture. Color reaches full saturation with no green remaining near the stem attachment.
Should I cut or twist the stem?
Always cut with pruners, leaving 3-4 inches of stem attached. Twisting tears fruit flesh and creates infection entry points.
Can I harvest after light frost?
Yes, if temperatures stayed above 32°F. Check for soft spots indicating cell damage before storing.
How long do harvested pumpkins store?
Cured pumpkins stored at 50-55°F and 50-70% humidity last 2-3 months. Higher temperatures accelerate deterioration.
What if my pumpkin is still green in late September?
Remove all flowers and small fruit. Prune vine tips to redirect energy into existing pumpkins. Some color development continues post-harvest during curing.