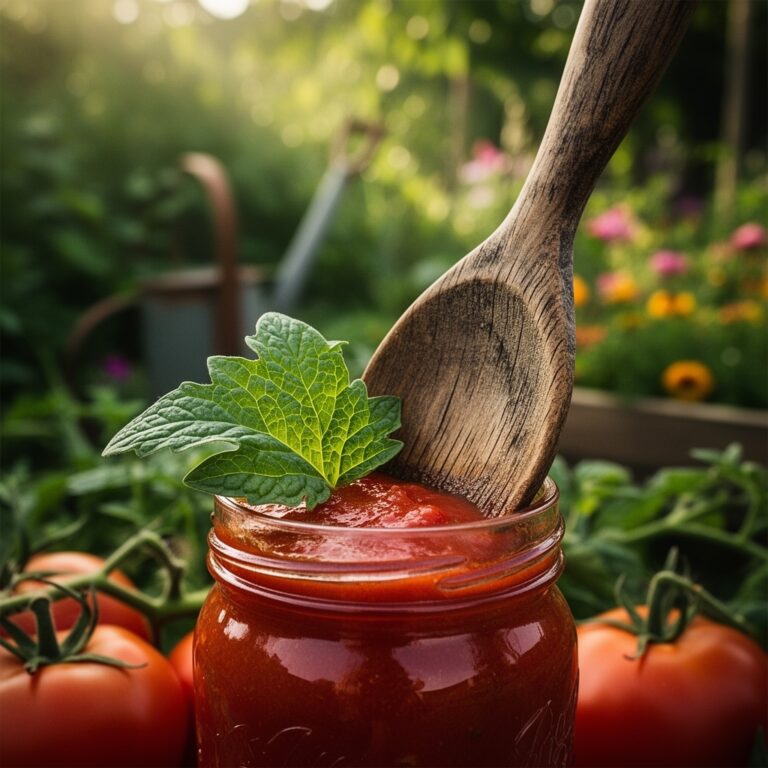
5 Quick Steps to Dehydrate Tomato Slices
Tomato slices transform from plump, water-heavy fruits into concentrated packets of umami when you master the steps to dehydrate tomato slices. The process removes 90-95% of moisture content while preserving lycopene, glutamic acid, and natural sugars. These dehydrated slices occupy one-tenth the storage volume of fresh fruits and remain shelf-stable for 12-18 months when properly processed. Understanding the steps to dehydrate tomato slices begins with selecting cultivars bred for meaty flesh and low seed-gel ratios.
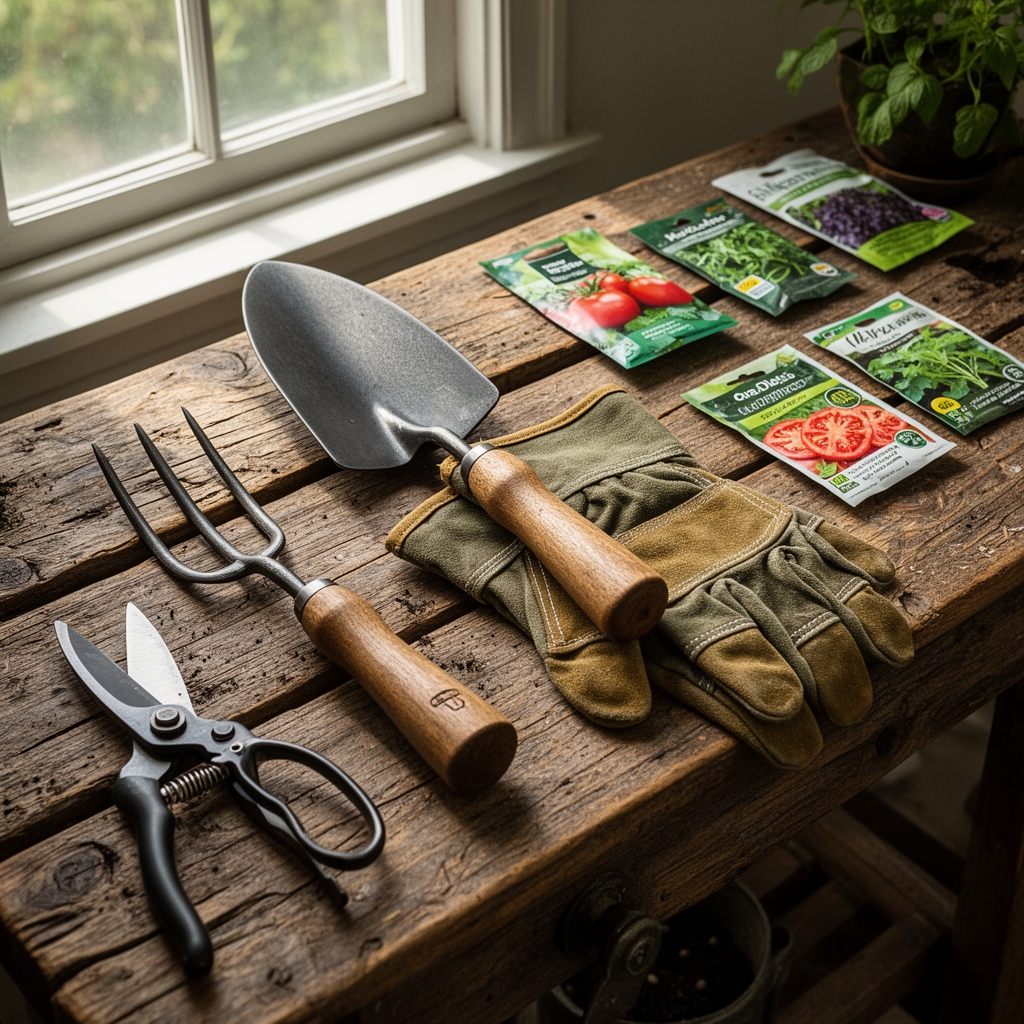
Materials
Select paste-type tomato cultivars such as 'San Marzano', 'Roma VF', or 'Amish Paste' for optimal dehydration results. These varieties contain 30-40% more dry matter than slicing types. Your substrate should maintain pH 6.0-6.8 with a balanced NPK ratio of 5-10-10 during fruit development. Reduce nitrogen to 2-10-10 once flowering begins to prevent excessive vegetative growth.
A food dehydrator with adjustable temperature control (95-145°F range) provides consistent results. Stainless steel mesh trays prevent reactivity with acidic tomato compounds. Alternative equipment includes convection ovens set to the lowest temperature with the door propped 2-3 inches for air circulation.
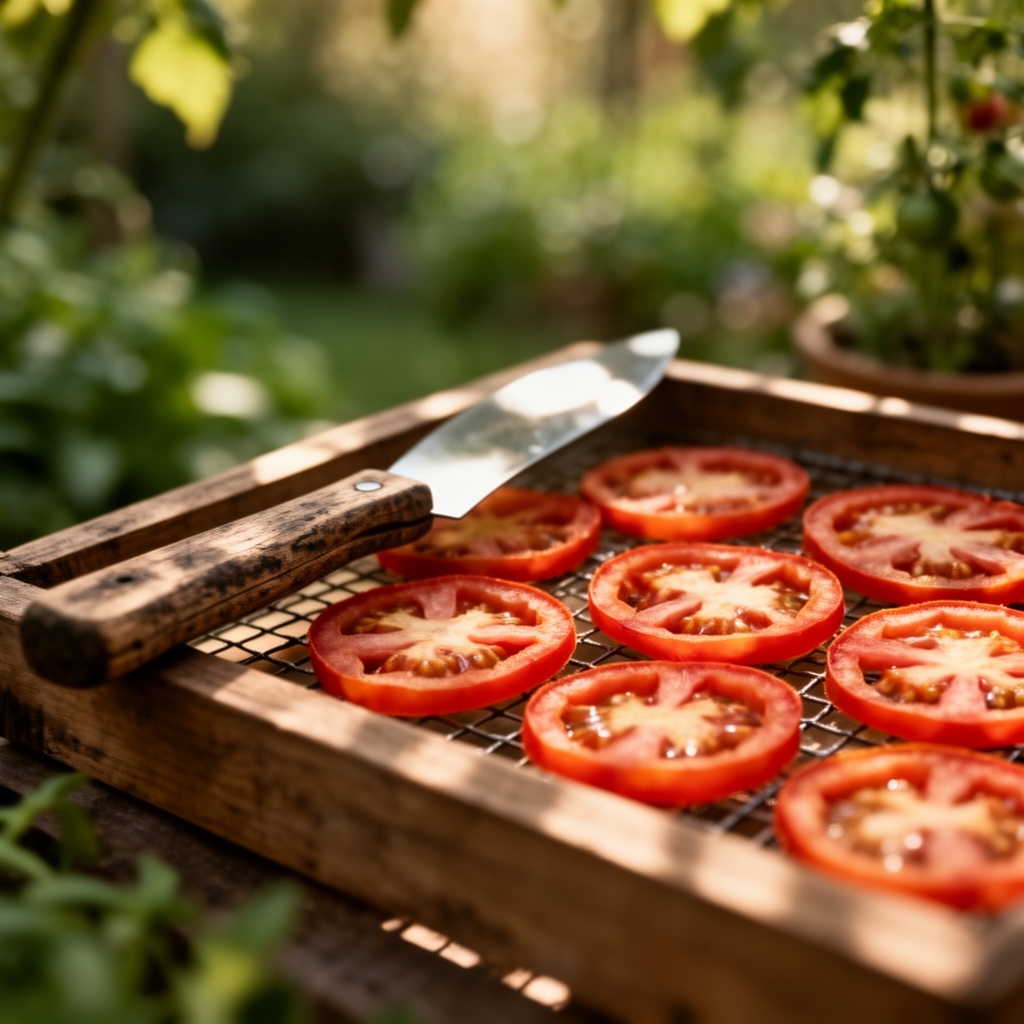
Sharp ceramic or stainless steel knives create clean cuts without crushing cellular structure. A mandoline slicer ensures uniform 1/4-inch thickness, critical for even moisture removal. Pre-treatment materials include kosher salt (for osmotic pre-drying), citric acid solution (0.5% concentration), and high-quality olive oil for optional post-dehydration coating.
Timing
Begin seedlings 6-8 weeks before your last frost date. Tomatoes require soil temperatures above 60°F for transplanting. In Zone 5, transplant between May 15-June 1. Zone 7 gardeners transplant April 1-15. Zone 9 permits year-round cultivation with optimal transplanting in March and September.
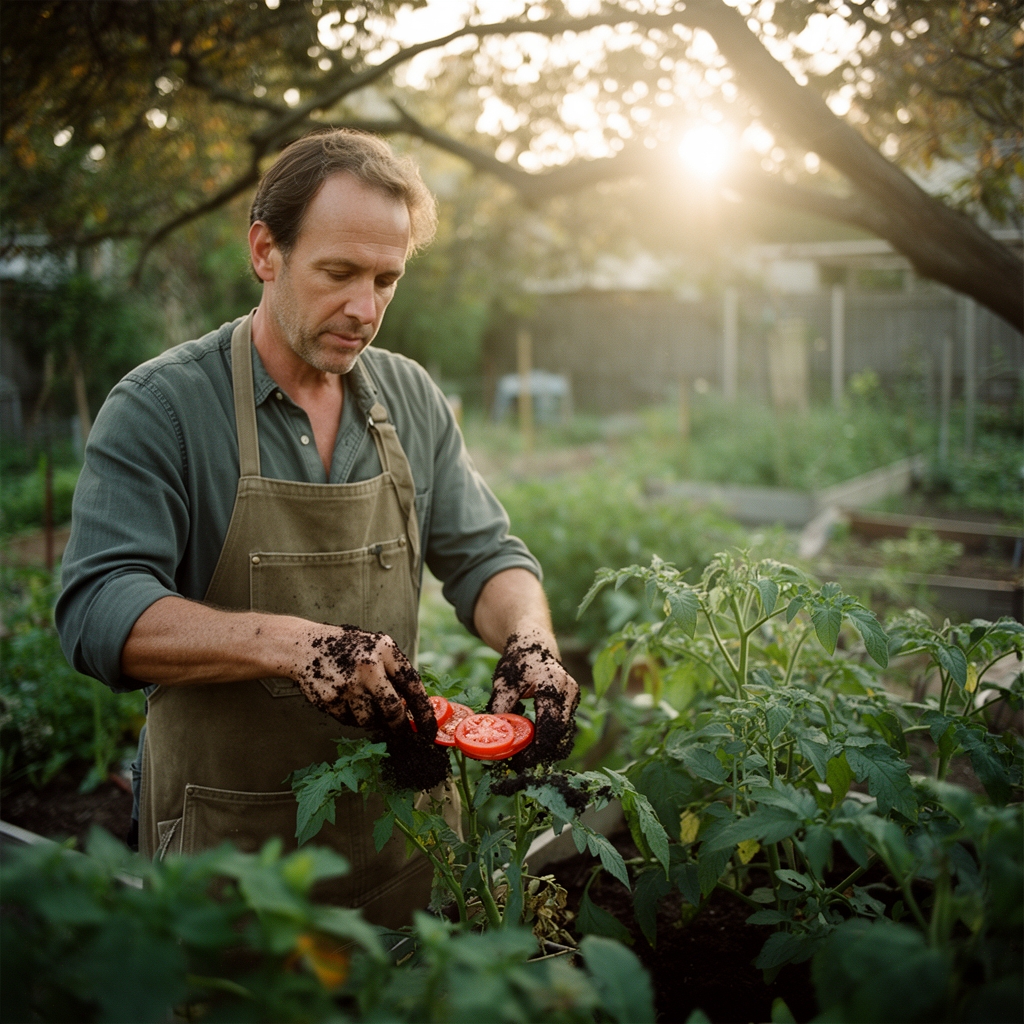
Harvest tomatoes for dehydration at the "firm-ripe" stage, when fruits show full color but resist light thumb pressure. Peak dehydration season runs July through September in temperate zones, coinciding with maximum Brix levels of 4.5-6.0 in paste varieties. Morning harvest after dew evaporation but before heat stress ensures optimal sugar concentration.
Dehydration requires 8-16 hours depending on slice thickness, tomato variety, and ambient humidity. Schedule processing immediately after harvest. Delays exceeding 4 hours trigger enzymatic breakdown that compromises final texture.
Phases
Sowing Phase: Start seeds in sterile seed-starting mix with NPK ratio of 3-1-2. Maintain soil temperature at 75-85°F for germination within 5-7 days. Provide 14-16 hours of light at 200-400 foot-candles once cotyledons emerge. Transplant to 4-inch containers when true leaves develop, using potting mix amended with mycorrhizal fungi at 1 tablespoon per gallon. Pro-Tip: Brush seedlings gently twice daily to stimulate thigmomorphogenesis, producing stems 15-20% thicker than unbrushed controls.
Transplanting Phase: Harden off seedlings over 7-10 days, gradually increasing sun exposure and reducing water. Dig planting holes 8 inches deep, adding 1/4 cup bone meal (NPK 3-15-0) to boost phosphorus for root development. Bury stems up to the first true leaves. Adventitious roots form along buried stem sections, creating a root system 40% larger than standard planting depth. Install stakes or cages immediately to avoid root disturbance later. Pro-Tip: Apply liquid kelp solution (0-0-1 ratio) at transplanting to supply cytokinins that reduce transplant shock by 30%.
Establishing Phase: Water deeply to 12 inches three times weekly until flowering begins. Apply 2-3 inches of organic mulch to maintain soil temperature at 70-75°F. Side-dress with compost tea or fish emulsion (5-1-1) every 14 days during vegetative growth. Switch to low-nitrogen feeding (2-4-6) once first fruits set to redirect auxin distribution toward reproductive structures. Prune suckers below the first flower cluster at 45-degree angles to minimize disease entry points. Pro-Tip: Limit water by 25% during the final 10 days before harvest to concentrate sugars and reduce dehydration time by 2-3 hours.
Troubleshooting
Symptom: Blossom end rot appears as dark, leathery patches on fruit bottoms.
Solution: Apply calcium nitrate (15.5-0-0 + 19% Ca) as foliar spray at 1 tablespoon per gallon every 7 days. Maintain consistent soil moisture to improve calcium uptake through mass flow.
Symptom: Catfacing produces malformed, ridged fruits with scarred surfaces.
Solution: Protect plants when nighttime temperatures drop below 55°F during bloom. Use row covers rated to 28°F. Avoid high-nitrogen fertilizers (above 8% N) during flowering.
Symptom: Septoria leaf spot creates small brown lesions with gray centers.
Solution: Remove affected lower leaves. Apply copper fungicide (copper octanoate) at 0.5-1.0% concentration every 10-14 days. Space plants 36 inches apart for air circulation exceeding 2 mph.
Symptom: Tomato hornworms consume 50% of foliage within 48 hours.
Solution: Hand-pick larvae during evening inspection. Apply Bacillus thuringiensis var. kurstaki at 0.5-1.0 pounds per acre when larvae measure under 1 inch. Preserve parasitized caterpillars showing white cocoons.
Symptom: Cracking radiates from stem attachment points.
Solution: Harvest at first color break rather than full ripeness. Maintain cation exchange capacity above 10 meq/100g soil to buffer moisture fluctuations.
Maintenance
Water established plants with 1-1.5 inches per week, delivered in 2-3 deep applications. Measure soil moisture at 6-inch depth using a tensiometer; maintain readings between 10-30 centibars. Drip irrigation reduces foliar disease incidence by 65% compared to overhead watering.
Prune indeterminate varieties to 2-3 main stems, removing all growth below the first flower cluster. This concentrates resources into fruit production and improves air circulation. Determinate paste types require minimal pruning beyond removing damaged foliage.
Fertilize every 14-21 days with balanced organic blends (4-4-4) or synthetic formulations (20-20-20 diluted to 1/4 strength). Cease nitrogen application 30 days before expected frost to harden off plants and concentrate final fruit sugars.
FAQ
What thickness produces the best dehydrated tomato slices?
Slice tomatoes to uniform 1/4-inch thickness. Thinner slices (1/8 inch) become brittle. Thicker cuts (3/8 inch) require 50% longer processing and risk incomplete dehydration that permits microbial growth.
Should I remove seeds before dehydrating?
Remove seed gel from slicing varieties using your thumb or a small spoon. Paste varieties with minimal gel cavities can be dehydrated whole after slicing. Seed removal reduces drying time by 25-30%.
What temperature setting prevents nutrient degradation?
Maintain dehydrator temperature at 135°F. Higher temperatures (above 145°F) degrade vitamin C by 40% and create bitter flavors. Lower settings (below 125°F) extend processing beyond safe limits.
How do I test for complete dehydration?
Properly dehydrated slices bend without breaking and show no moisture when torn. Cool a test slice for 5 minutes; it should feel leathery and dry, not tacky. Final moisture content should measure 10% or less.
Can I dehydrate cherry or grape tomatoes whole?
Halve cherry and grape varieties lengthwise. Whole small tomatoes require 20-24 hours and often retain moisture pockets near stem attachments. Halving exposes interior flesh for uniform drying in 10-14 hours.